How you build a flute from a knotweed (step by step with pictures)
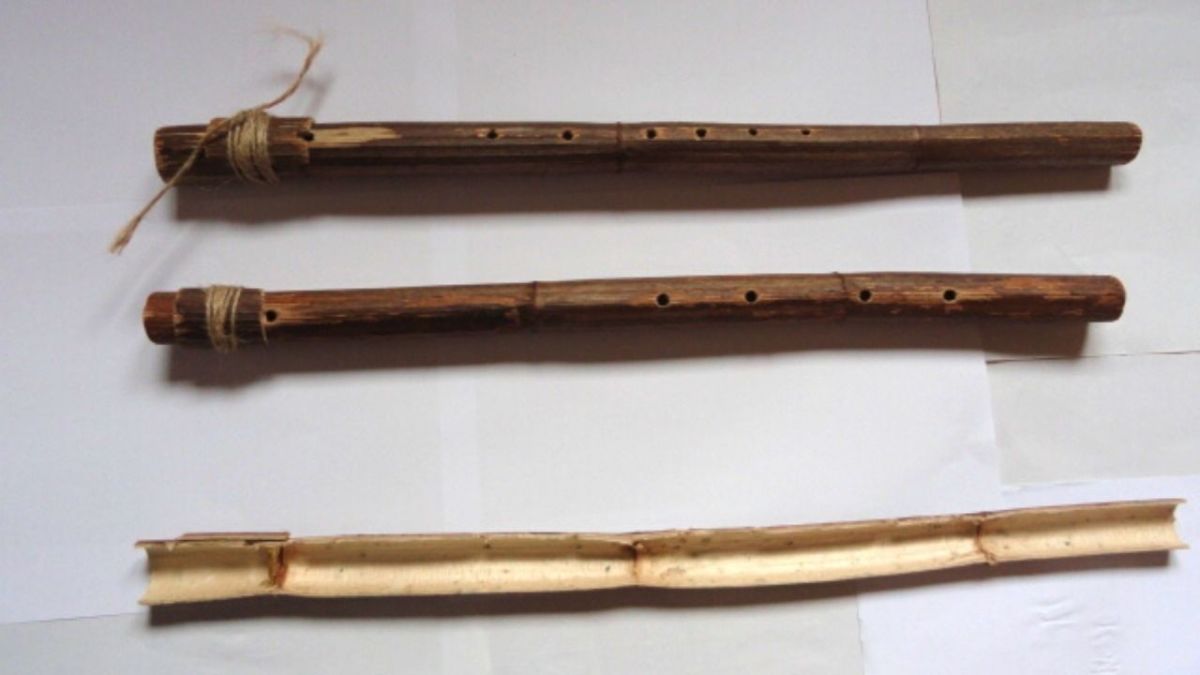
In this step-by-step guide with pictures, you will learn how to build a flute with four tone holes from the tubes of Japanese knotweed.

From Martin Gebhardt. Check out my “About me” page.
👉 The key facts from this guide
- Thomas Stalter shows how to build a flute from Japanese knotweed.
- The flute has only four tone holes and is easy to play.
- Japanese knotweed can be found along many streams, parking lots, and paths and forest edges.
- The flute can also be made from bamboo, but requires more effort.
- Materials needed: knotweed stems, pocket knife, saw, drill, and natural cord.
- The instructions guide step by step through the construction of the flute from Japanese knotweed.
Hello, I am Thomas Stalter, and I am a wilderness, nature, and environmental educator. You can find me at www.thomasstalter.de.
I will show you today how to build a great flute from Japanese knotweed.
It has only four tone holes (sometimes it also needs six holes) and is therefore very easy to play.
You can also build the flute from bamboo. However, much more force must be exerted here for the processing.
You can now find the plant along many streams, parking lots, paths, and forest edges.
Let's start now.
The Japanese Knotweed
The young shoots are edible and can also be eaten raw. The stems are hollow, divided into individual nodes and segments.
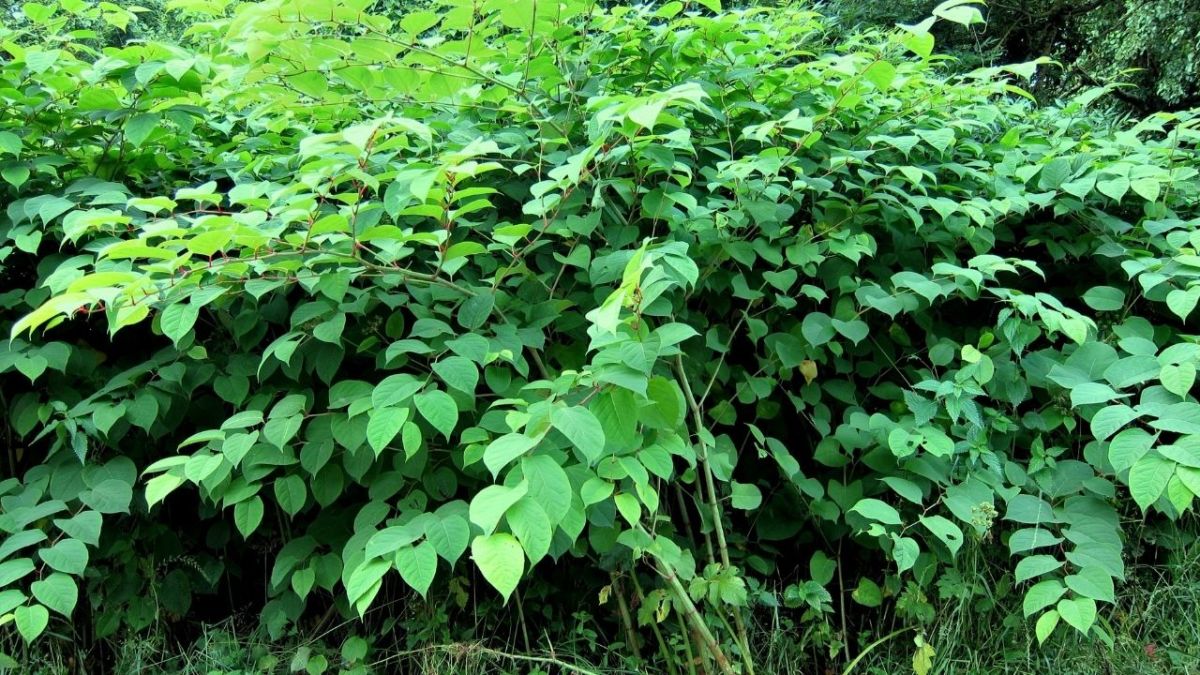
This also makes it a wilderness cup. To achieve this, you cut out a segment with the knot from the plant, fill it with water, and can immediately drink from it.
The upper parts of the plants die off in winter. You harvest the "flutes" best in spring between February and March.
In this time, the stems are brown, dry, and without leaves.
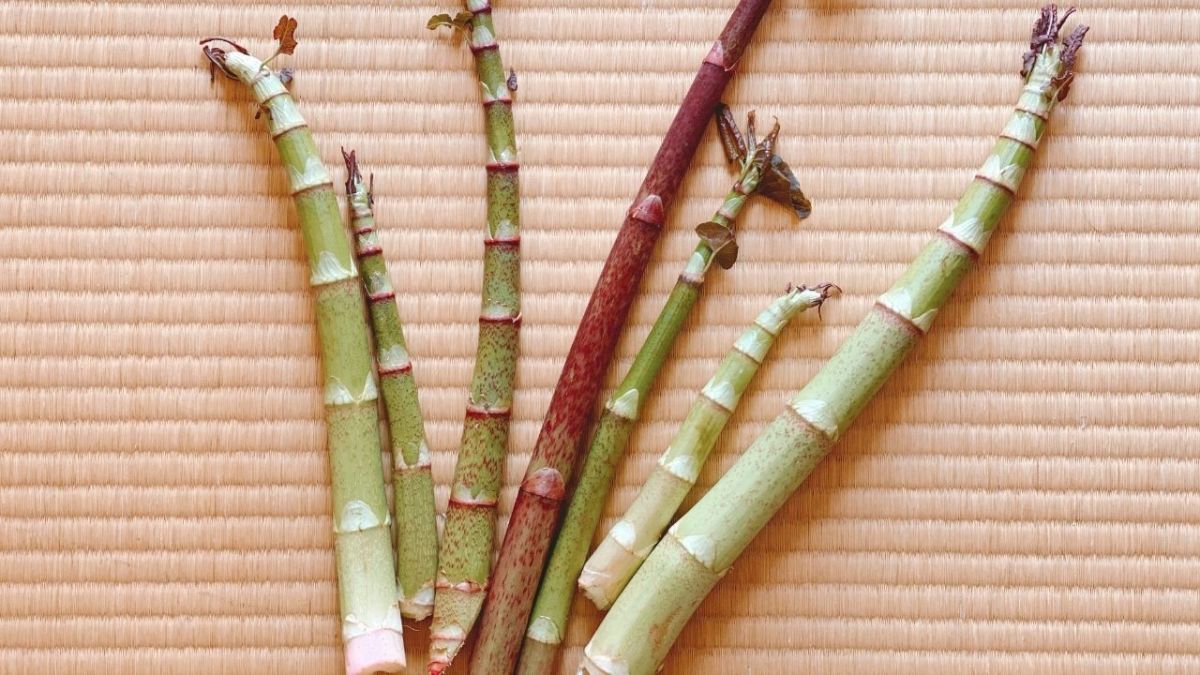
Cut yourself a few more, as the knotweed can sometimes break during processing.
From my experience, I can say that not every flute works. Especially with beginners, this happens, but don't let that take away your fun.
Here is the translation of the text:
- Knotweed stem, about 600 mm long and 30 mm in diameter (You can use different dimensions if you prefer, then the flute will sound different)
- A pocket knife and a saw. A carving knife set is ideal.
- Wood or steel drill, 8 mm in diameter
- Natural cord, 2 mm thick and 200 mm long
Every flute is naturally unique and has its sound. There is no songbook. Your imagination creates the songs.
Step by Step to the Japanese Knotweed Flute
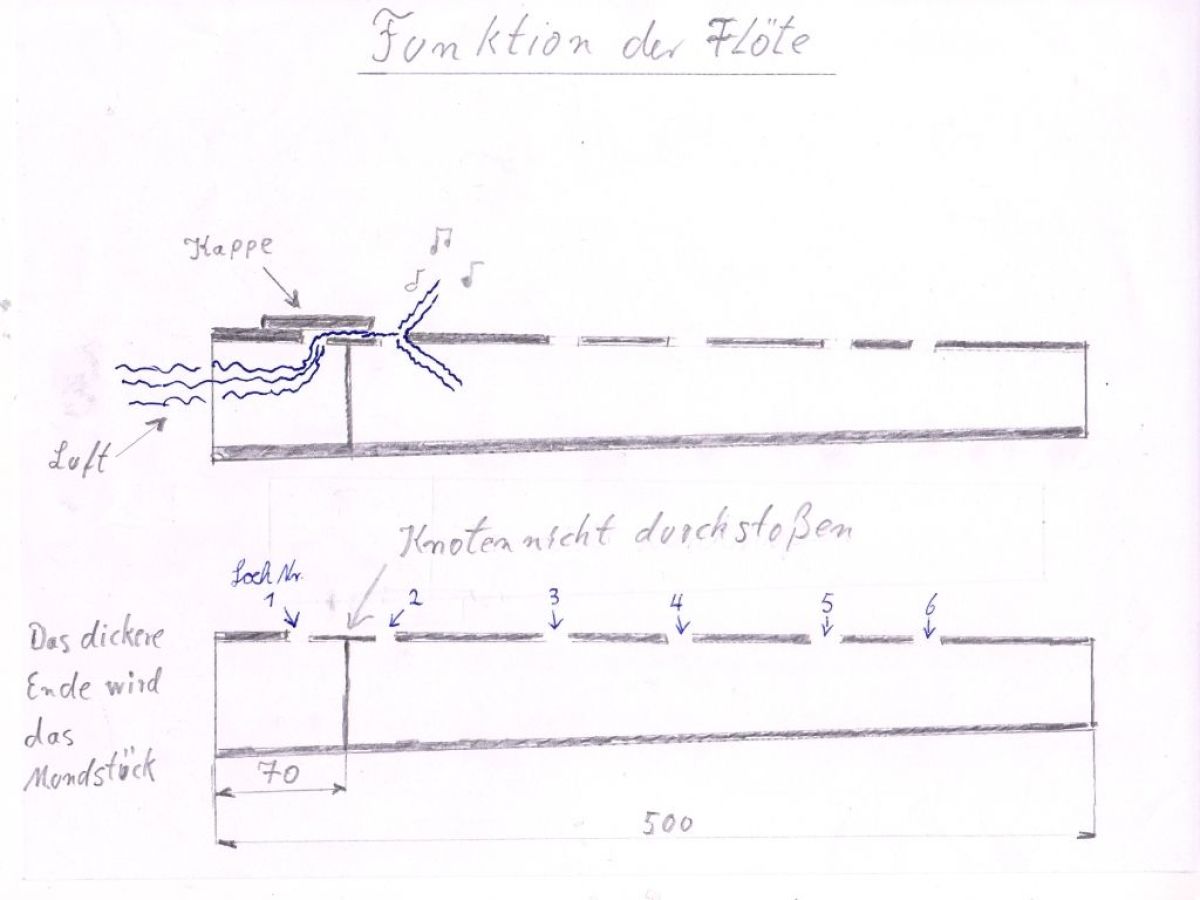
The stems are conical. One end is thicker in diameter than the other.
Important: The thicker end is the mouthpiece. This is where you blow into.
Take a close look at the drawings and get started.
I have labeled the images and drawings with the steps from 1 to 5.
Here you will find a detailed drawing of how the flute works:
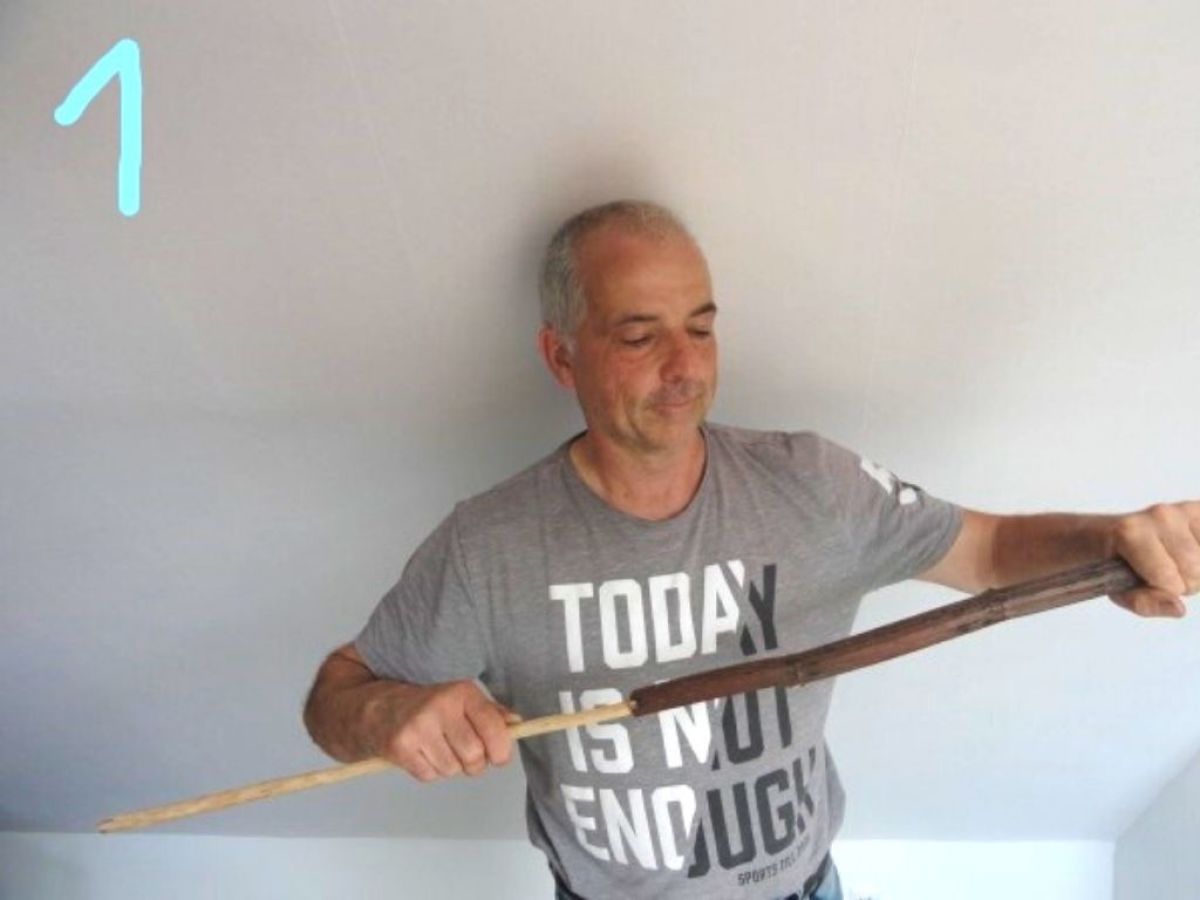
Step 1: Punch through and clean partition walls
Pierce the individual nodes in Japanese Knotweed with a smaller diameter stick.
Make sure to clean the inside and leave as little residue of the partitions as possible. The more dirt there is in the flute, the worse it sounds.
Important: The node on the mouthpiece must not be pierced!
If a small hole still gets in, you can seal it with beeswax or chewing gum.
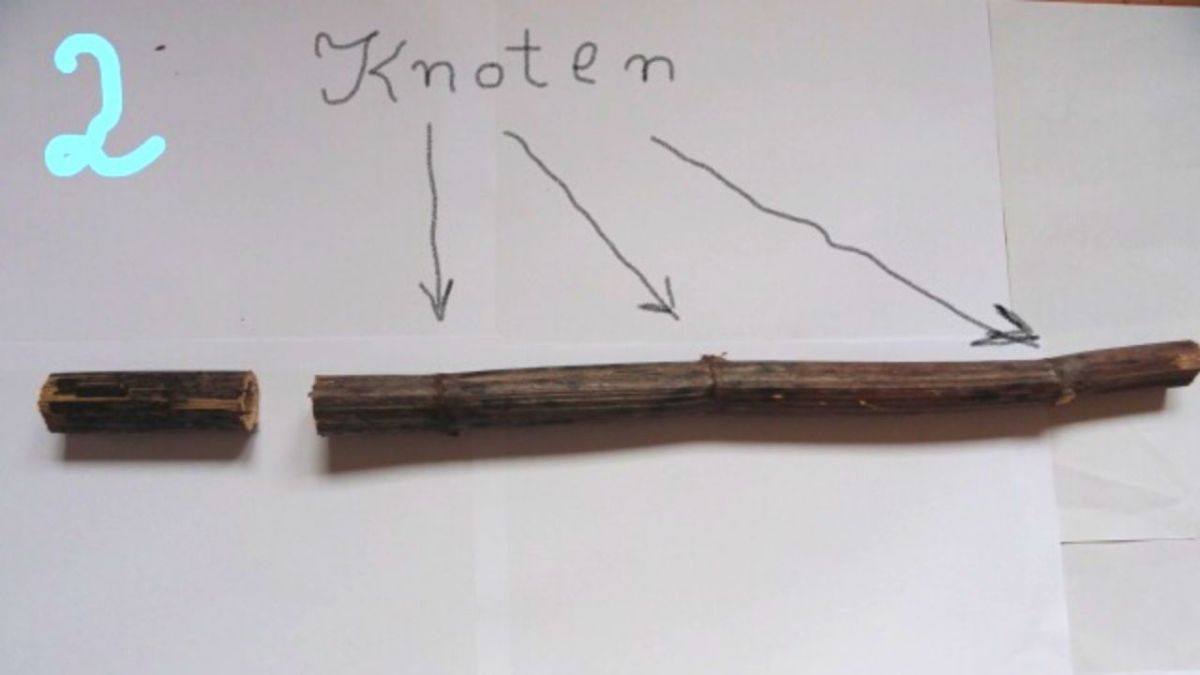
Step 2: Trim the mouthpiece
Cut the mouthpiece (shown on the left in the image) to the specified size. Keep the cut-off piece. It will still be needed.
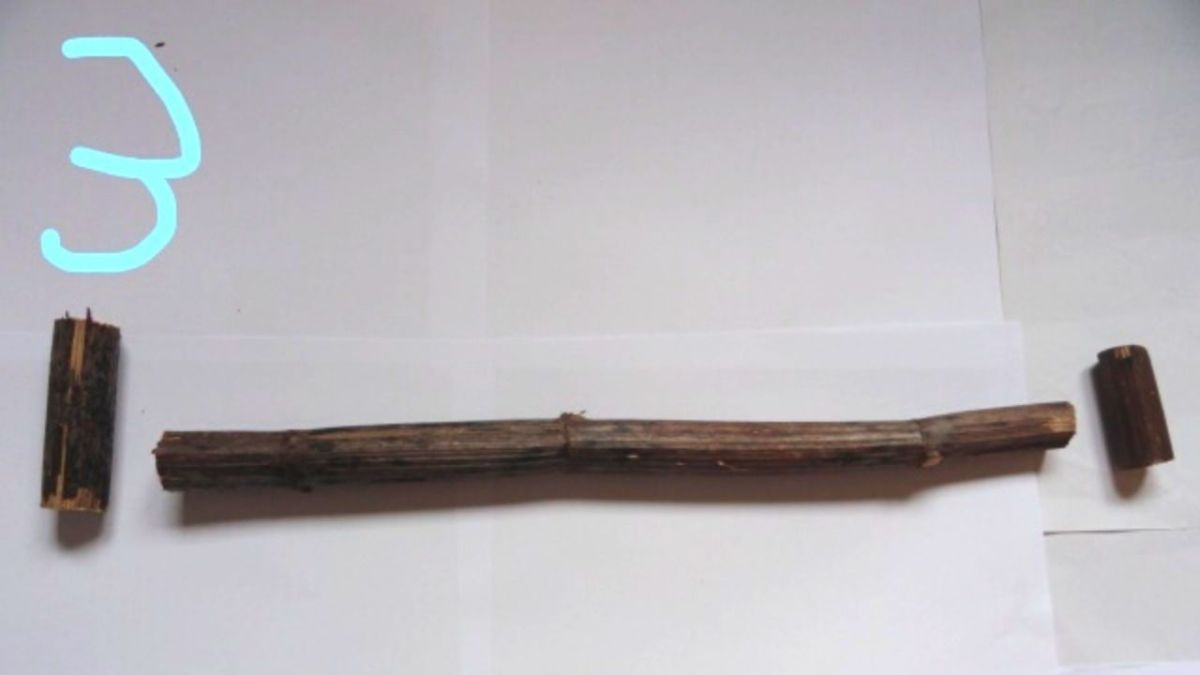
Step 3: Cut the flute
Cut/saw the flute to the total length of 500 mm now.
Step 4: Drilling the first holes
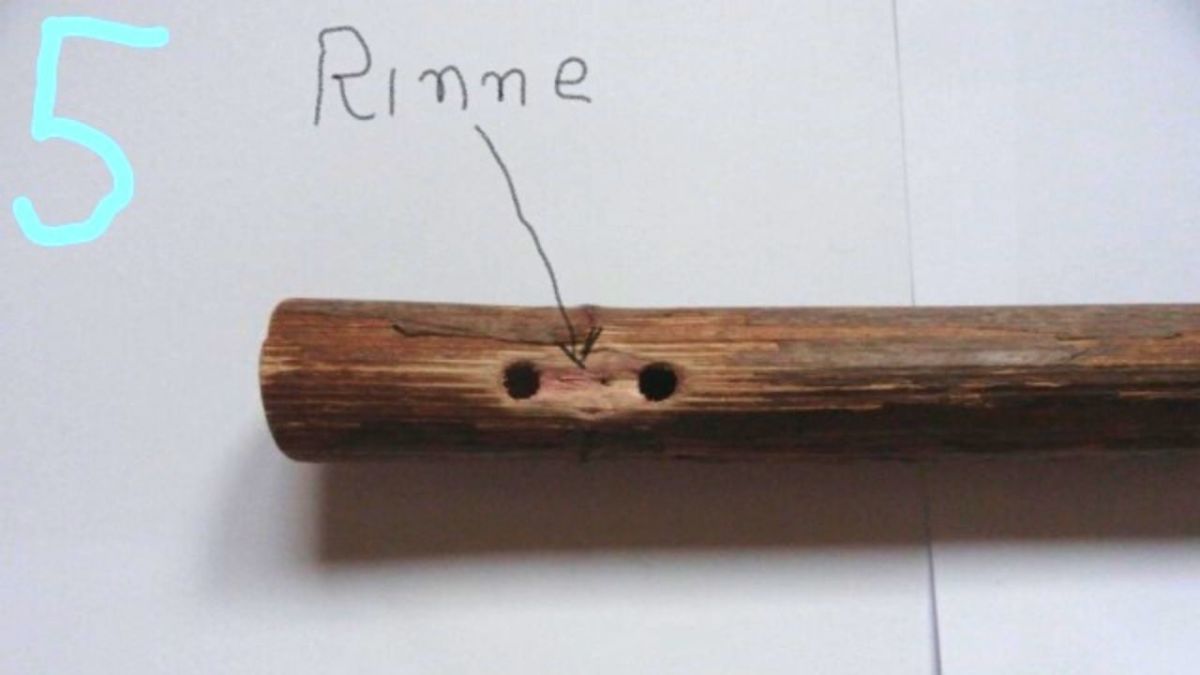
Drill the first two holes 1 and 2 gently with the drill.
The two holes must now be connected with a groove. You can carve it with a knife, but a half-round carving knife works better. The groove should be about 0.5 to 1 mm deep. Hole No. 2 must not be damaged, we need a sharp edge here.
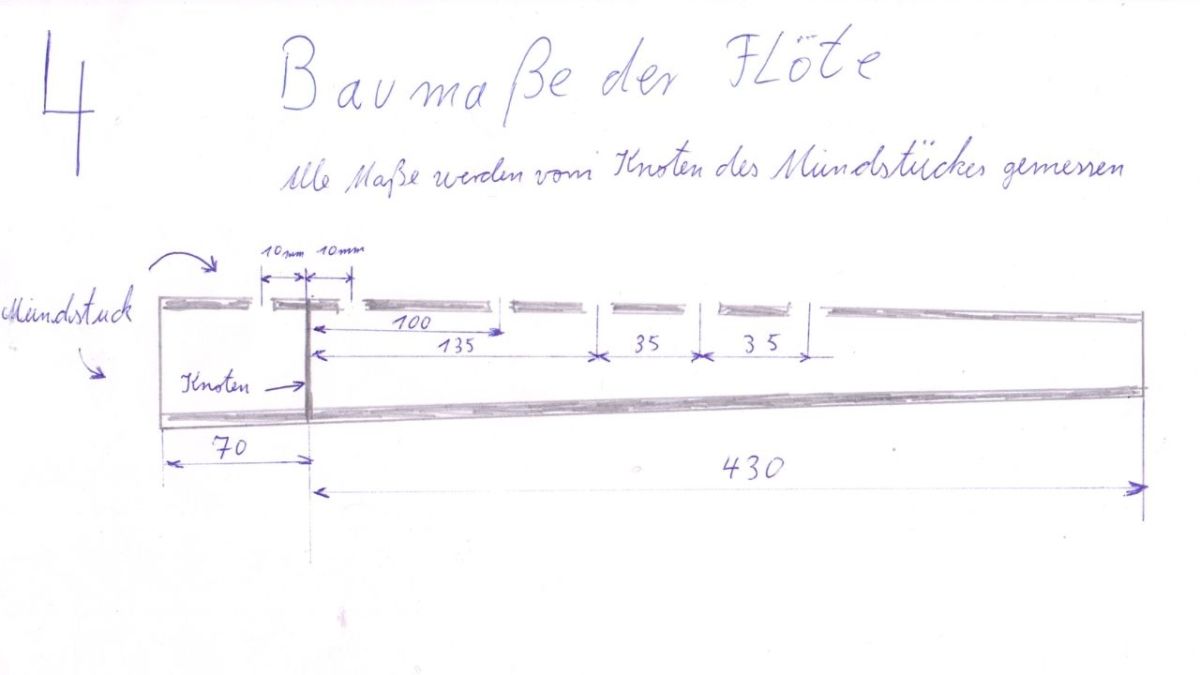
Step 5: the difficult part
Now comes the most difficult part of flute construction. We now require the cut-off end of the mouthpiece. Cut out a cap. It must completely cover hole No. 1 and end just before hole No. 2.
The cap should fit snugly all around so that no air can escape, except towards hole No. 2.
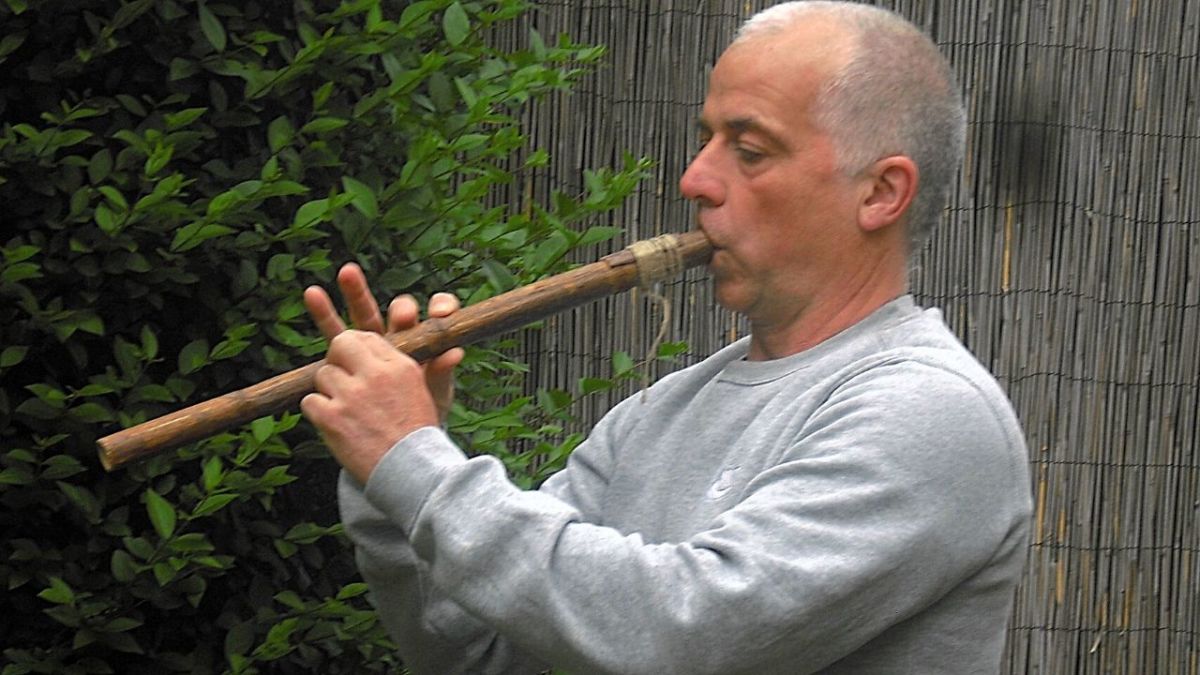
Blow into the mouthpiece now and move the cap back and forth until a whistle sound is produced. If you have succeeded in doing this - congratulations, your flute is working.
Fix the cap with your fingers and tie it tightly with the string. You may need to test several caps of different widths. It's truly the most difficult part of flute making.
Drill the next four holes according to the drawing. Make sure the holes are free of frays.
Your flute should now sound.
Little tip: If only the tone holes 3 and 4 sound, but not 5 and 6, you need to drill two more holes. You cannot play them, they are just there to make the holes 5 to 6 sound.
The interior wall of the flute must be clean. There should be no plant debris inside or lint sticking out from the holes. The flute will then not sound unpleasant or not at all.
Have fun playing. Then find out for yourself how the flute can be played best for you.
Best regards, Thomas Stalter.


Author of the guide
Martin Gebhardt
Hey, I'm Martin. On my blog, you will learn the basics and numerous details about living in the wild. I think survival, bushcraft and the good life in nature are the keys to happiness. Find me here on Instagram or on YouTube. You can find more about my mission on the About Me page.
Was this guide helpful?
12 people found this guide helpful.
5.00 out of 5 points (12 Ratings)
Comments (0)
This post may contain affiliate links. So if you click on the links and make a purchase, I will receive a small commission at no additional cost to you. Click here, to learn more about it.


