How you find clay, prepare it and wash it so you can do pottery
👉 The key facts from this guide
- Discover promising places like wild boar wallows, riverbanks, ditches, and hollows to find high-quality clay.
- Learn how to clean the clay you found by soaking, sieving, and sedimentation to obtain pure clay.
- Recognize good clay through tests like the clump test, bagel test, and water test to ensure quality.
- Avoid common mistakes when washing clay, like too little water, impatience, or sloppy skimming.
- Equip yourself with the right tools like a shovel, bucket, sieves, and drying trays for your clay expedition.
- Be inspired to follow the call of the clay and discover how pottery can enrich your life.
I sat in a seminar in 2024, fascinated by the possibilities that were opening up with clay and mud.
Suddenly, someone asked the question:
Where can you actually get good clay?
At that moment, the word Wild boar wallow was mentioned - and it hit me like a bolt of lightning!
Recently, during one of my excursions through the wilderness, I discovered such a wallow.
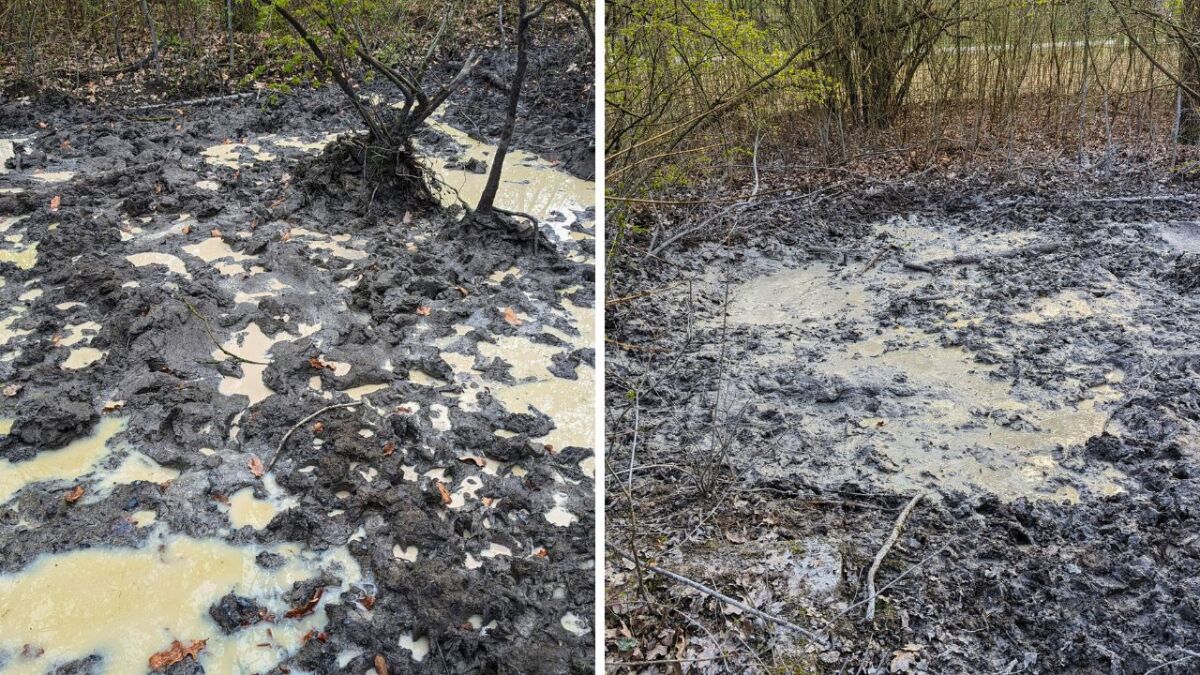
Wild boars had rooted up the ground and exposed the damp, clayey soil. Back then, I didn't think much of it, but now I see it in an entirely different light.
Hardly was the seminar over, I packed my things and set off. My heart was pounding with excitement as I approached the wallow.
Finally, I would be able to find my clay and work with it!
I rolled up my sleeves, dug my hands into the cool earth, and felt the velvety texture of the clay.
An indescribable feeling rushed through me. At that moment, I knew that this would be the beginning of a great adventure.
But soon I realized: Just digging up a bit of clay is not enough.
There was still a lot more work to be done before I could hold the material in my hands that I had dreamed of.
Today I know what matters. I know the best places where you can almost always find what you're looking for. With the right technique, you can get the clay clean and smooth like butter.
Do you want to know how it's done? Then come along on my personal clay expedition. I'll share with you my best tips and tricks.
Finding Clay and Clay - My Personal Insider Tips
As a passionate nature lover and potter, I am constantly on the lookout for the best places to find high-quality clay and clay.
I have learned where to look and which places are particularly promising. Today I will reveal my personal insider tips to you!
Wild boar wallows - A paradise for mud seekers
One of my favorite places is wild boar wallows. Wild boars have a knack for finding the best clay deposits. They dig up the ground and often expose pure, high-quality clay. I have unearthed many a potter's treasure at such a wallow!
Riverbanks and Streams - This is where the clay settles
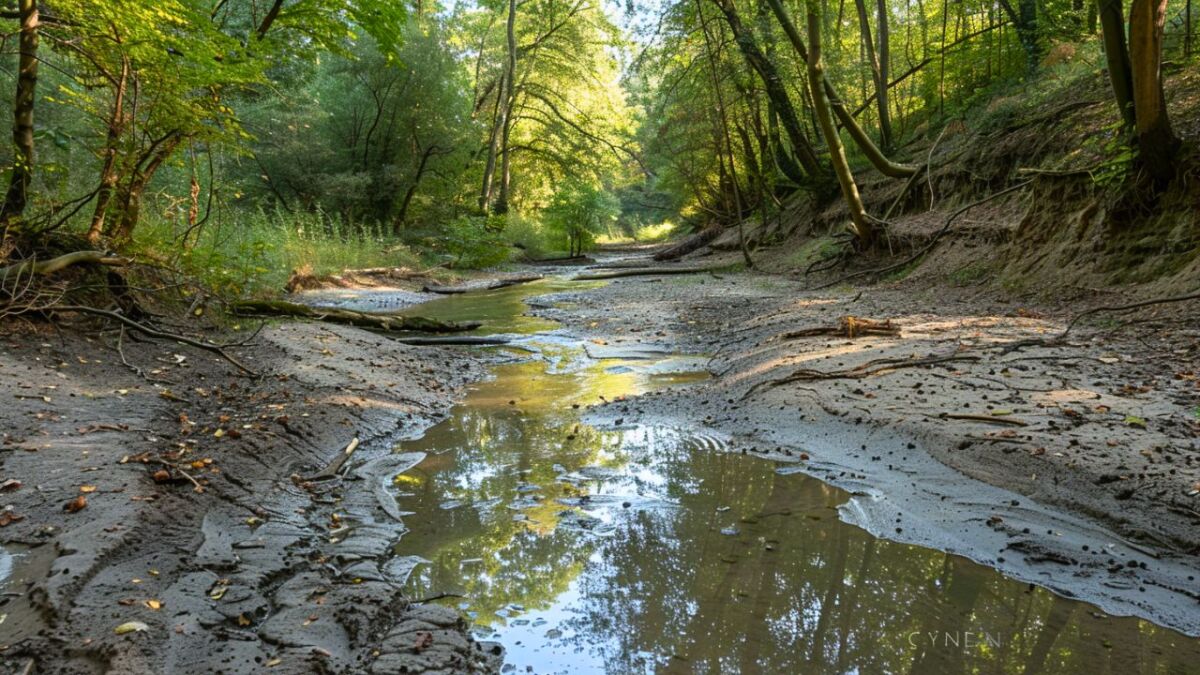
Along riverbanks and streams, I have typically found treasures. Especially when the water flows slowly or reservoirs have formed, it is worth taking a closer look. Over time, the finest clay particles accumulate here, which are perfect for pottery.
Ditches and Hollows - A Hotspot After the Rain
When I roam through nature, I always keep an eye out for ditches and hollows. Because here, water collects after rainfall, along with the finest clay. As soon as the spots have dried a bit, I dig out the clay. The quality is often excellent!
Earthworks and Construction Sites - Worth a Look
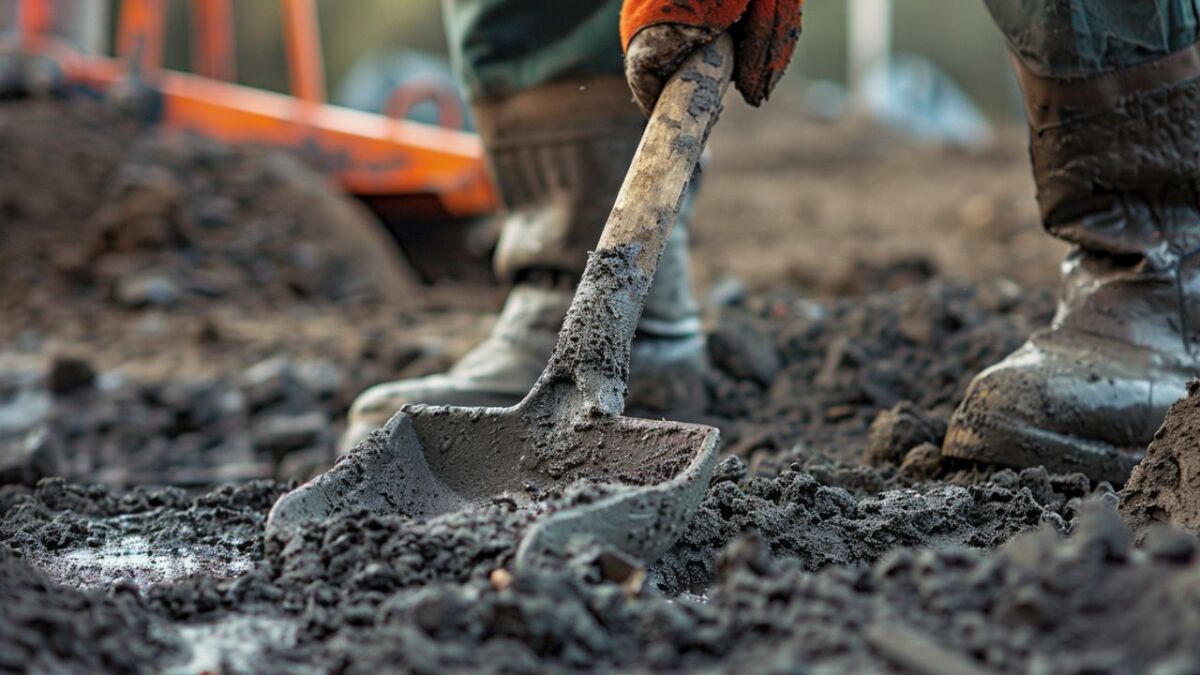
Whenever earth is moved near me, whether on construction sites or during other earthworks, it magically attracts me. Because here, muddy layers are often exposed that would otherwise be unreachable. With a bit of luck, you can find true clay treasures here.
Clay Pits and Quarries - Well-Known Locations
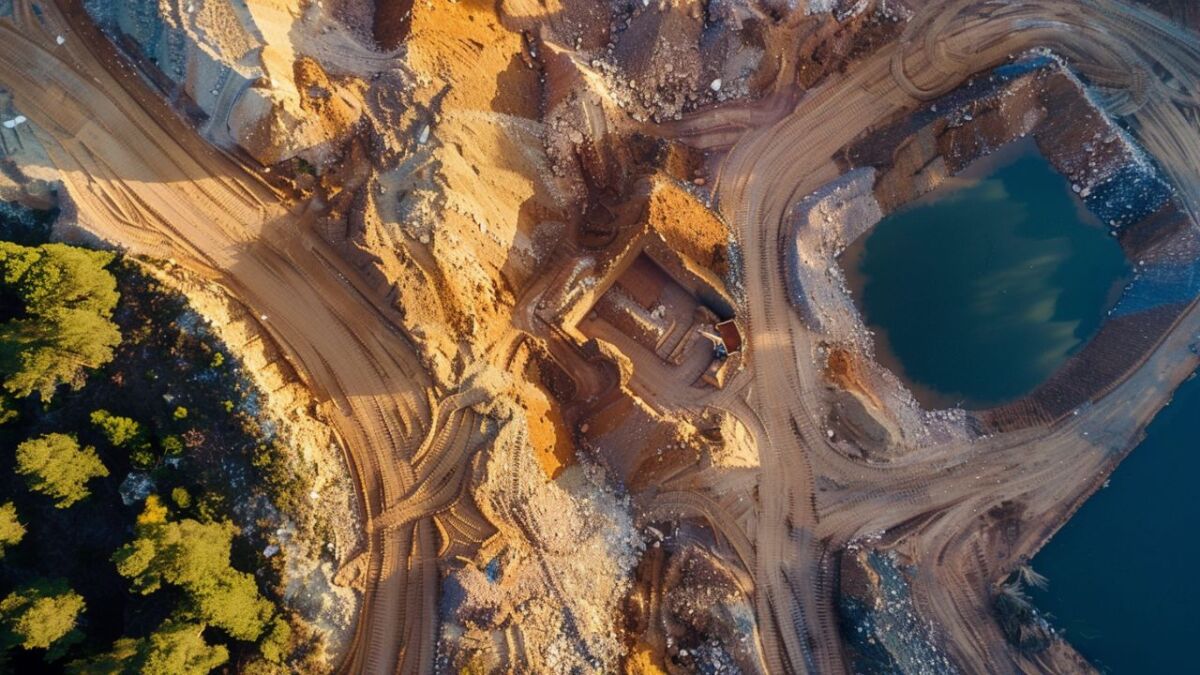
There are places that are legendary among us potters. Clay pits and quarries where high-quality clay is deliberately dug up. Sometimes a trip is worth it for you, or you may find an old, abandoned quarry nearby. The quality of the clay is often unbeatable.
In the Footsteps of Ancient Glaciers
The ancestors of our present-day glaciers have left pure clay in some areas. If you know where to look, you can find it here. In the Alps, I am drawn time and time again to glacial sites to dig for this very special glacier clay.
As you can see, there are many exciting places to find clay and mud in nature. With some adventurous spirit, patience, and a trained eye, you will also make discoveries. Dare to explore your surroundings - it's worth it!
From Clay to Pottery - How I Wash My Self-Dug Clay
When I'm out in the wilderness and discover a wild boar wallow with fresh clay, I immediately feel the urge.
Because I know, with some work, I can create wonderful clay for my pottery projects. Today I will reveal to you how I proceed.
Step 1: Collect clay and remove coarse impurities
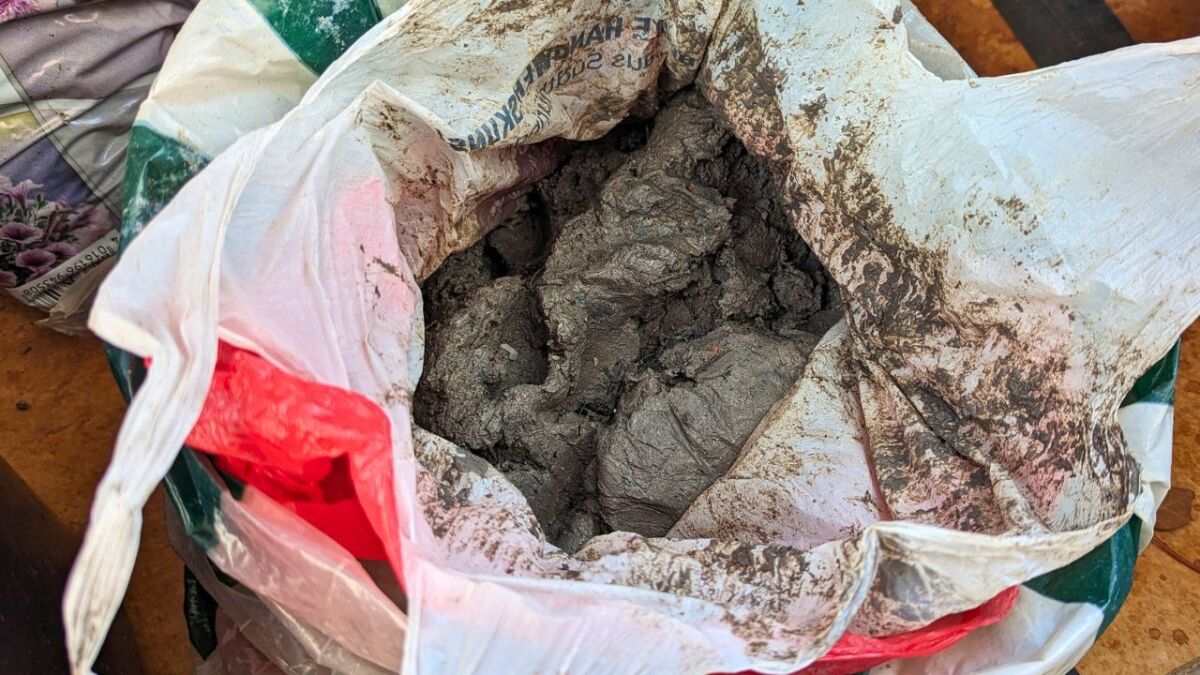
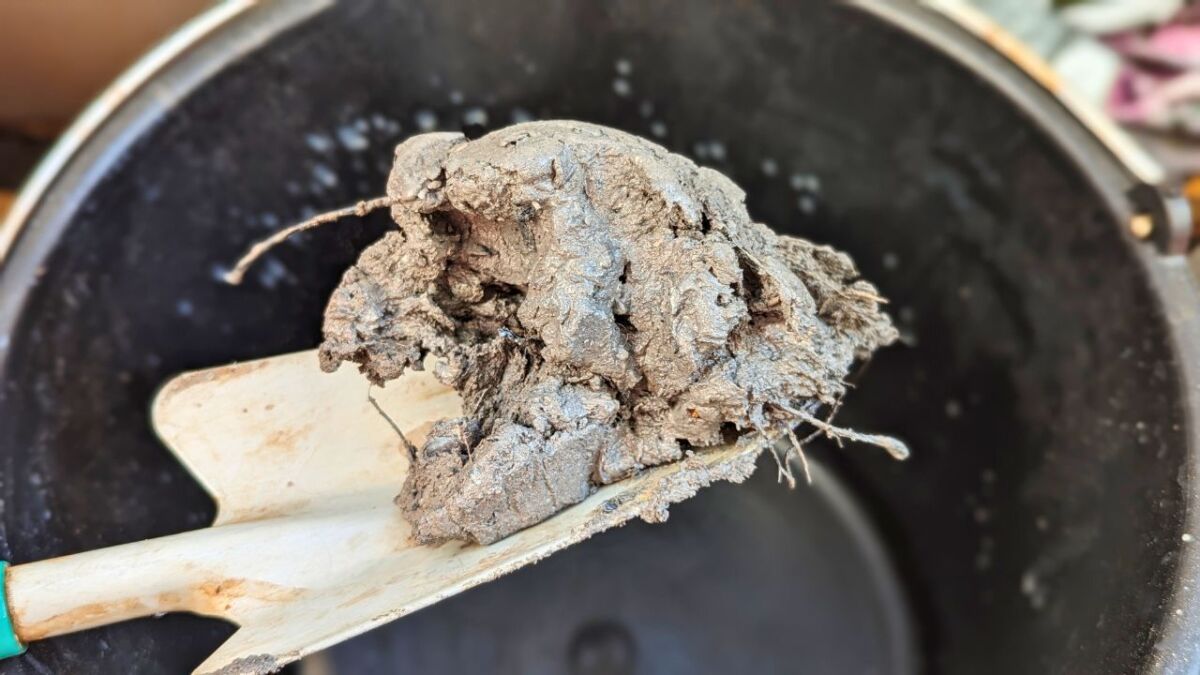
First, I dig out a sufficient amount of clayey soil from the wallow. The wild boars have already done some work by rooting up the earth. Nevertheless, I make sure to remove any larger stones, roots, or other impurities.
Step 2: Soaking clay and loosening clay
Back at home, I fill the clay into a large bucket or tub and add plenty of water. The more water, the better, as the clay needs to distribute properly in the water.
Then it's time to stir, stir, stir! I vigorously stir the mixture to separate the clay from the rest of the material. Then I pour everything through a coarse sieve to remove branches, large stones, and wood.
Afterward, it's time to wait - I let everything sit for a few hours, so the clay can settle in the water.
Step 3: Skim off the foam and let it settle
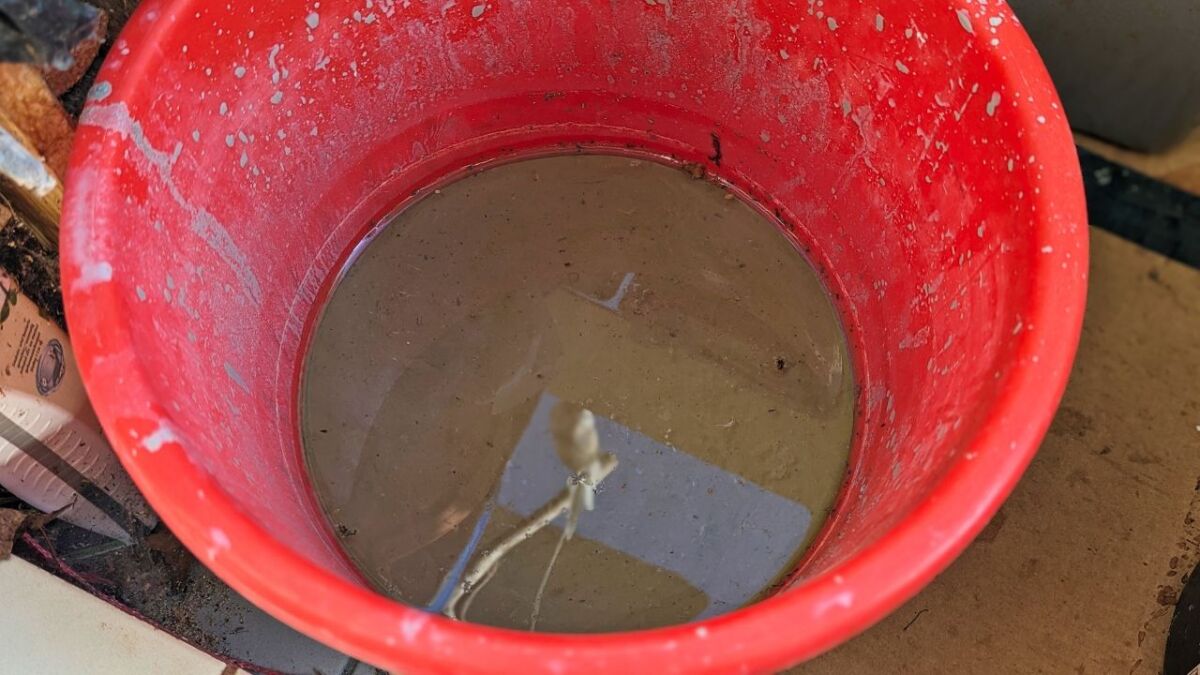
Now comes the exciting part: Carefully skim off the cloudy, sediment-laden water and transfer it to a second container. You can remove any visible clear water on top right away.
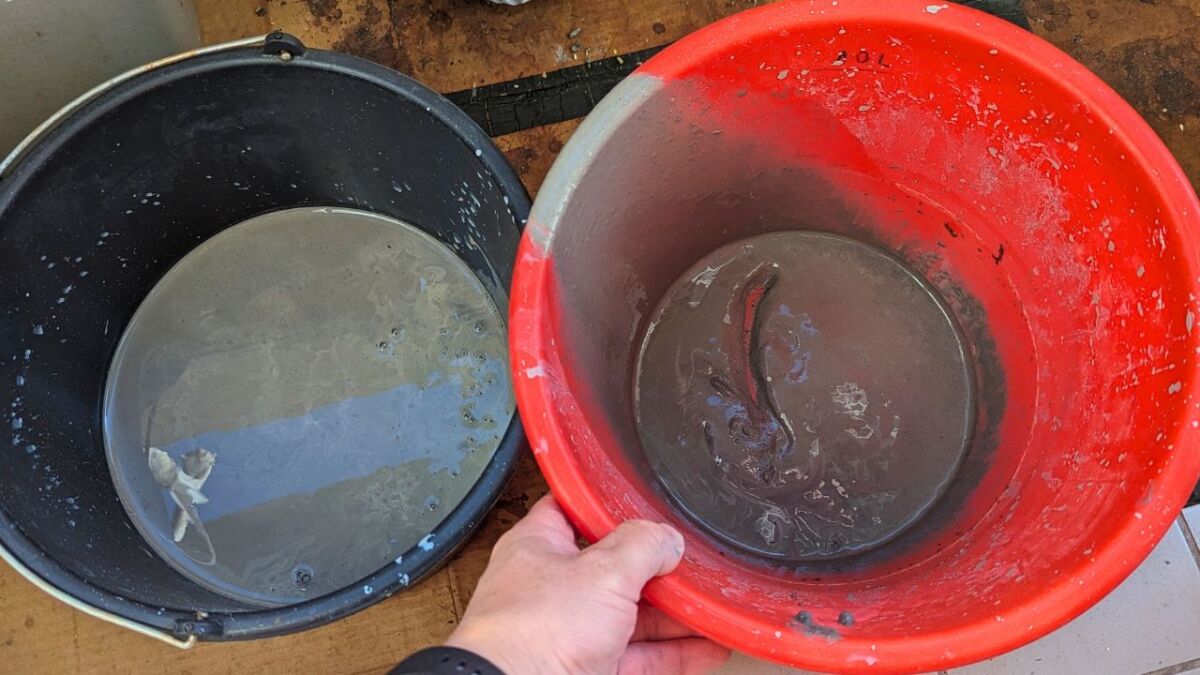
What's happening here? The mixture is separating. Sand and stones settle at the bottom of the bucket. In the middle, the clay mixture, and on top, the pure water.
Here is a graphic so you can see what I mean:
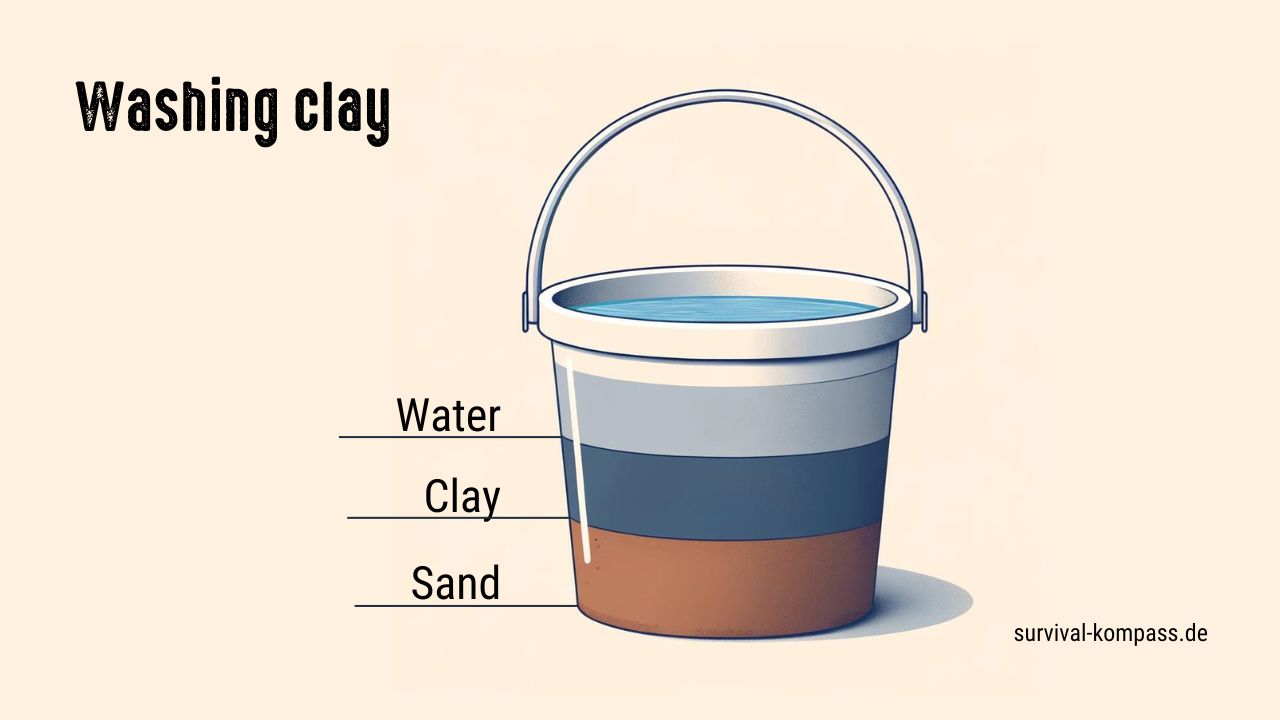
This requires some finesse, as the sand and gravel should ideally stay at the bottom of the container. I now let the skimmed clay rest again for a few hours or even overnight, so that it can settle more at the bottom.
Step 4: Pour off the water, dry and prepare the clay
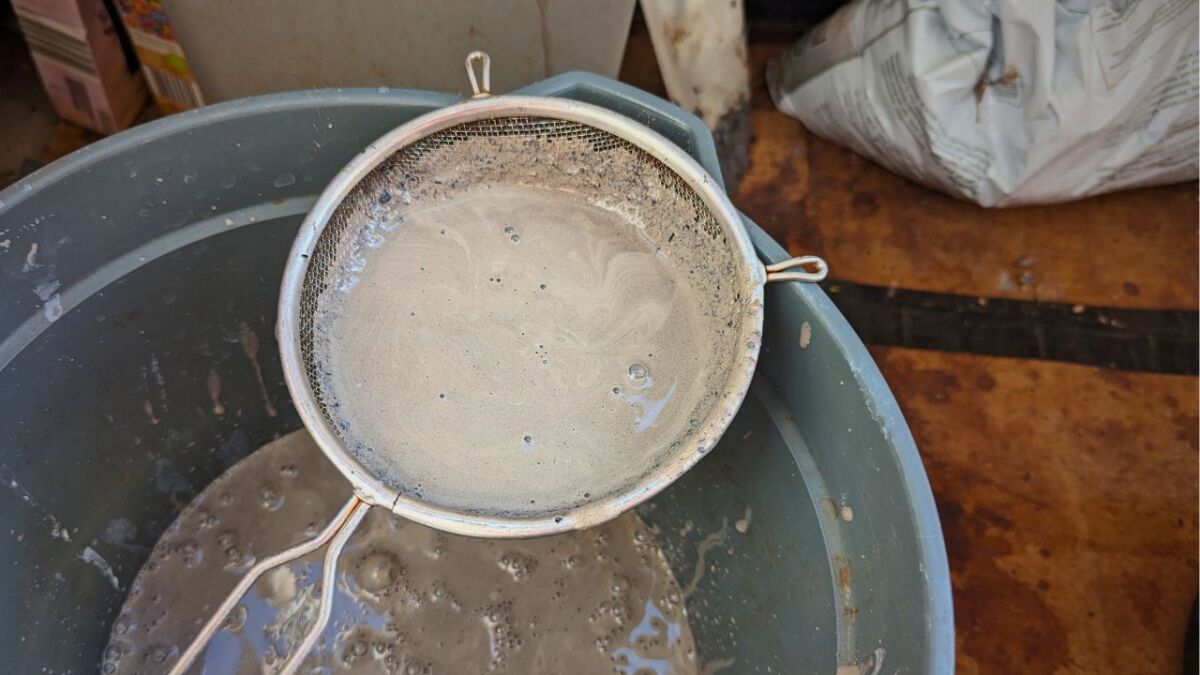
When the clay has settled, I carefully pour off any excess water. I then pour the liquid clay through a fine sieve so that there is as little dirt in the clay as possible.
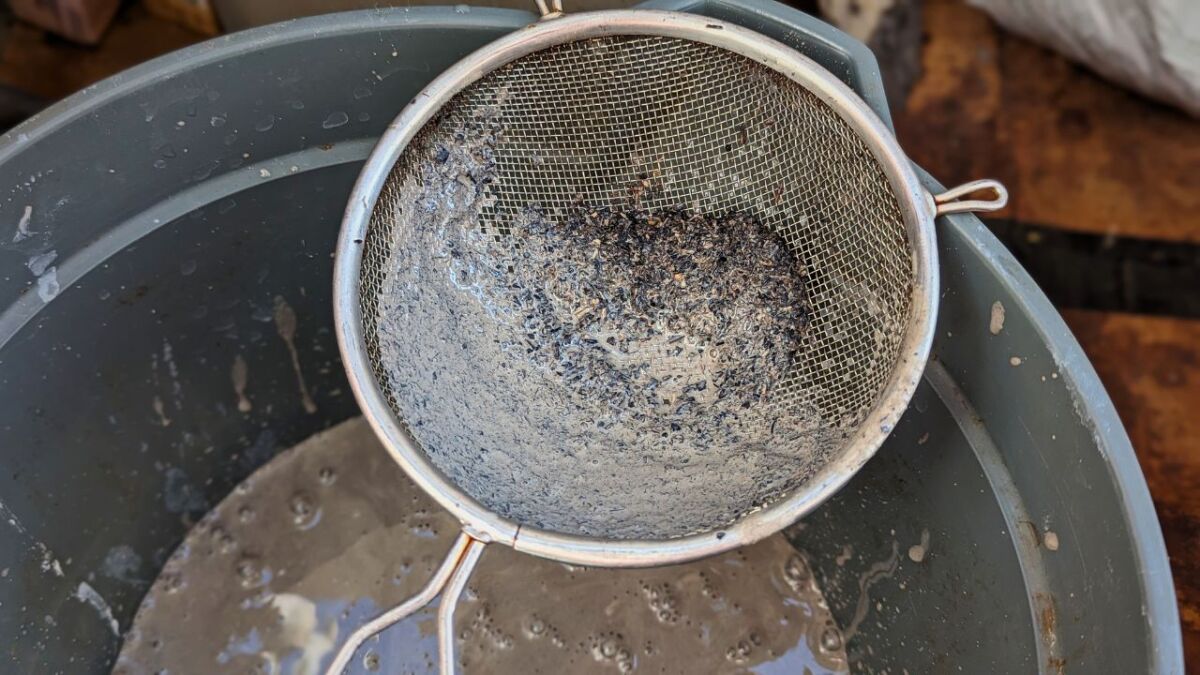
Then I put the mixture in a tub and let the sun evaporate the water.
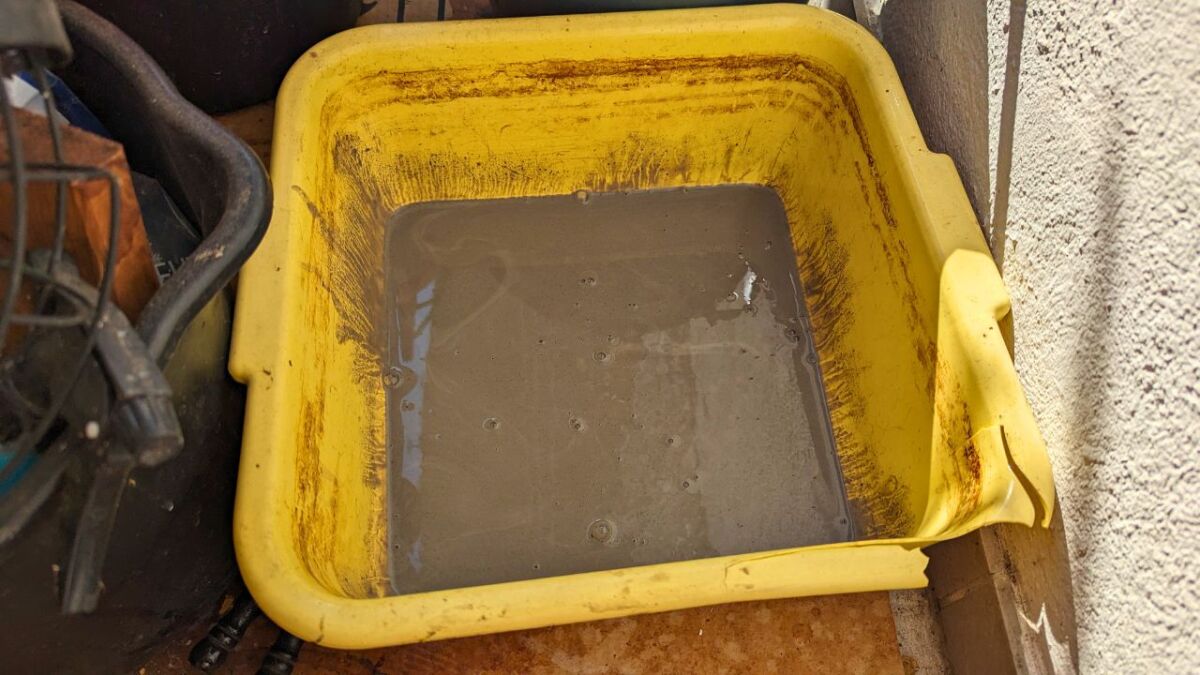
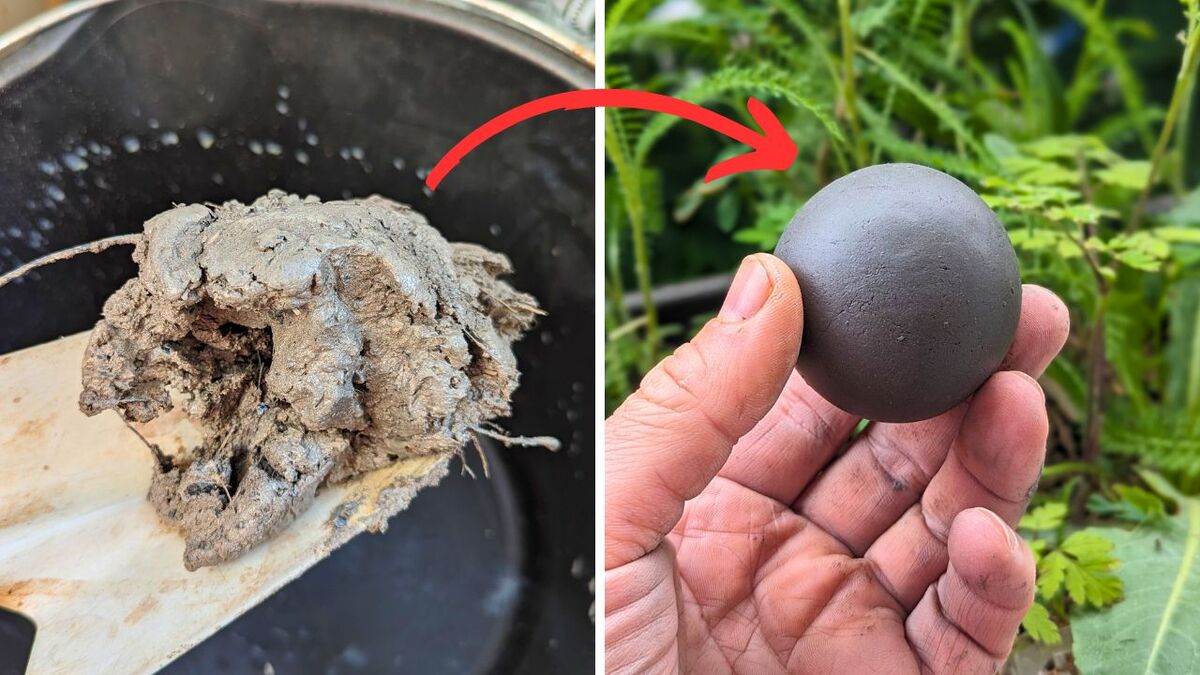
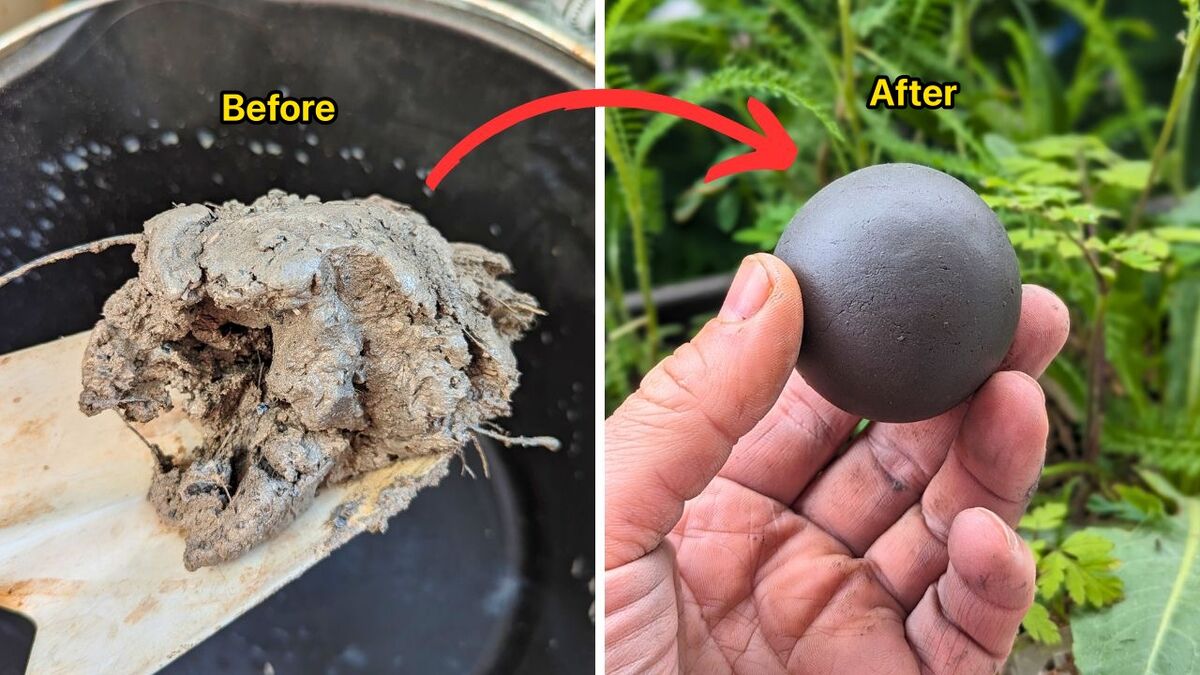
As soon as I have enough, I knead it vigorously. This gives me a nice, even consistency.
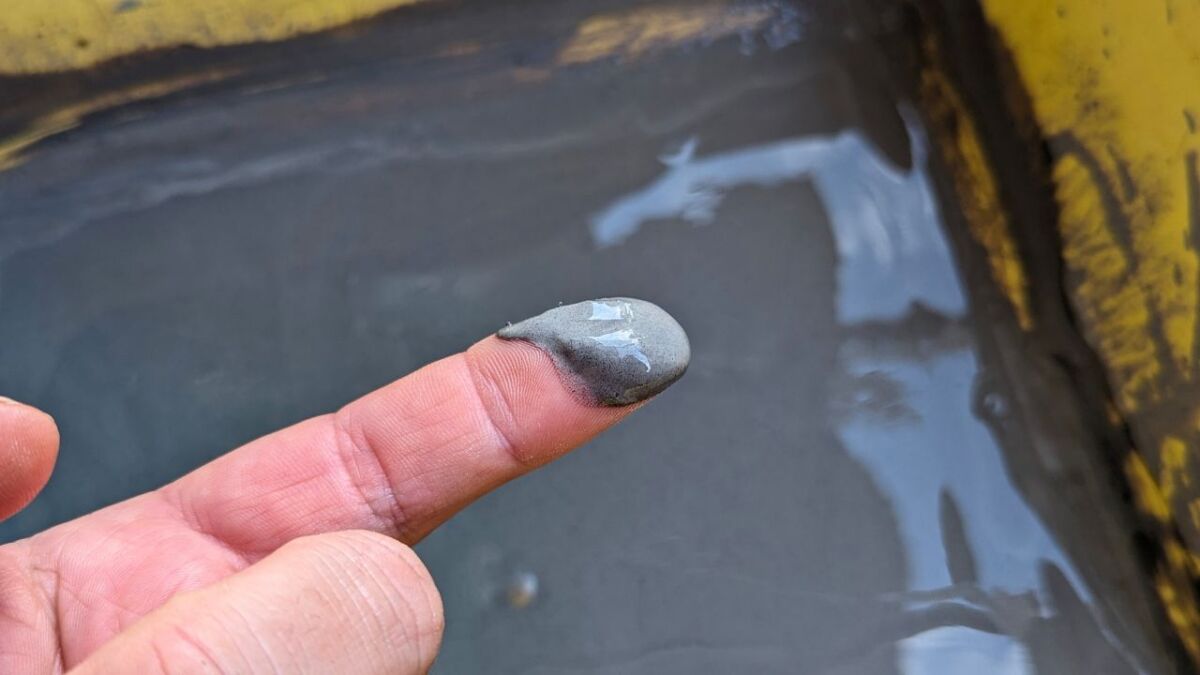
I then let the clay dry further, as shown in the picture. In this state, it is still too wet and needs a few more hours.
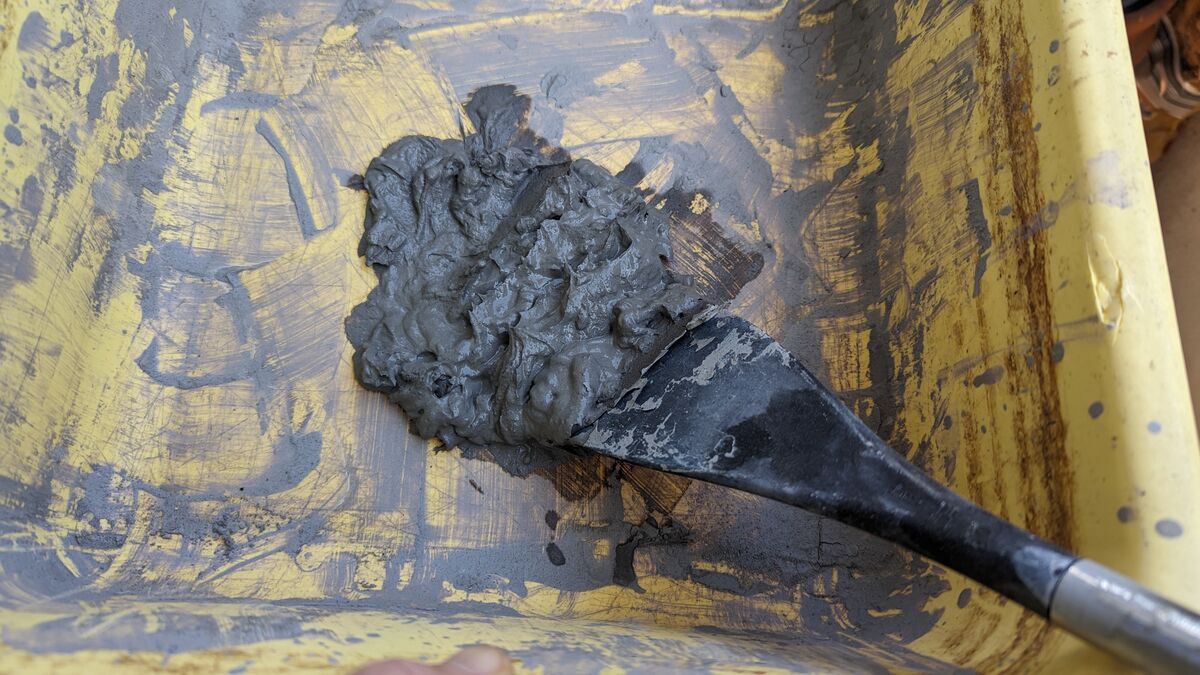
At the end I have the finished clay.
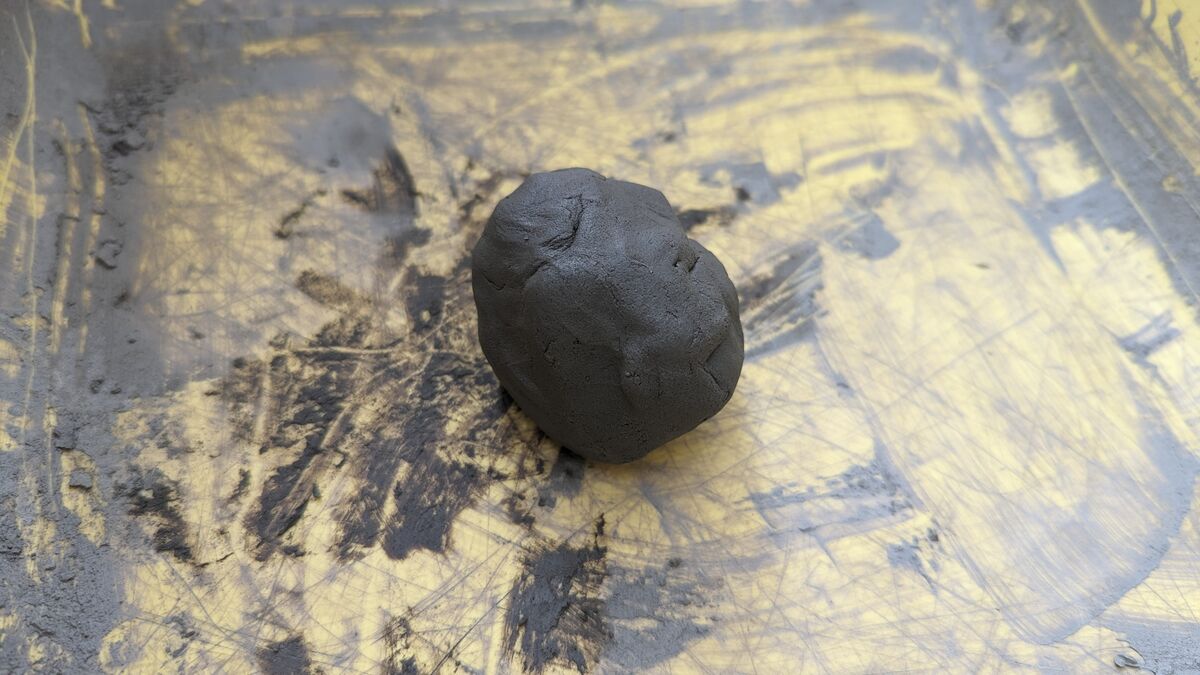
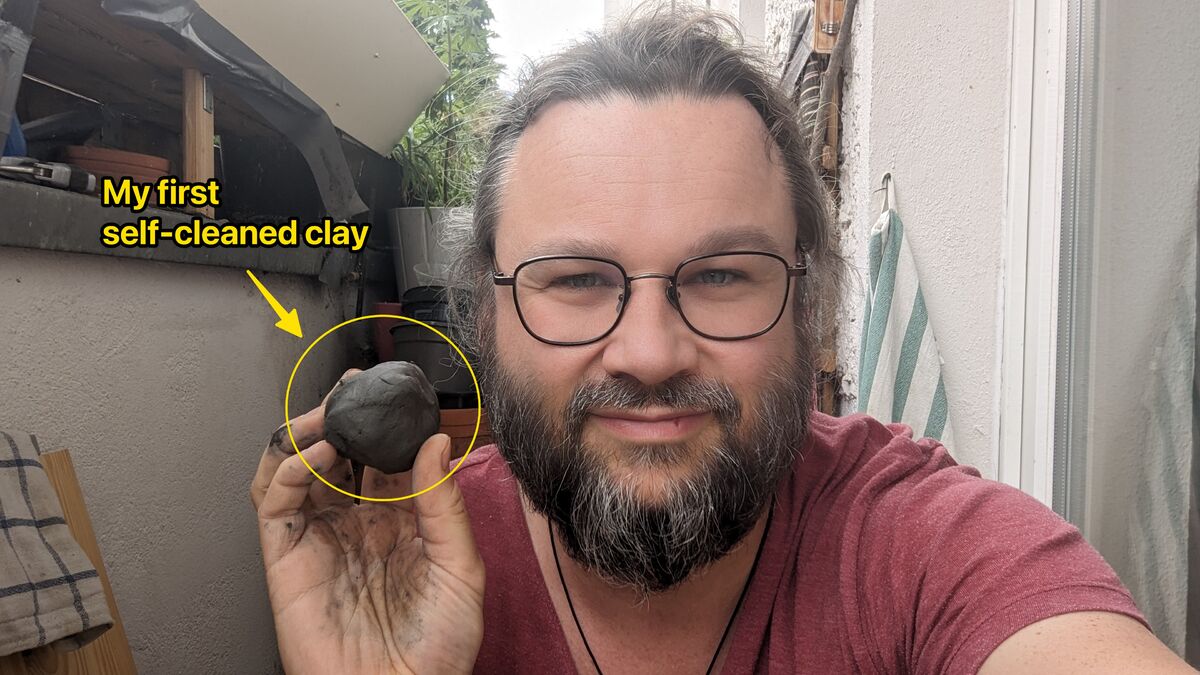
Step 5: Use or Store clay
Now I have my self-won purified clay - ready for my pottery projects! If I don't use it immediately, I store it in airtight containers to keep it pleasant and smooth.
Depending on how pure the clay was from the source and how high-quality the clay is supposed to be, I may repeat the steps several times. But believe me - the effort is worth it!
When you hold your self-dug, washed clay in your hands, you will feel the difference.
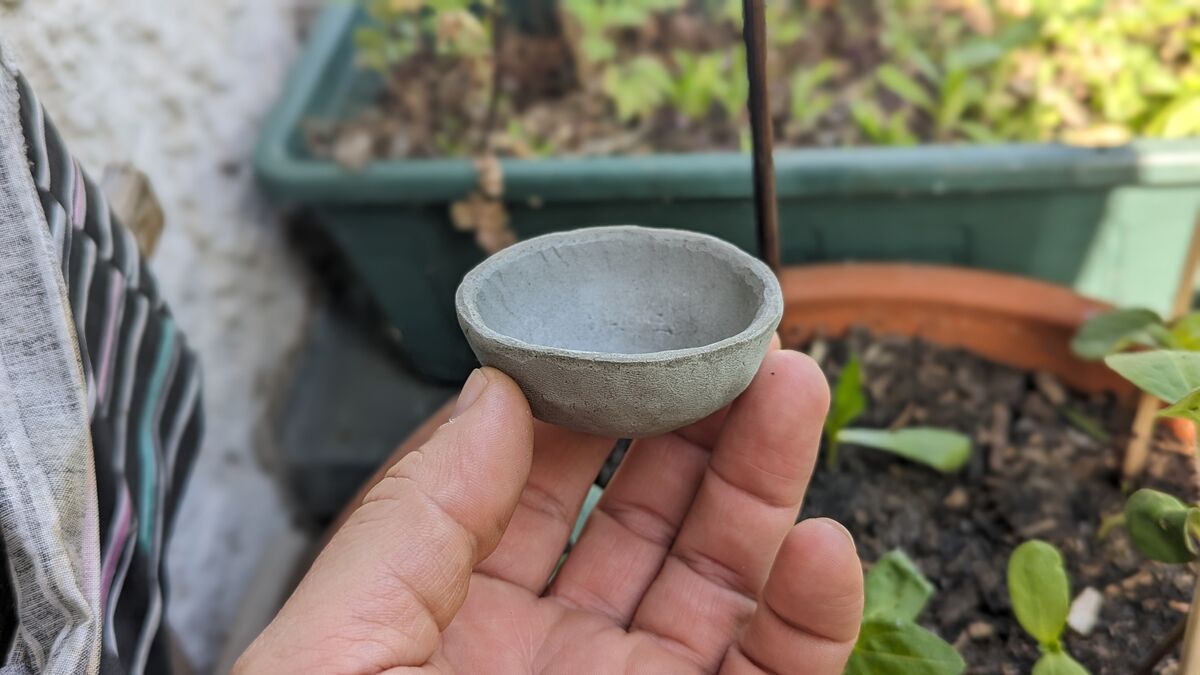
Recognizing Good Clay - My Proven Methods and Tests
When I search for clay in nature, I now rely on my experience and a few simple yet effective tests.
I want to make sure that I bring home high-quality material. Today, I am sharing my insights with you so that you can also recognize good clay - both before and after washing.
Before Washing - First Quality Checks in the Field
-
Consistency Check: I take some moist clay in my hand and feel if it is smooth and pliable. Good clay can be shaped without crumbling or tearing.
-
Color: This varies depending on the location where it was found, but a uniform, rich color usually indicates sufficient quality. Mottled or very pale colors make me cautious – they could contain impurities or too much sand.
-
Lump Test: For the lump test, I form a moist clay ball. If it holds together well, I am already satisfied. If it falls apart easily, there may be too much sand in it.
-
Smell Test: When sniffing, I pay attention to a mild, earthy scent. If the clay smells musty or sharp, I prefer to stay away from it.
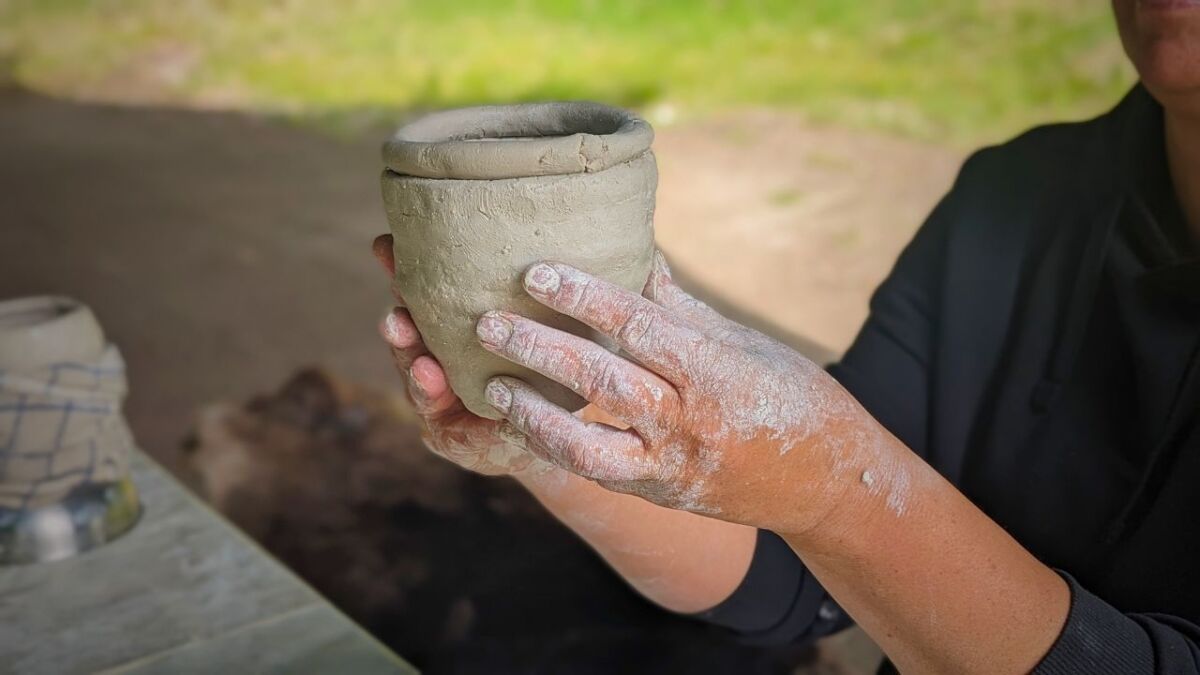
After Washing - Examining the Clay Thoroughly
-
Bagel Test: I shape a small ring out of the clay and bend it gently. Good clay is flexible and shows no cracks. If it quickly tears, the texture is likely too coarse or it is not plastic enough.
-
Shrinkage: While drying, I observe how much the clay shrinks. Good clay largely retains its shape, while inferior clay often shrinks significantly.
-
Smoothness: Once the clay is dry, I feel the surface. It should be nice and smooth, without too coarse sandy grain.
-
Strength: I then firmly hold the dried piece in my hand – good clay is hard and robust. If it crumbles or breaks very easily, it does not meet my requirements.
-
Water Test: Lastly, there is the water test: I briefly dip the dry clay in water. It should retain its shape and not immediately fall apart – a sign that it can absorb moisture without dissolving.
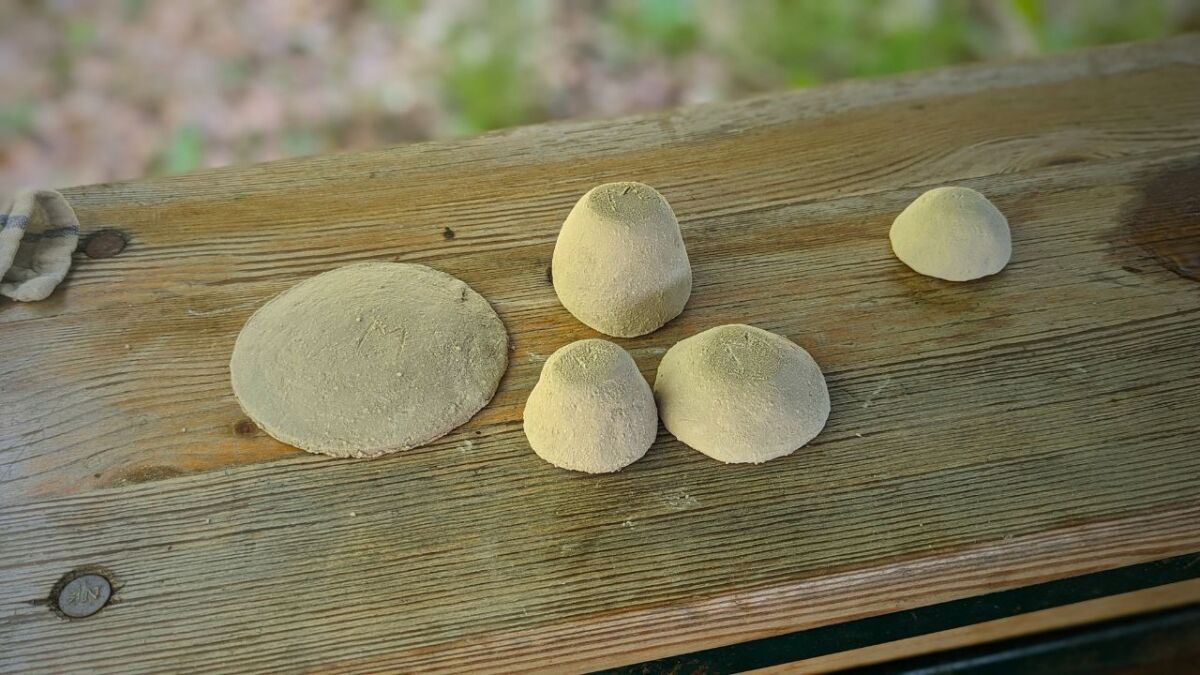
With these tests, I have always done well so far. They help me to separate the wheat from the chaff in the field and later in the studio to make sure that I am really holding high-quality material in my hands.
Try it out for yourself - with some practice, you will quickly develop a feel for good clay!
Mistakes I Made While Washing Clay - and How You Can Avoid Them
When I started washing my clay, I was full of enthusiasm. Finally, self-harvested clay for my projects!
However, I quickly realized that the path to the perfect clay has some pitfalls. Today, I can laugh about my initial blunders, but back then I was often frustrated. So that you don't have to make the same mistakes, I share my experiences with you.
Error 1: Not enough water
When I first washed clay, I couldn't get up from carrying water. "Less is more," I thought. Wrong! I learned: Clay needs a lot of water to separate well. Only then can the fine clay particles settle. So, it's better to use enough water rather than too little.
Error 2: Impatience
Patience is really not my strength. However, I had to learn it when washing clay. Clay needs time to settle. Those who skim off the water too quickly risk sandy, impure clay. My tip: Take your time, even if it's itching. The result will reward you.
Error 3: Gross negligence
Stones, twigs, leaves - clay likes all of that. However, I would rather not find it in my clay. Today I know: The coarse sieve is my friend. With it, I fish out all the big troublemakers before washing. An annoying but rewarding task.

Error 4: Dirty Water
Clean water is essential when washing clay. I had to learn this the hard way when my painstakingly washed clay turned muddy and gray due to dirty water. So always use clear, clean water, otherwise all the work was in vain.
Error 5: Sloppy Skimming
At the end of the washing process, I was usually so impatient that I poured off the excess water quite roughly. In doing so, I stirred up the clay and sand that had settled painstakingly. Today, I take the time to carefully scoop off the water. It makes a huge difference!
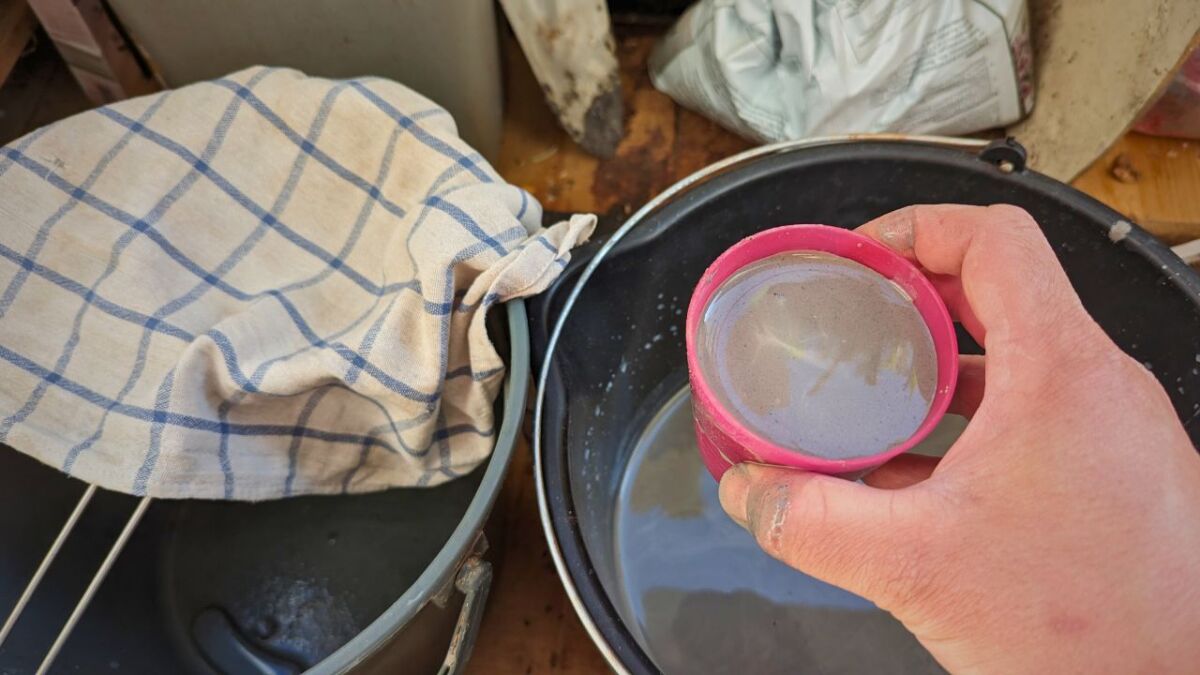
Error 6: Clumpy Texture
Once I didn't feel like properly mixing the clay with water. The result was lumps of clay that just wouldn't settle. So, vigorous stirring is required! Only well-mixed clay becomes truly fine pottery clay. (I use an old whisk for this)
Error 7: Forgot Water Check
Clay is moody and sensitive to water quality. Once I washed my clay with very hard water - the consistency was very disappointing afterward. Since then, I always check the pH level. Neutral water is the key to good clay!
Error 8: Sunburn for the clay
In my eagerness, I placed the freshly washed clay out in the blazing sun to dry. What a disaster! It turned out cracked and crumbly. Now I know: Clay prefers a shady and airy spot to dry. Too much heat will literally make it burst.
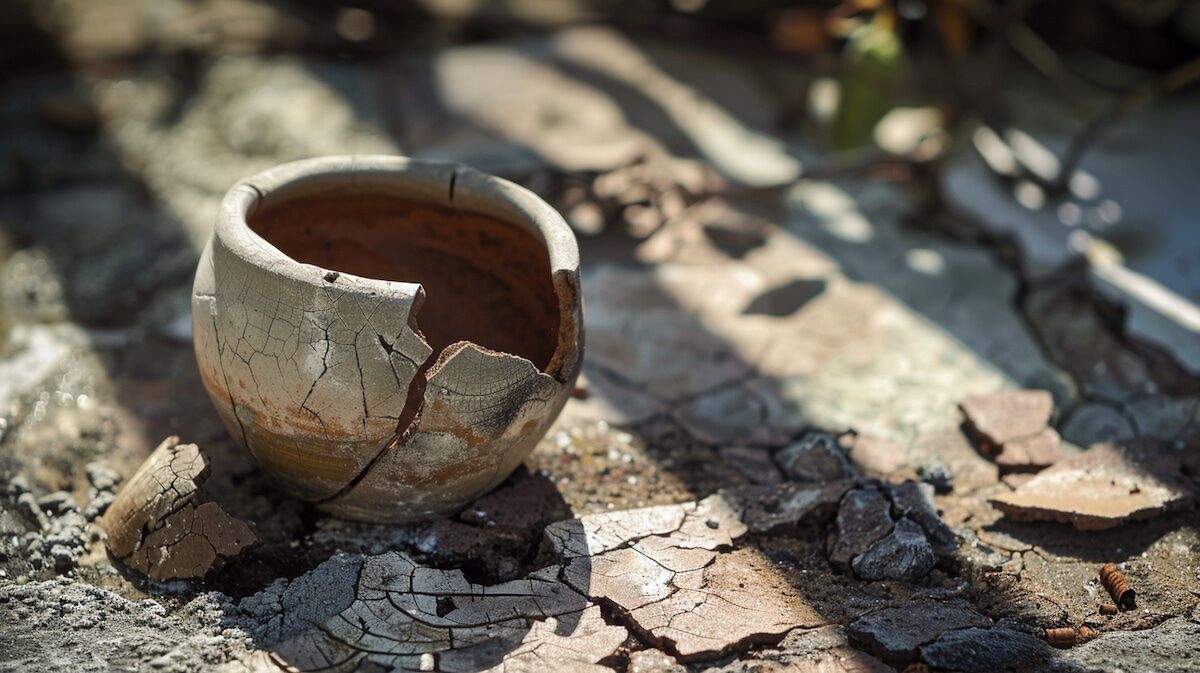
Damage makes you wise, they say. This definitely applies to washing clay. Everyone makes mistakes, but if you take my experiences to heart, you will be one step closer to the perfect homemade clay!
My Equipment for the Clay Expedition
When I set out to collect and process clay, I pack my backpack with carefully selected tools and materials. Because I know: The right equipment is essential for successful clay washing.
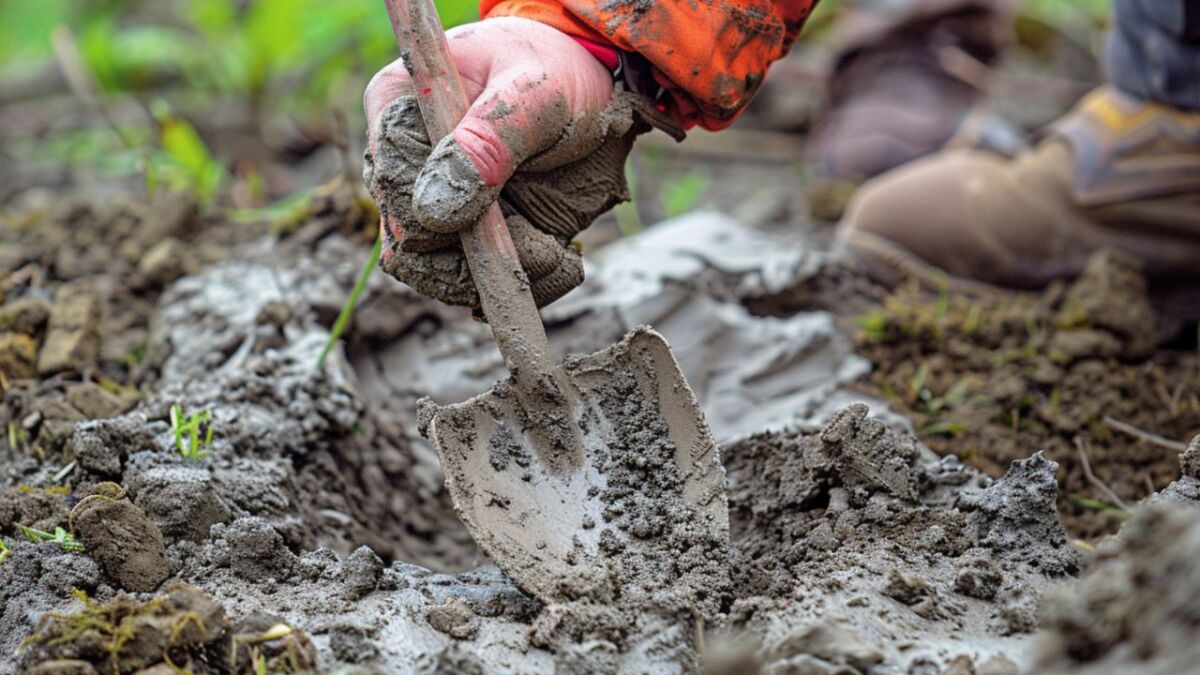
My most loyal companion: The shovel
A sturdy shovel is my most loyal companion on every clay expedition. With it, I dig out the clay, whether in wild boar wallows or on riverbanks. It is, so to speak, my extended arm, without which I would be lost.
Bucket, my washing drum
Buckets are my washing machine for the clay. In them, I mix and stir the clay with plenty of water until the fine clay particles separate from the coarse material. The larger the buckets, the better - because clay needs water to clean.
Sieves, the Dirt Catchers
Different sieves are my secret weapon against stones, roots, and other coarse dirt in the clay. Before washing, I always sieve the clay, which saves a lot of work later on. I always have several sieves with different mesh sizes with me.
Water, my liquid gold
Without water, mud washing is impossible. That's why I always plan my expeditions to be near a water source. Be it a stream, a lake, or a well - I require plenty of that cool liquid.
Stirring Rod, My Extended Arm
To thoroughly mix the clay with the water, it takes strength and a long arm. That's where my stirring stick comes in. It can be a long, sturdy stick or a special stirring tool, like a whisk. The main thing is that it allows the clay to be properly swirled around.
Gloves, my second skin
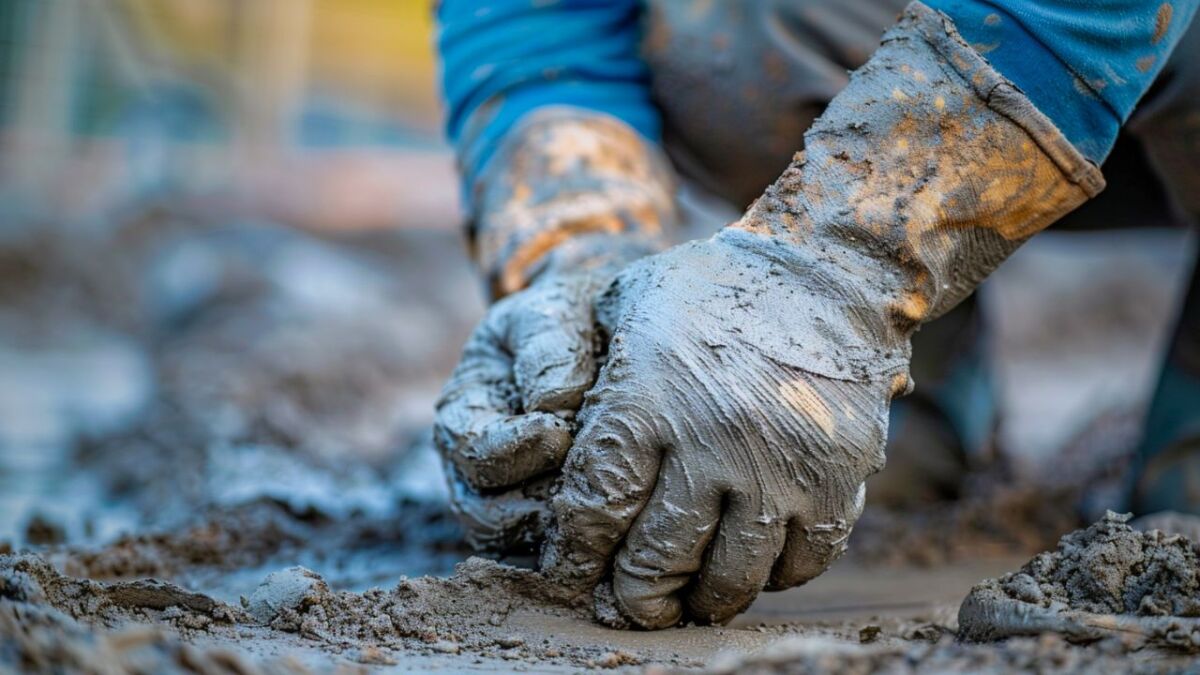
Mud washing is a muddy affair. To protect my hands, I sometimes wear sturdy rubber or work gloves. They protect me from sharp stones and roots and save me from scrubbing after work.
Second Bucket, My Clay Bath
Once the clay has been thoroughly stirred, you will need a second bucket or a large tub. Here I carefully scoop the cloudy water with the fine clay particles. In this "clay bath," the pure clay can then separate from the remaining dirt.
Tights, my secret tip
A secret tip for particularly fine clay is an old pair of fine stockings or a cloth diaper. When I filter the clay water through the stockings, even the smallest dirt particles get caught. The result is wonderfully fine, pure clay.
Drying Trays, My Sun Terraces
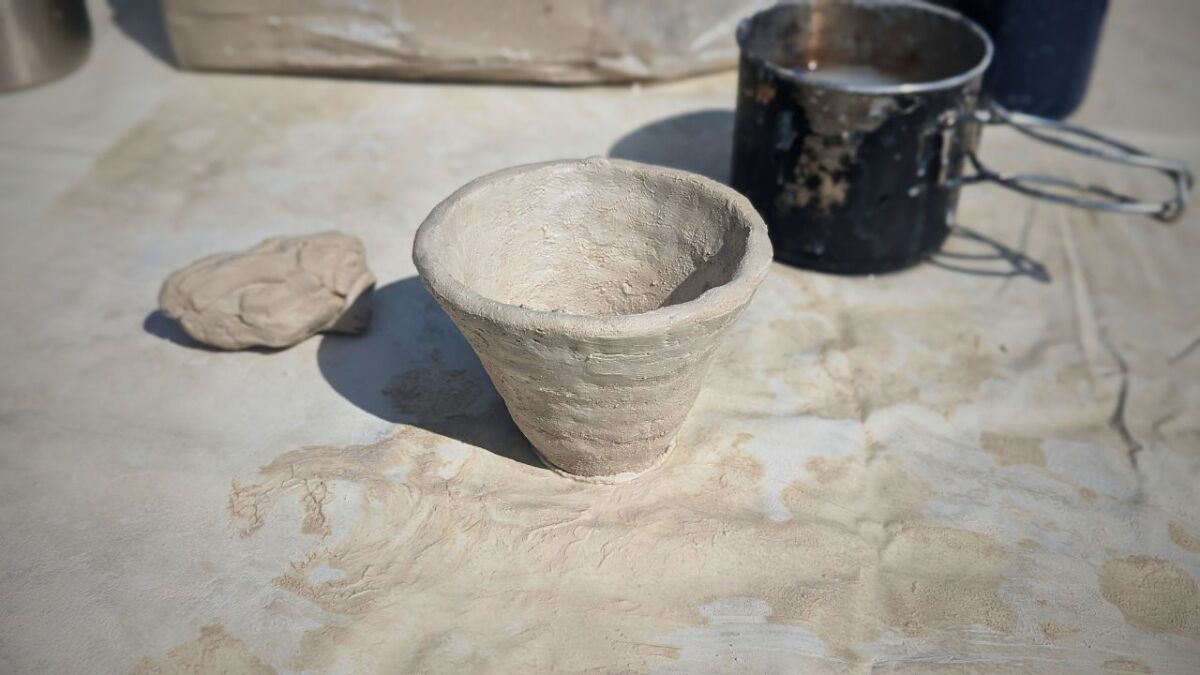
Once the clay is washed, it needs a place to dry. For this, I always pack flat trays or special drying trays. On these "sunning terraces," the clay can dry peacefully in the air without getting contaminated.
Cloths and Film, the Moisture Manager
Too much sun is not good for freshly washed clay. That's why I always have plastic wrap and damp cloths with me to cover the drying clay in case it gets too hot. This way it dries slowly and evenly, without getting cracks.
With this equipment in my backpack, I am prepared for any clay expedition. It took me a while to put together my perfect packing list, but now I am ready for any clay battle. And believe me, there is nothing more satisfying than coming home with the self-washed clay and creating something out of it!
What is the difference between Loam and Clay?
Loam and clay - for me as a potter and nature lover, these are two terms that are inseparably linked.
However, even though they are often mentioned in the same breath, there are some important differences that I have come to understand.
Here are the differences:
| Property | Loam | Clay |
|---|---|---|
| Composition | Mixture of clay, silt, sand, and sometimes organic matter | Fines particles in the mixture (smaller than 0.002 mm) |
| Plasticity | Variable, depending on composition | Very plastic and moldable when moist |
| Usage | Commonly used as a building material (e.g., clay bricks, clay plaster) | Mainly in ceramic and pottery production |
| Occurrence | Widely distributed sediment, often near the surface | Rare, mostly in deeper soil layers |
| Water Absorption | Lower than pure clay, depending on composition | High, swells when wet |
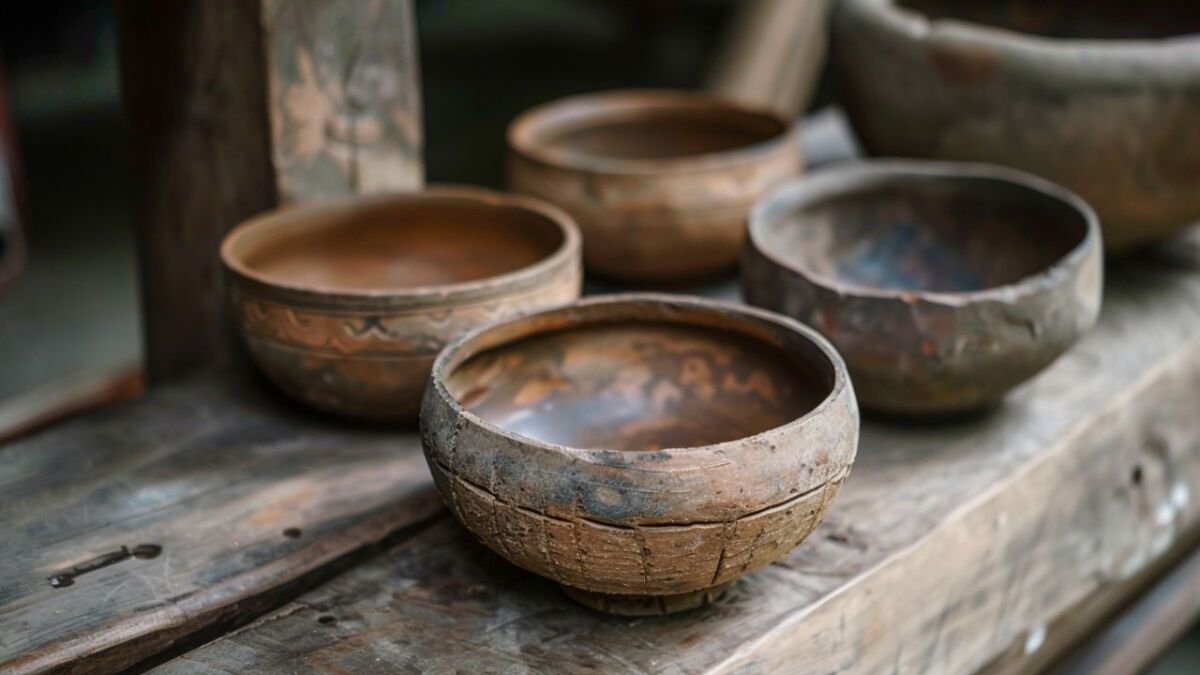
Following the Call of Clay - How Pottery Changed My Life
My journey into the world of clay has taught me that with curiosity, patience, and a bit of adventurous spirit, one can find the most incredible treasures.
From a simple question in the pottery seminar, a passion emerged that has deeply connected me with nature.
Excavating, processing, and shaping clay is not just a craft for me, but a form of meditation.
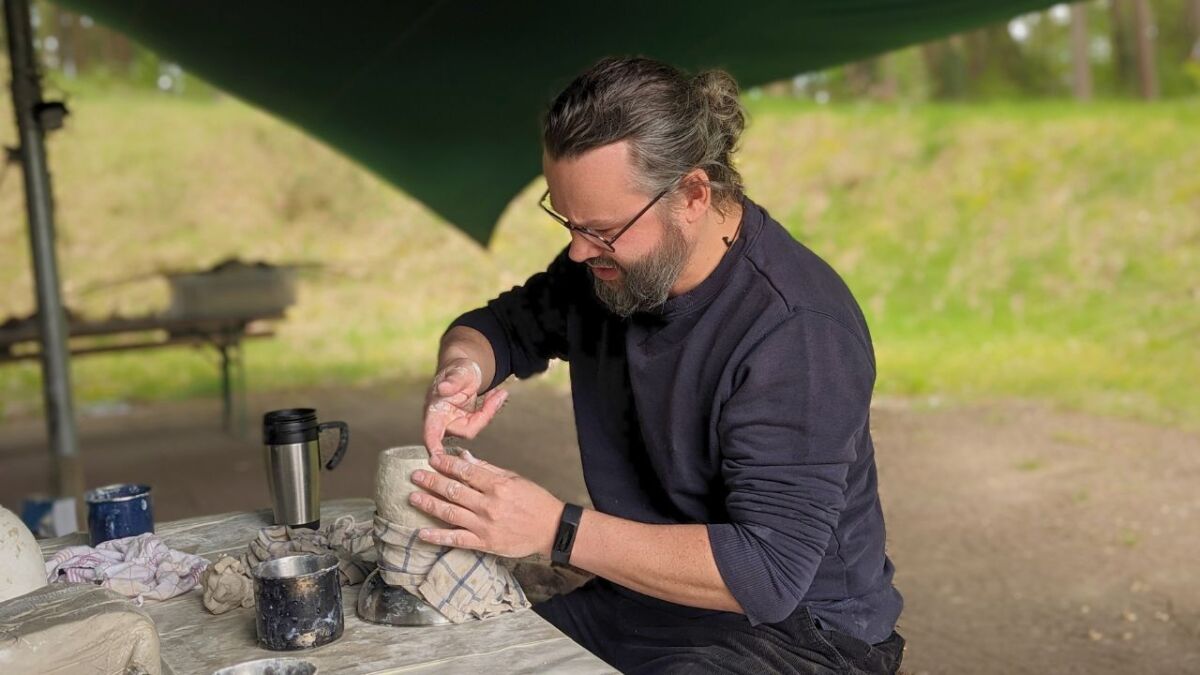
When I dip my hands into the wet clay, I feel grounded and agreeing with the earth.
Each self-made piece carries the traces of this intimate connection.
I want to share this magic with other people as well. Because I believe that there is a nature lover and a potter in each of us. You just have to have the courage to embark on the adventure.
So what are you waiting for? Grab a shovel, head out into the wilderness, and follow the call of the mud.
I promise you, it will change you - just as it has changed me. Because there is nothing more beautiful than shaping a piece of nature with your hands and breathing new life into it.
In this spirit - on to new clay adventures!


Author of the guide
Martin Gebhardt
Hey, I'm Martin. On my blog, you will learn the basics and numerous details about living in the wild. I think survival, bushcraft and the good life in nature are the keys to happiness. Find me here on Instagram or on YouTube. You can find more about my mission on the About Me page.
Was this guide helpful?
47 people found this guide helpful.
5.00 out of 5 points (47 Ratings)
Comments (0)
This post may contain affiliate links. So if you click on the links and make a purchase, I will receive a small commission at no additional cost to you. Click here, to learn more about it.


