The trail ends in nothing? Why the Tracking Stick is your most important tool to stick with it
👉 The key facts from this guide
- The Tracking Stick is a super simple, ingenious piece of wood that helps you not to lose animal tracks in the forest and to "save" the rhythm of an animal.
- Your personal stick is quickly built: Grab a straight branch (hip- to chest-high) and two movable rubber bands or similar as markers.
- With it, you measure the stride length of a found track (heel to heel) and mark this distance with the rubber bands – this way you have captured the individual gait of the animal.
- If you lose the trail, place one end of your stick at the last track, pivot it like a clock hand and search for the next footprint within the marked distance.
- Important tips for you: Always hold the stick slightly above the ground, make it visible with colorful markers and use small anchor points (twigs/stones) with each track.
- Should the track disappear completely, don't panic! Mark the last spot and start "circling" (Casting): Expand your search in increasingly larger circles and think about how the animal might have moved.
You might know that.
You are outside, the forest floor is soft, the air is clear. You discover a track – perfect, distinct, a small wonder in the foliage. You rejoice, walk a few steps further, and then... nothing.
The trail seems to have vanished into thin air. A feeling of helplessness spreads. Where has the animal disappeared to? Did I miss something?
Precisely at this moment, when your eyes reach their limits, an old, ingeniously simple tool comes into play.
A tool that does not see for you, but gives direction to your gaze. A piece of wood that becomes your extended memory.
The Tracking Stick.
What exactly is a tracking stick?
Don't imagine it as a complicated device. A tracking stick is the simplest thing in the world:
Your extended index finger and your wooden memory aid.
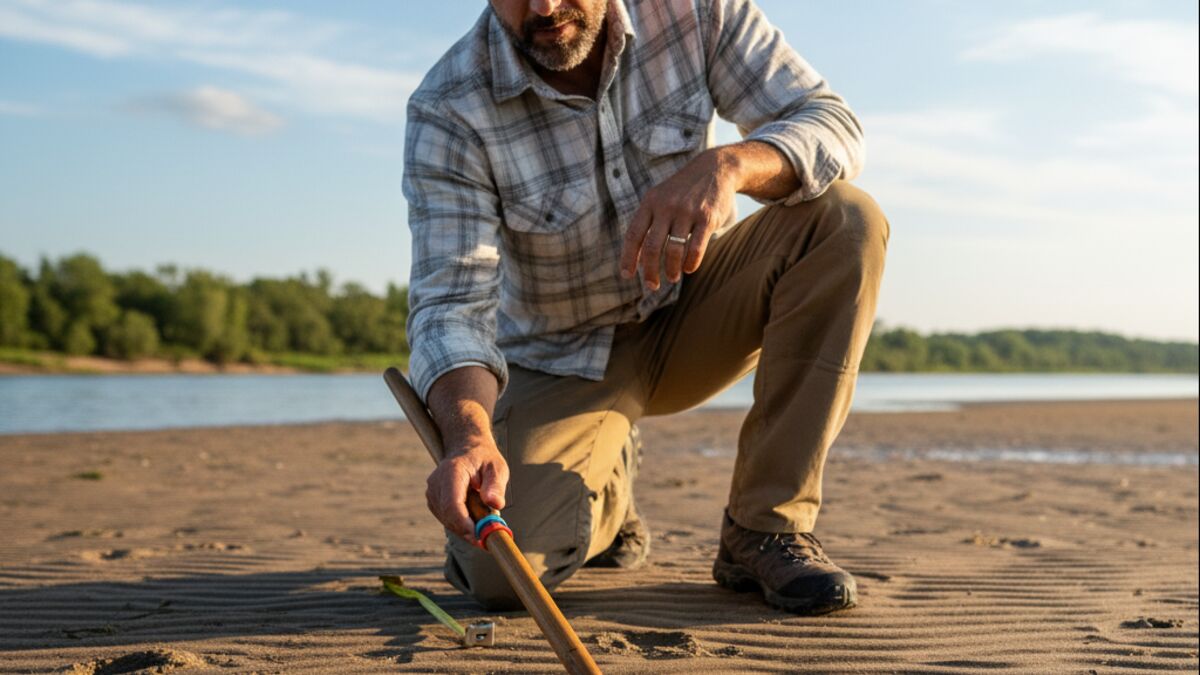
It's a measuring stick that helps you keep track of a path once found.
It helps you to "store" an animal's rhythm and stride length to reliably discover the next, often barely visible, track.
P.S.: If you are keen to learn more about the basics, have a look at my guide on Tracking for Beginners.
How to build your own Tracking Stick
You don't need anything special for this. You'll probably find everything you require on your next walk in the woods.
- The Stick: Find a branch that is as straight and sturdy as possible. It should reach approximately to your hip or chest, so you can hold it comfortably. Hazelnut is often wonderfully suitable. More about suitable types of wood you can find here.
- The Markers: You need two things that you can move along the stick. These can be simple rubber bands, colorful hair ties, or O-rings from the hardware store.
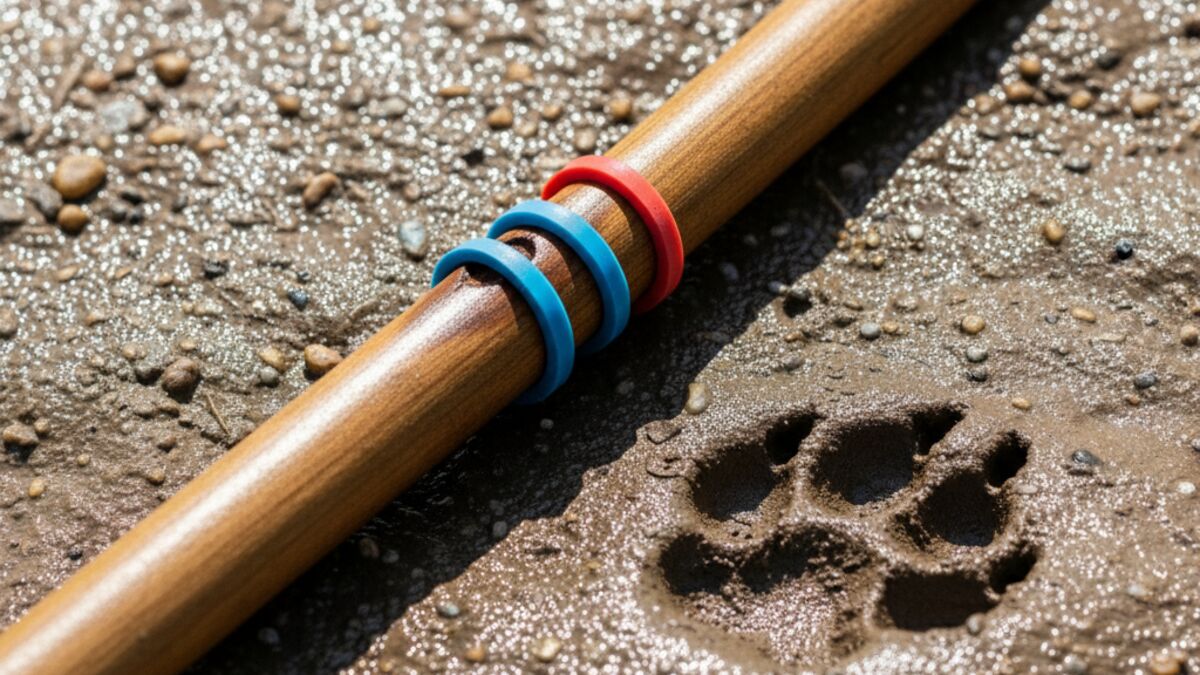
That's all. Your personal tool is ready. If you like, you can make it your very own companion with a carving or some paint.
What you use it for: Making the invisible visible
The Tracking Stick has two simple, yet powerful tasks that will change your tracking.
Feeling the Rhythm of the Animal
Once you have found a clear track, use the stick to measure the distance from the heel of the footprint to the heel of the next footprint of the same foot. You mark this distance – the stride length – with your two rubber bands. You have now captured the animal's individual 'gait'.
Discover the next clue
If you lose the trail, place one end of your stick on the last known track. Now slowly swing it, like the hand of a clock, in an arc over the ground.
Your gaze follows the area that you have marked with the elastic bands. Exactly there, at the distance of a stride, the probability of finding the next print is highest. The stick directs your attention and allows you to recognize patterns where there was only chaos before.
A few thoughts for your journey
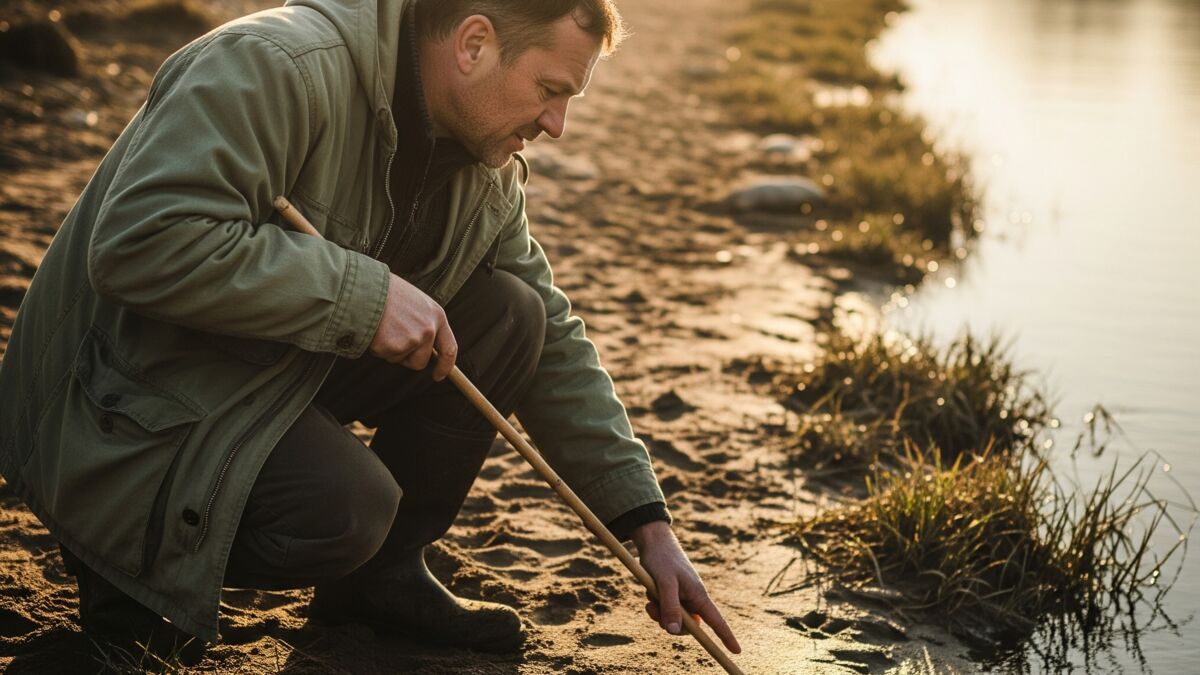
The tracking stick is a tool for your mindfulness, not a magic wand. Here are a few tips to help you use it well:
- Be mindful: Always hold the stick a small distance above the ground. You want to read the track pattern, not destroy it or add your own tracks.
- Make it visible: Use colorful rubber bands or a colored marking. A natural stick quickly blends in with the forest floor if you put it down.
- Set anchor points: When you find a track, mark it with a small twig or stone. This way, you can always find your way back if you get lost in the search.
- Avoid overcomplicating it: Your best tools are still your eyes, your curiosity, and your intuition. The stick only helps you to sharpen them.
- Be patient with yourself: Tracking is an exercise in looking closely and sticking with it. It doesn't always work right away. But every attempt connects you more deeply with the place and its inhabitants.
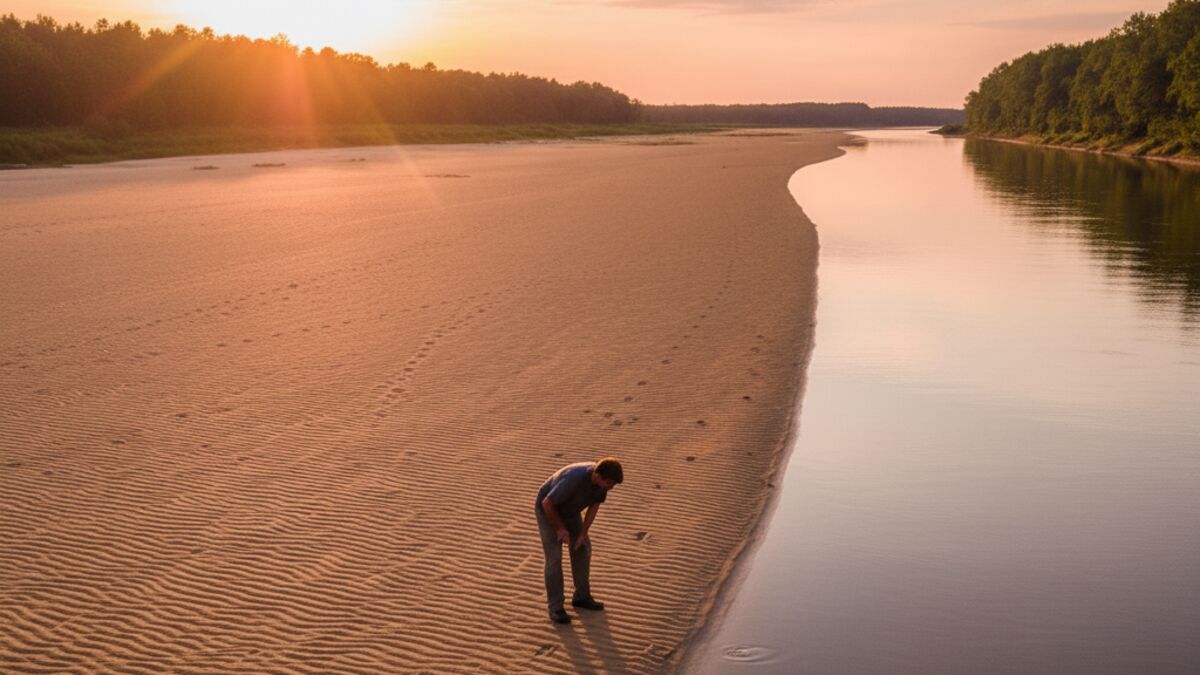
When the trail ends in nothing: What now?
It will happen. You're in the rhythm, following a trail – and suddenly: emptiness. The ground changes, leaves cover everything, the track is gone.
Don't panic. This isn't failure; it's the moment when the real dialogue with nature begins. Your tool for this is Casting (or Circling).
- Set an anchor: Stop exactly at the last confirmed track. Mark it clearly with a stone or a branch. This is your center, your anchor point.
- The first circle: Now, walk slowly in a very tight arc around your anchor point. Your eyes scan the ground millimeter by millimeter.
- Expand the circles: If you find nothing, increase the radius and walk a second, wider circle. Imagine the ripples a pebble makes in water. You move outwards on these ripples.
- Think like the animal: As you search, ask yourself: What could have happened here? Did the animal change direction to avoid an obstacle? Did it hear something and jump to the side? Did the ground suddenly become hard? Casting is more than a technique – it's an exercise in patience and empathy.
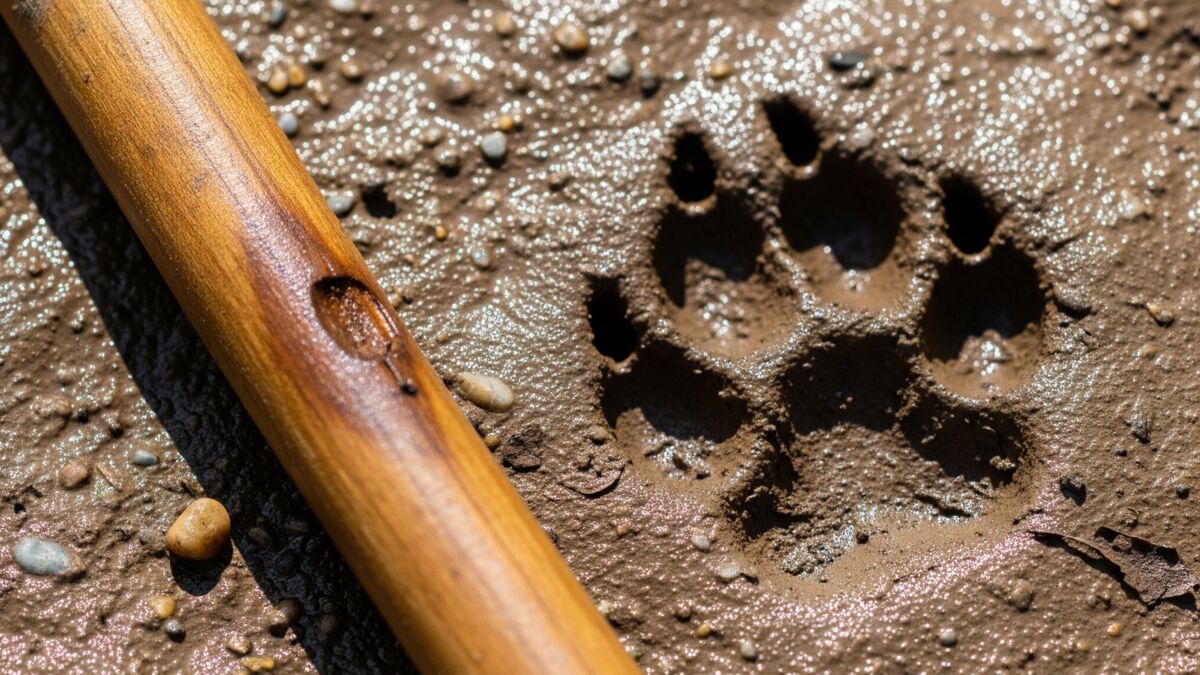
Your mission: Out of theory, into the woods
A tool is just a piece of wood until you give it a job. You've understood the theory, now the real adventure begins: the practice.
This is your next step on the path to understanding the language of tracks.
- Step 1: Build your tracking stick. Take your time, connect with the wood. Feel its weight, its surface. Make it your tool.
- Step 2: Go outside. Find a place where you can spot a clear trail – a game trail, a muddy path, a sandy shore.
- Step 3: Take measurements. Find the beginning of the trail and measure the stride length. Adjust your rubber bands and feel this rhythm.
- Step 4: Follow the trail. Your mission is to find at least five more consecutive tracks with the help of your stick. It's not about seeing the animal at the end. It's about staying in the dialogue, maintaining the rhythm, and strengthening the trust in your eyes and your new tool.
Forget perfection. It's about experiencing and starting. Take the first step into a deeper connection. The forest is waiting.


Author of the guide
Martin Gebhardt
Hey, I'm Martin. On my blog, you will learn the basics and numerous details about living in the wild. I think survival, bushcraft and the good life in nature are the keys to happiness. Find me here on Instagram or on YouTube. You can find more about my mission on the About Me page.
Was this guide helpful?
12 people found this guide helpful.
5.00 out of 5 points (12 Ratings)
Comments (0)
This post may contain affiliate links. So if you click on the links and make a purchase, I will receive a small commission at no additional cost to you. Click here, to learn more about it.


