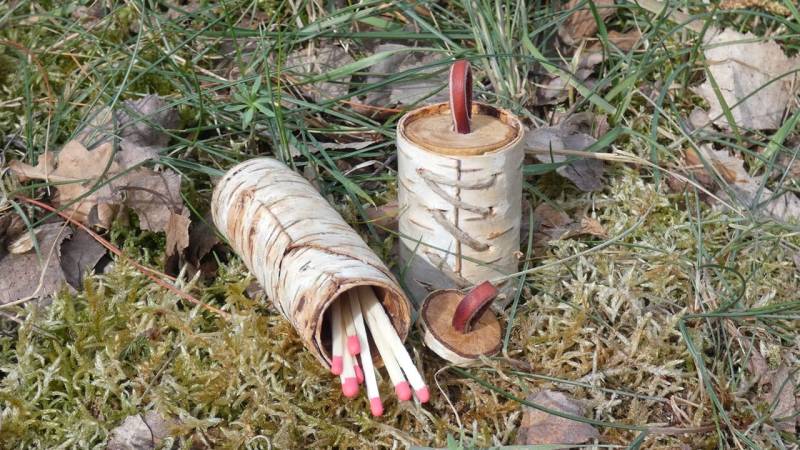
How to make a matchbox out of birch bark?
👉 The key facts from this guide
- Finding Birch Bark: Look for a fallen or dead birch tree and cut out a large piece of bark. Never harm a living birch.
- Cutting and Cleaning Birch Bark: Clean the bark and cut it to the desired size.
- Rolling and Pricking Holes: Roll the birchbark to the desired diameter and secure it. Then prick holes for the binding thread.
- Threading the Thread: Thread the string through the holes and knot it at both ends.
- Carving the Bottom and Lid: Carve a suitable bottom and lid for the box from wood. Attach the bottom and drill a hole in the center of the lid.
- Attaching a Leather Band to the Lid: Thread a leather strap or string through the hole in the lid and secure it with a small wedge.
When Bushcrafting, you always need containers to transport your equipment. How else would you carry it?
And since I love old crafts, today we're building a matchbox out of birchbark.
Long story short, let's get started.
The video on making a birchbark matchbox
Watch my video. I'll show you exactly how to make your own box out of birchbark.
Step 1: Find birchbark
First, you need to find birchbark.
To achieve this, look for a fallen or dead birch tree. Look for a smooth and large piece of bark.
Make sure there are no knots in the piece. Furthermore, the bark should be as even as possible. It will be difficult to roll up the bark if it has unevenness.
Once you've found it, cut out a large piece with your knife. To achieve this, make a rectangle in the trunk and then carefully pull off the bark.
Help with the knife if the bark is stuck too tightly to the wood.
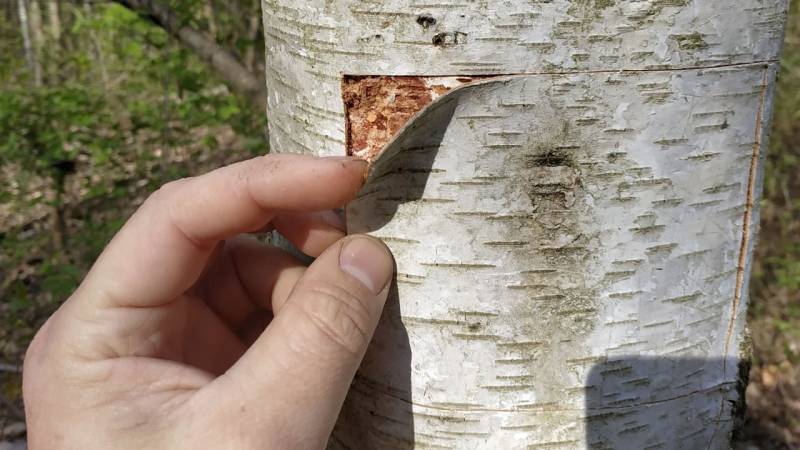
Please never cut or injure a birch tree with sap. The birchbark is the tree's skin. As with humans, if the skin is injured, disease-causing germs can enter.
Step 2: Cut and clean birchbark
Then, clean the bark with your knife or the edge of your ax. Try to smooth the bark as much as possible. The smoother it is, the better the bark will roll up.
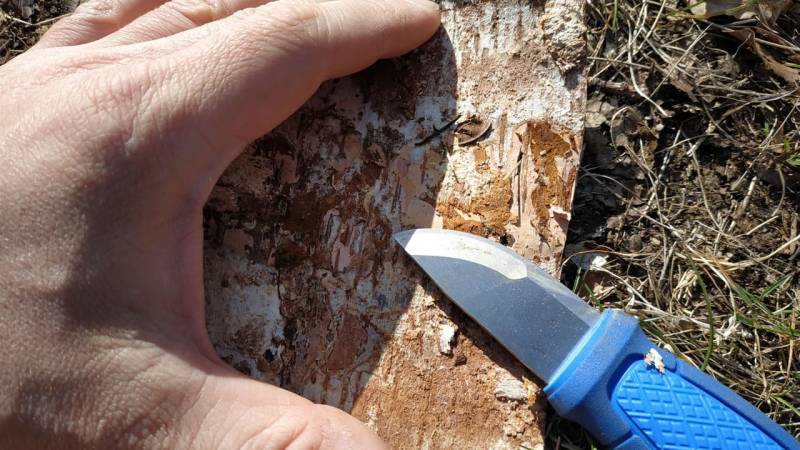
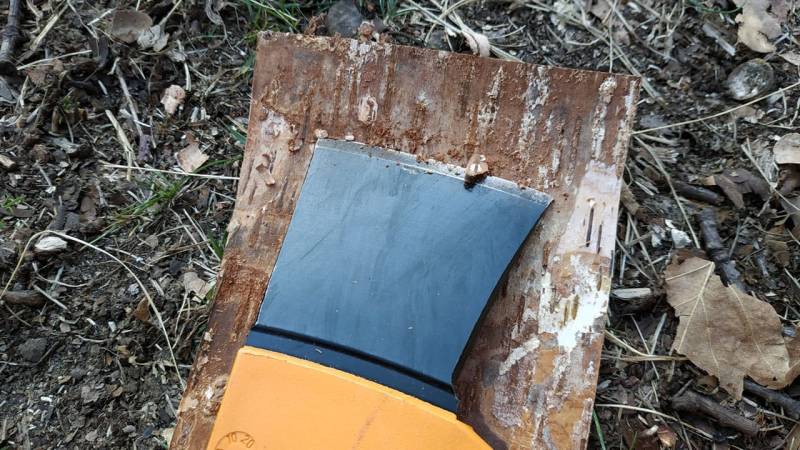
Tools used: Axe "Fiskars Freizeitbeil X5" and knife "Morakniv ELDRIS, Neck-Knife, Sandvik steel".
Step 3: Cut to size
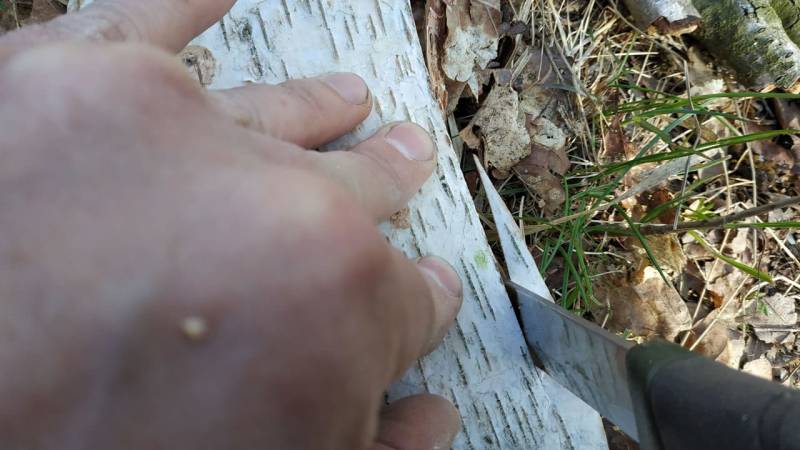
Then cut the piece of bark to your desired size. If you want to store matches in it, add about 2 cm more. The lids will also take up space.
Step 3: Rolling and Pre-Punching Holes
Now, you need your knife or something pointy like a nail to punch the holes.
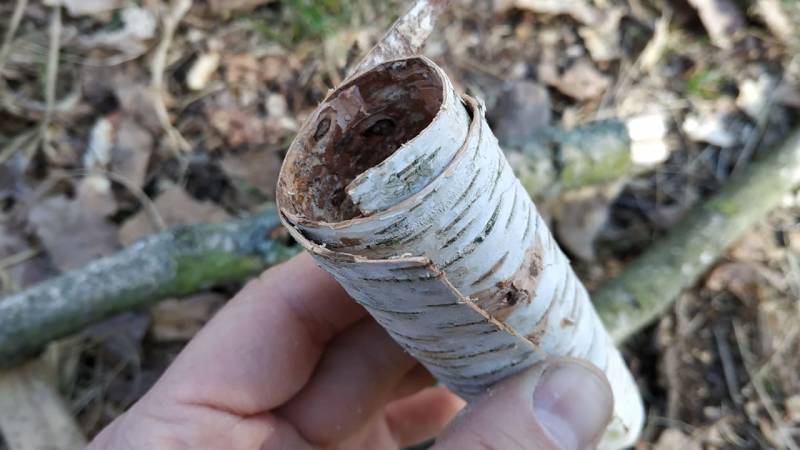
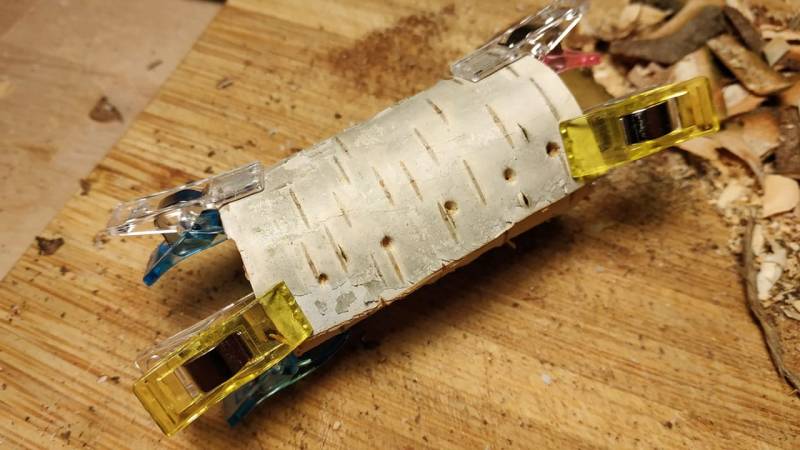
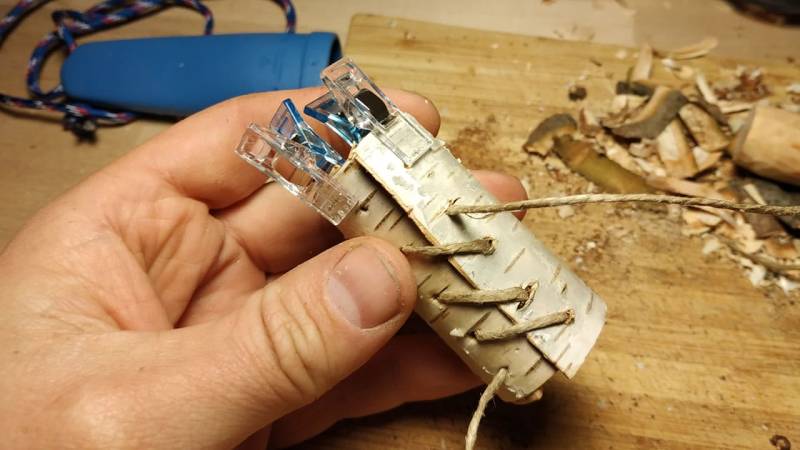
Roll the birchbark precisely to the desired diameter. Then, fix the roll with clamps, paper clips, or split sticks.
Then, punch the holes for the binding thread.
Step 4: Thread the String
Thread your string through the holes, which can be a bit difficult since you don't have a needle and the thread may be too thick for the hole.
You can use candle wax to reinforce the beginning of your thread so that you can thread it more easily.
Then, gently pull everything together and knot it inside.
Step 5: Carve the Bottom
Now, grab some wood and carve the bottom. The bottom must fit precisely and should seal everything well so that there are no holes on the sides.
On that day, I was lucky enough to find a sawn-off cedar, so I made the lid and bottom out of cedar wood.
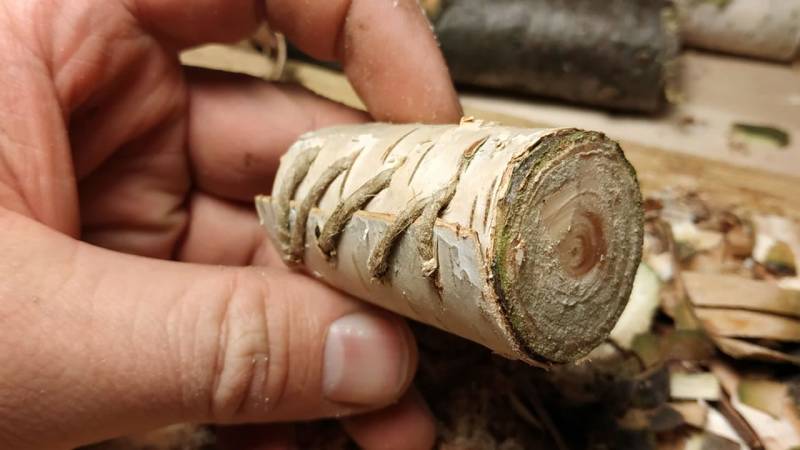
Tip: You can better secure the bottom with wood glue or fresh resin.
Step 6: Carve the Lid
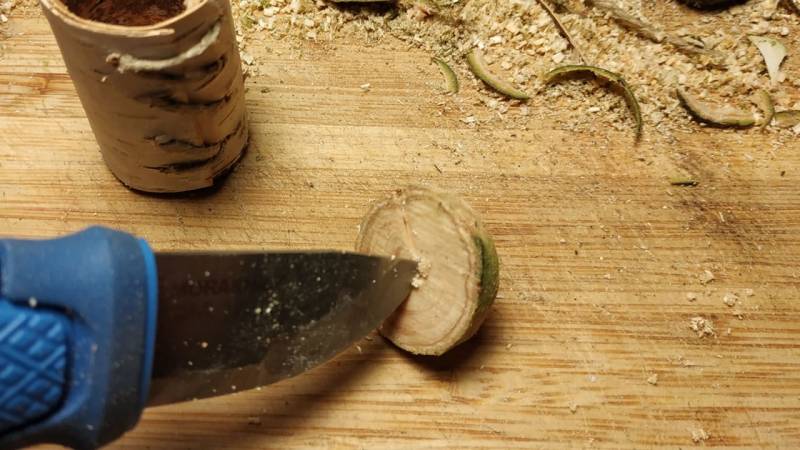
Now, carve the lid. When finished, drill a hole in the center.
Step 7. Attach Leather Cord to the Lid
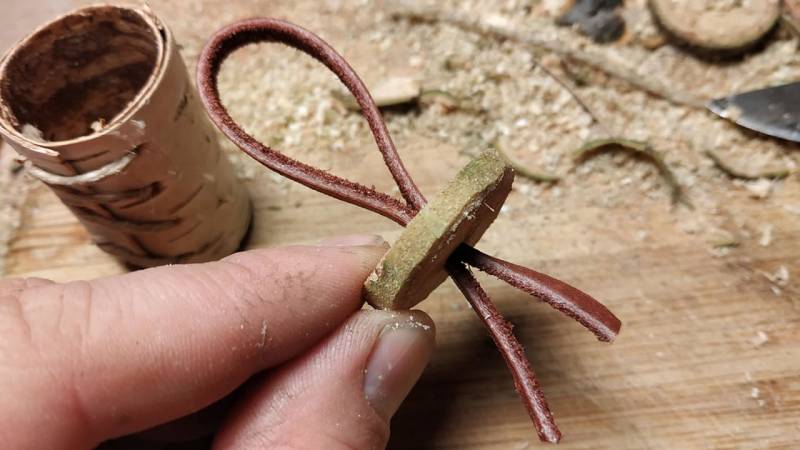
Thread a leather cord or string through the hole in the lid.
Then, carve a small wedge that you drive from below into the hole. This way, you can be sure that the leather cord won't be pulled out when you pull on it.
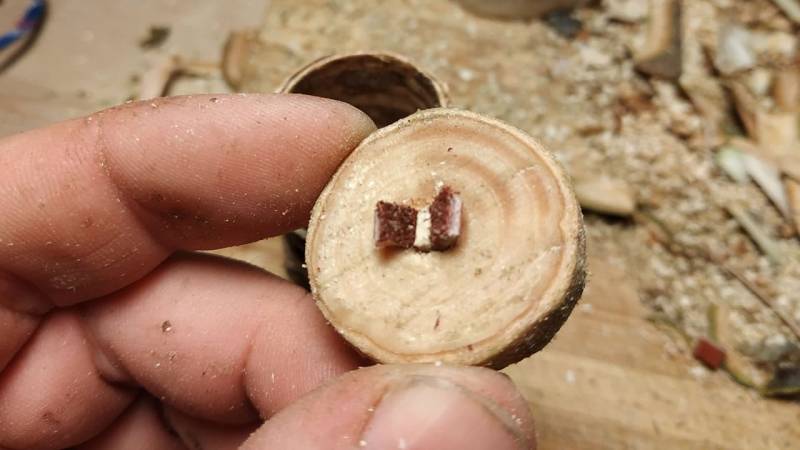
And you're done. Great, right? :-)
If this is your first time making a matchbox out of birchbark, plan for about an hour from the place where you gathered materials to the end (not including travel time or hiking time).
If you're more experienced in making them, you can probably do it in less than 15 minutes. However, you'll need all the necessary materials and tools.
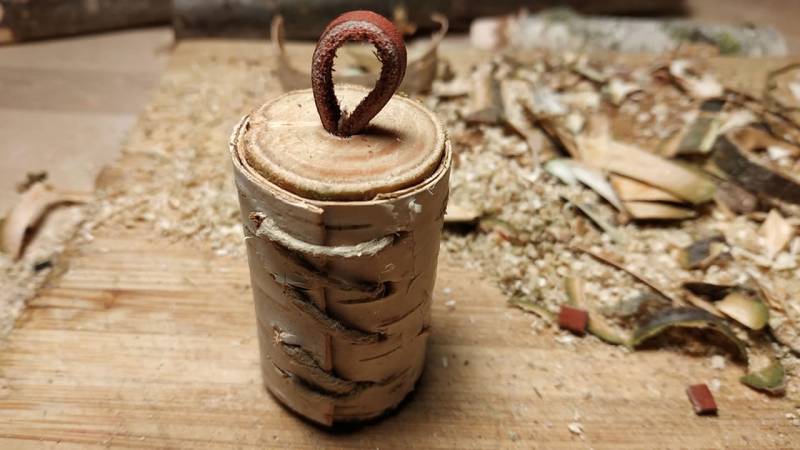
Of course, birchbark boxes can be used not only for matches but also for storing your kindling, string, needles, or fishing hooks.
Reading Tip: Also, take a look at my article "Birch Bark: The Survival Miracle" if you are keen to learn more about birchbark.
Did you like the tutorial?
Are you motivated to try it yourself?
If you've already tried it, please let me know in the comments what was the hardest part.


Author of the guide
Martin Gebhardt
Hey, I'm Martin. On my blog, you will learn the basics and numerous details about living in the wild. I think survival, bushcraft and the good life in nature are the keys to happiness. Find me here on Instagram or on YouTube. You can find more about my mission on the About Me page.
Was this guide helpful?
19 people found this guide helpful.
5.00 out of 5 points (19 Ratings)
Comments (0)
This post may contain affiliate links. So if you click on the links and make a purchase, I will receive a small commission at no additional cost to you. Click here, to learn more about it.


