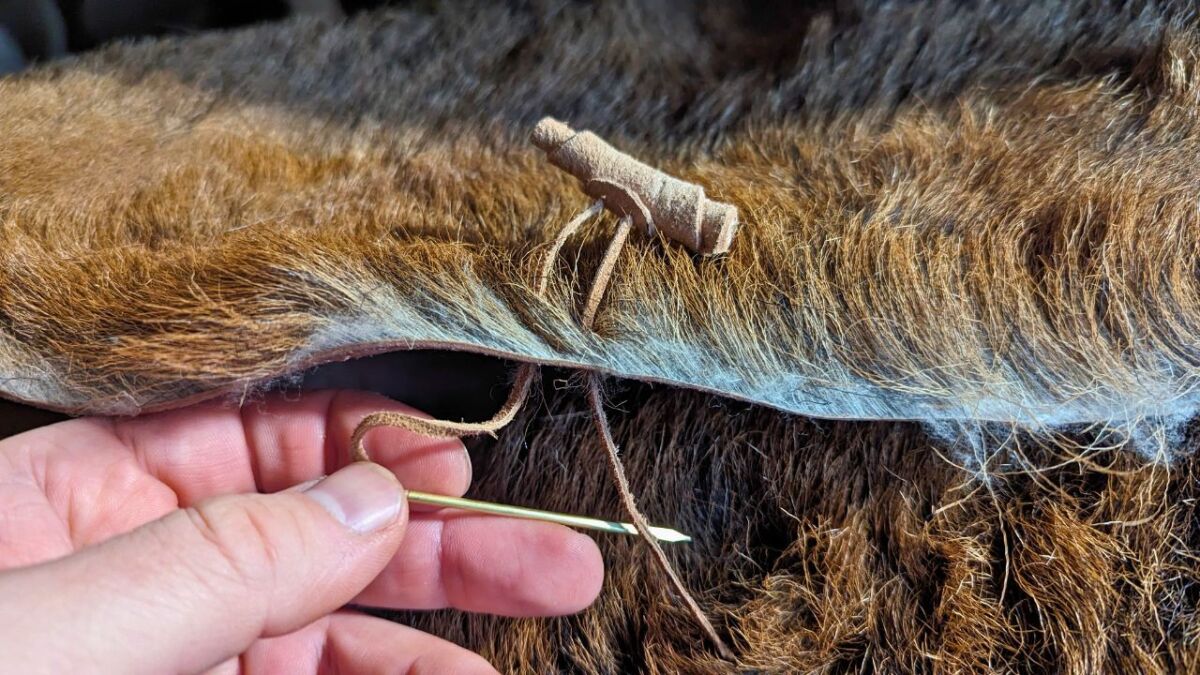
Making leather buttons - simple DIY to create buttons solely from leather
Learn in this guide how to easily and quickly make your own leather buttons and fasteners. You only need some leather and an awl.

From Martin Gebhardt. Check out my “About me” page.
👉 The key facts from this guide
- Create a cardboard template for the shape of your leather buttons.
- Select suitable leather remnants, e.g., from other projects.
- Place the template on the leather and trace the shape. Then cut out your leather button exactly according to the template.
- Punch two holes at the top with an awl or hole punch, and additional holes slightly below the middle in your leather.
- Thread an approximately 10 cm long leather cord through the middle holes.
- Now tightly roll up the leather from bottom to top. Ideally, the flesh side should be on the inside. If necessary, shape it with a hammer.
- Finally, thread the cord ends through the upper holes to secure the button. Your homemade leather button is ready!
Do you also have the problem that you always seem to be missing buttons when sewing or repairing clothes or bags?
Or do you want to give your self-made projects a personal touch?
Then I have just the right thing for you!
In this tutorial, I will show you how to easily and affordably make your own leather buttons.
Make Leather Buttons - Easy DIY to Create Buttons from Leather Only
You only need a few utensils for your leather buttons, which you may already have at home - and you can get started.
I will explain to you step by step how to make stylish buttons in any size and color from leather scraps.
With this, you can replace broken buttons, give your clothes or bags a new look, or even make your own accessories.
And the best part is:
Leather buttons are simple and cost-effective for connecting two things together.
I use the leather buttons, for example, on a vest that I made myself, made of chamois suede.
So what are you waiting for? Keep reading to learn how to make cool leather buttons yourself!
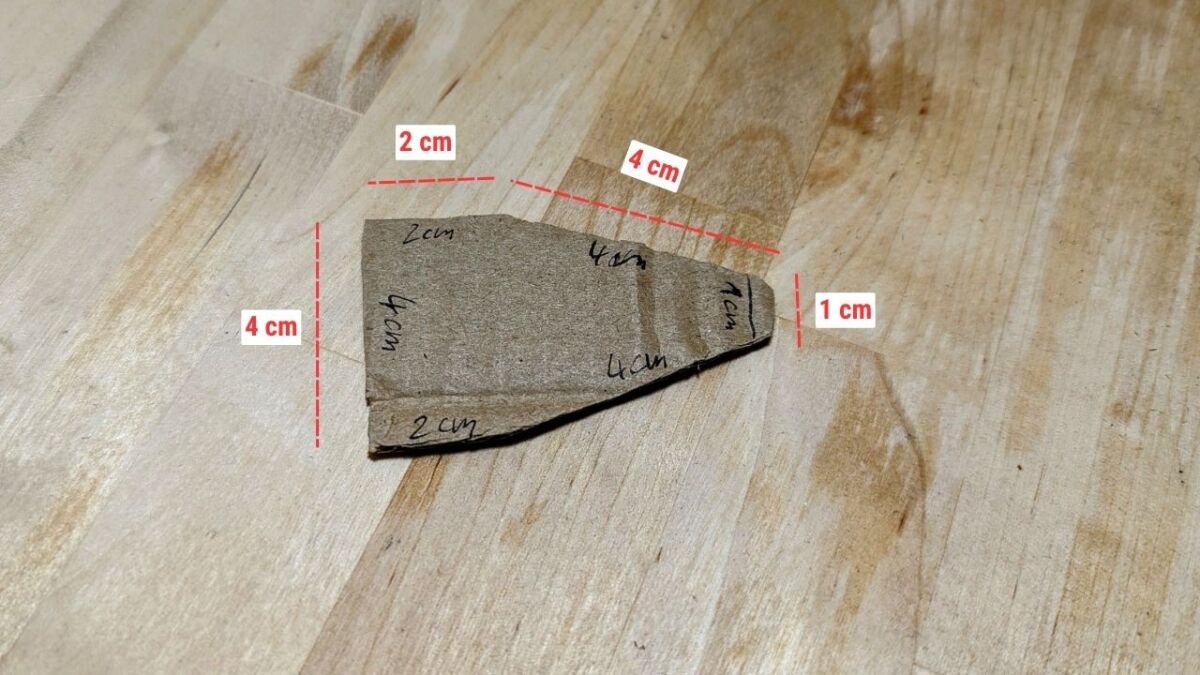
1. Creating a template for the leather button
I am a fan of reusability, so I create a template for many projects.
Especially considering that I will most likely not only produce one button.
And here's how it works:
- Find cardboard
- Cut out the template
The measurements are:
- Bottom: 4 cm
- Straight edge: 2 cm
- Slanted edge: 4 cm
- Top with a curve, about 1 cm wide
2. Find suitable leather scraps for the leather button
I always have leather scraps lying around. You never know what you can still use these "waste" for. And that's why I keep them: We are now making buttons out of them together!
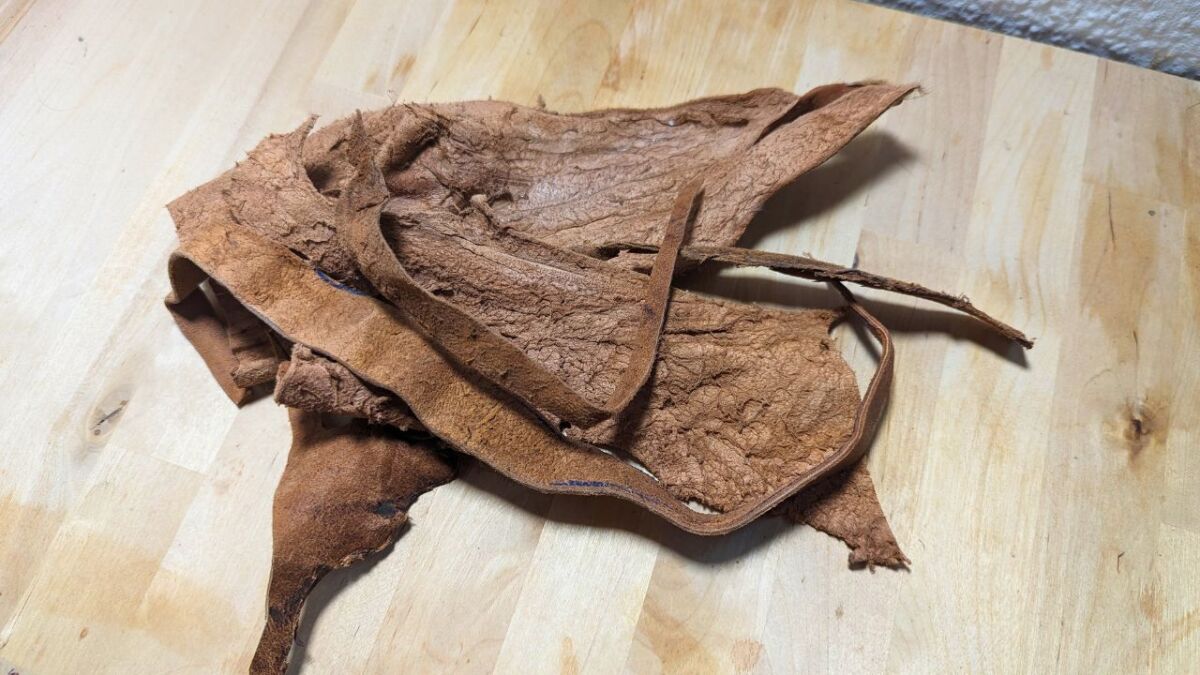
I use leather for the project, which I have tanned myself using vegetable tanning.
If you're interested in learning how to tan animal hides yourself, then read this guide by me, "Bark tanning (vegetable tanning) - A guide on how to tan a fur or hide yourself without prior knowledge".
3. Cut leather according to the template
Now place the template on the piece of leather and trace the shape onto your leather.
Cut along the markings.
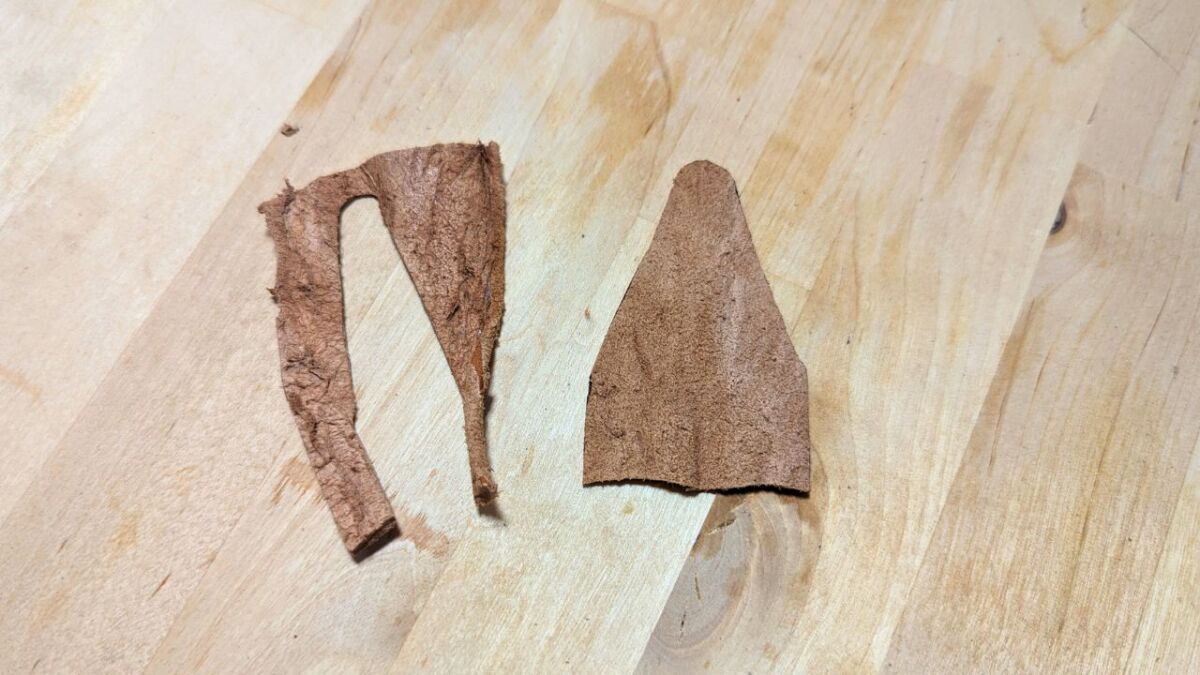
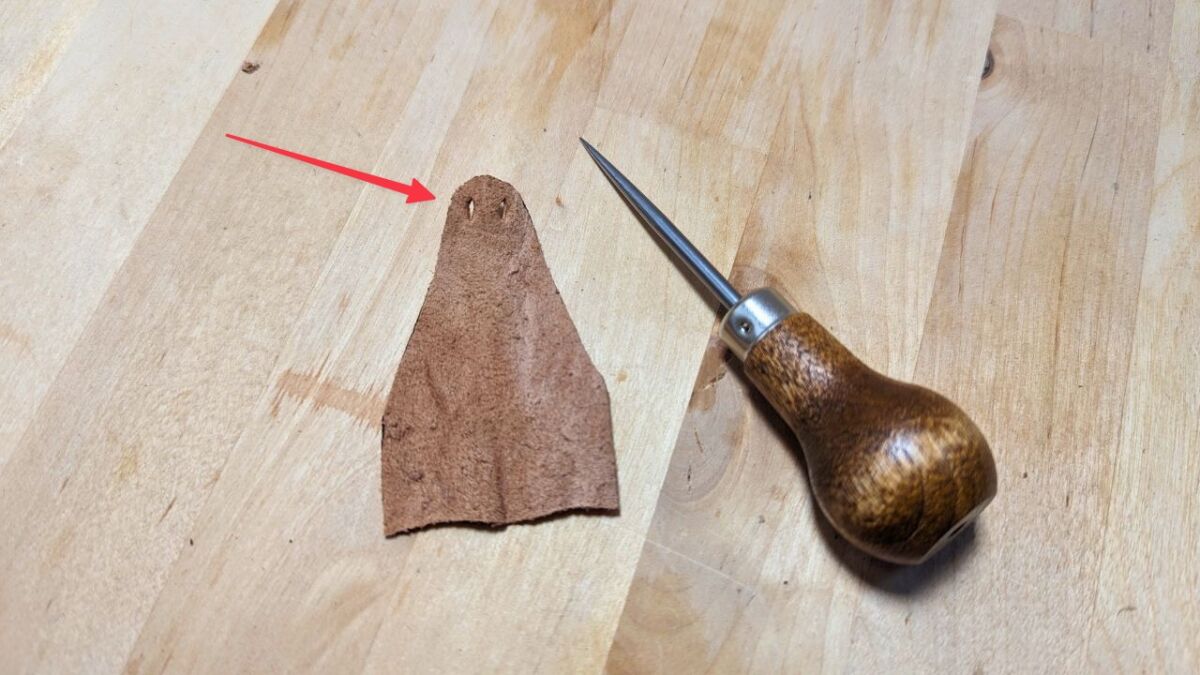
4. Punch the holes at the top
Now you grab your awl or your hole punch.
Then punch two holes at the top.
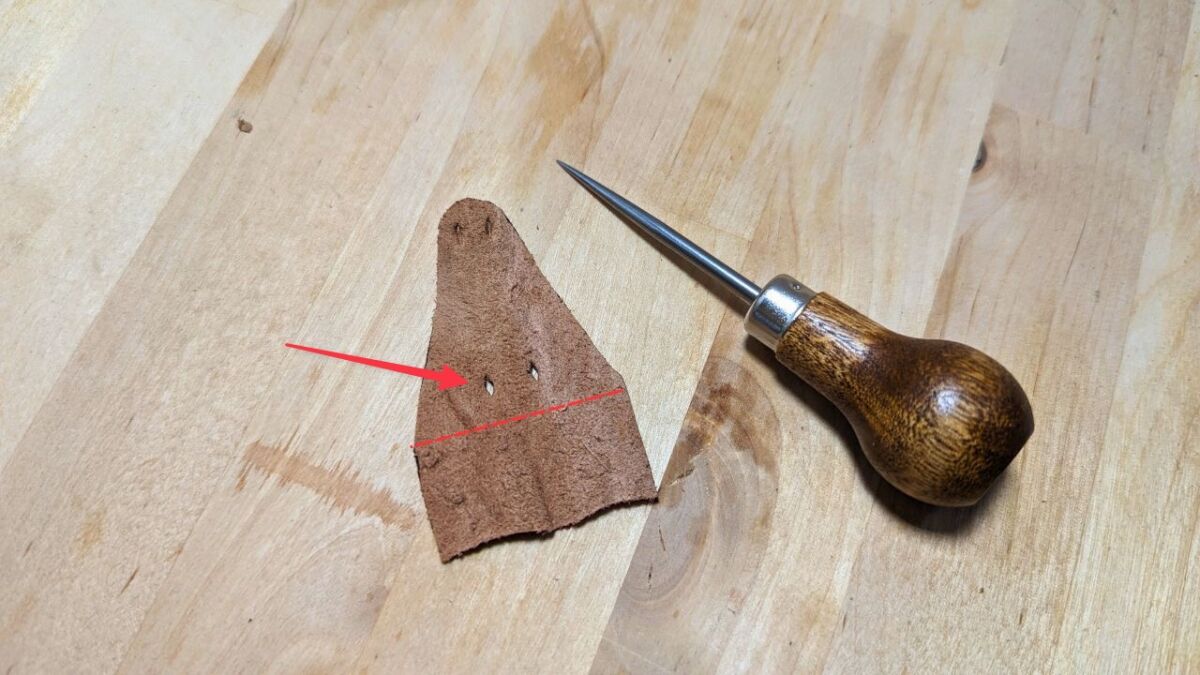
5. Punch holes in the center
Now you poke the holes in the middle.
Make sure that these are slightly above the line of the lower rectangle.
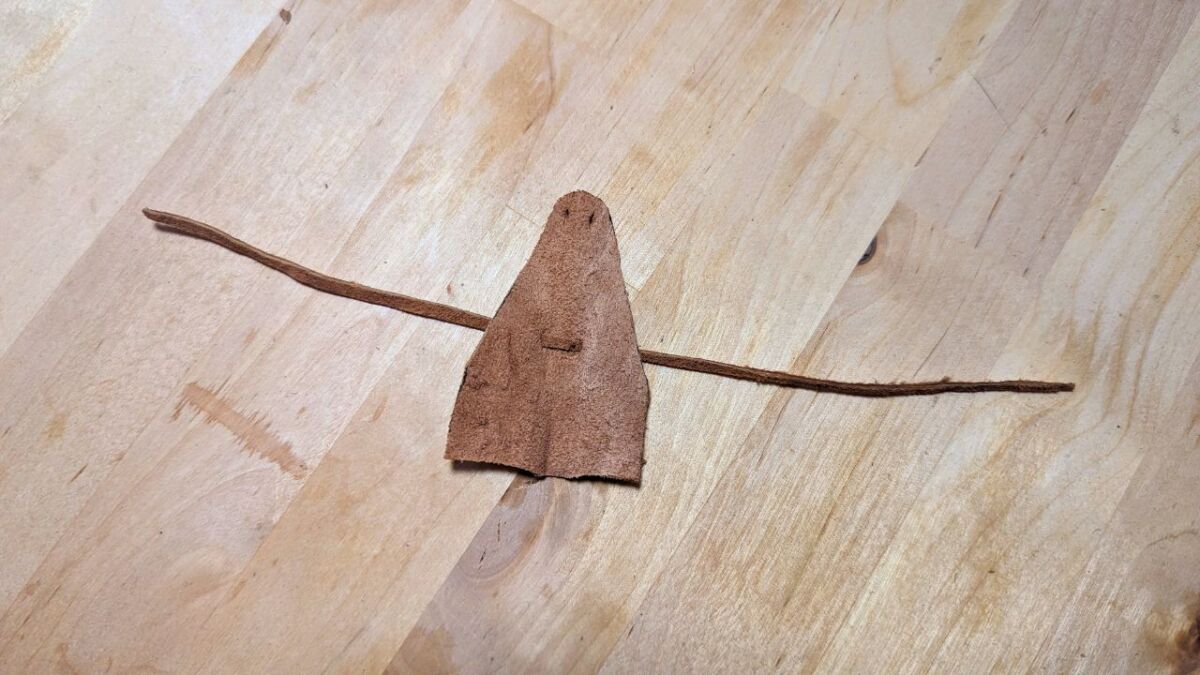
6. Pull the string
You need some string now. I also cut mine from the leather scraps. Mine is about 10 cm long.
Pull the string through the center holes.
7. The Leather Rolls
Roll the leather tightly from bottom to top.
Ideally - if you know how - roll the meat side inward.
You may need to work the leather (if it is very sturdy) with a hammer to bend it into a tight roll.
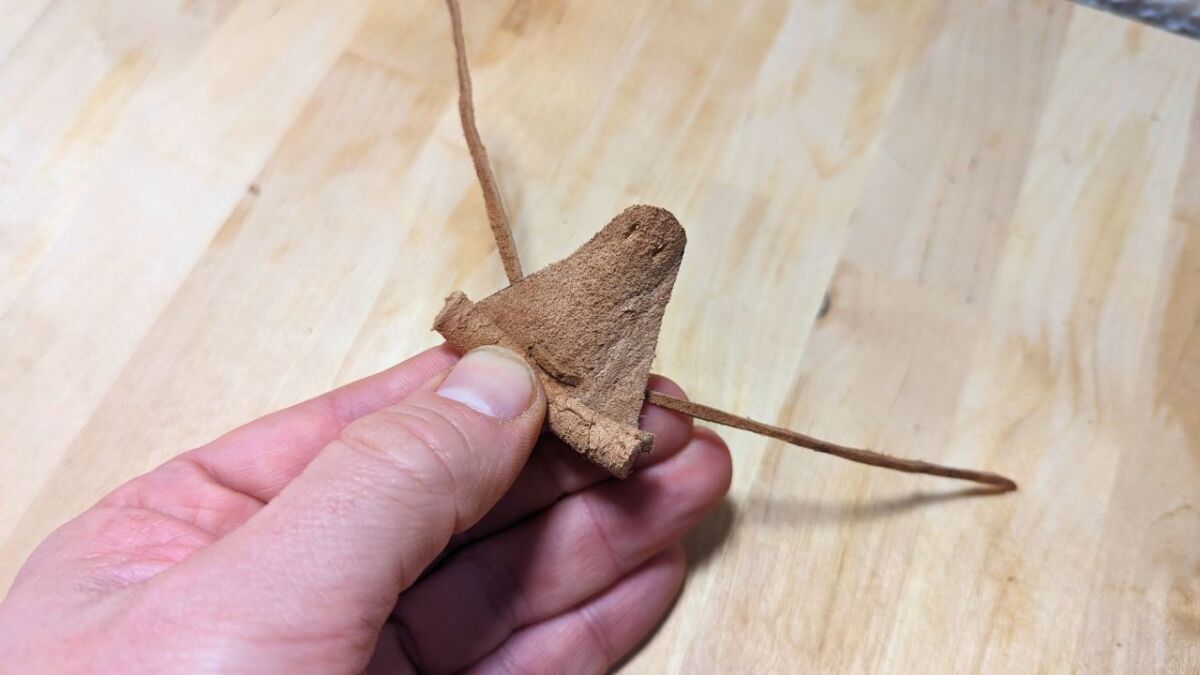
8. Finalize the button
Once you have reached the top, thread both ends of the string through the top holes.
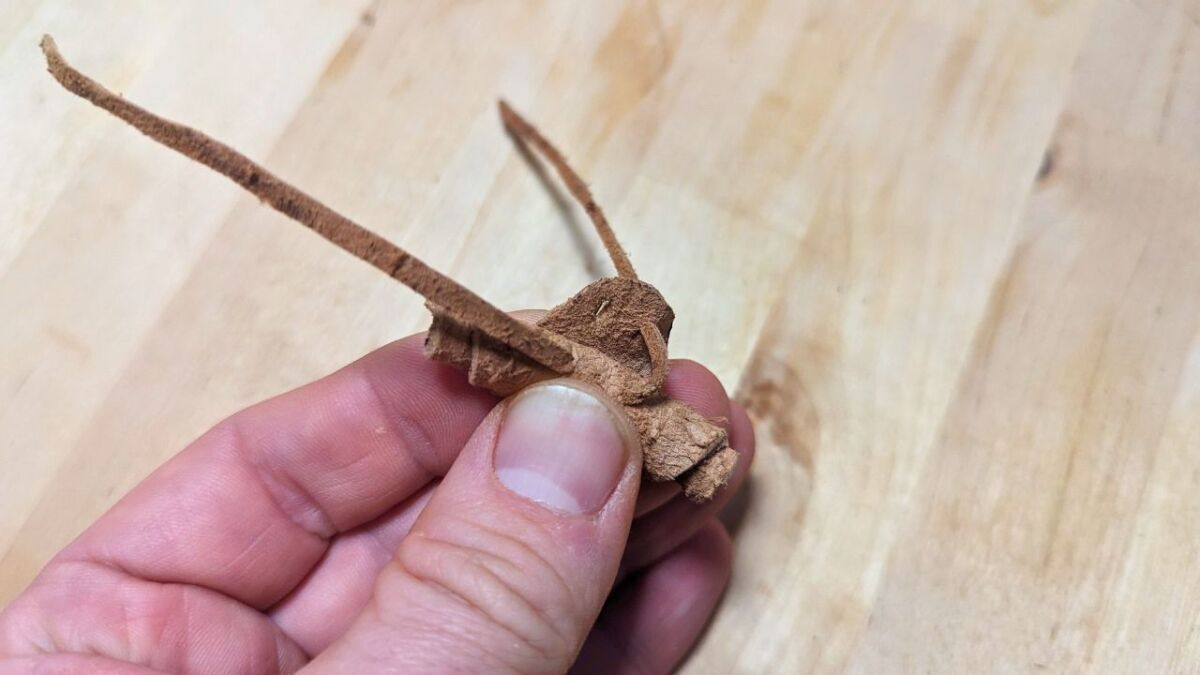
Hey, and you're done! That's how quickly you make your own leather button. Without metal, bone, or horn.
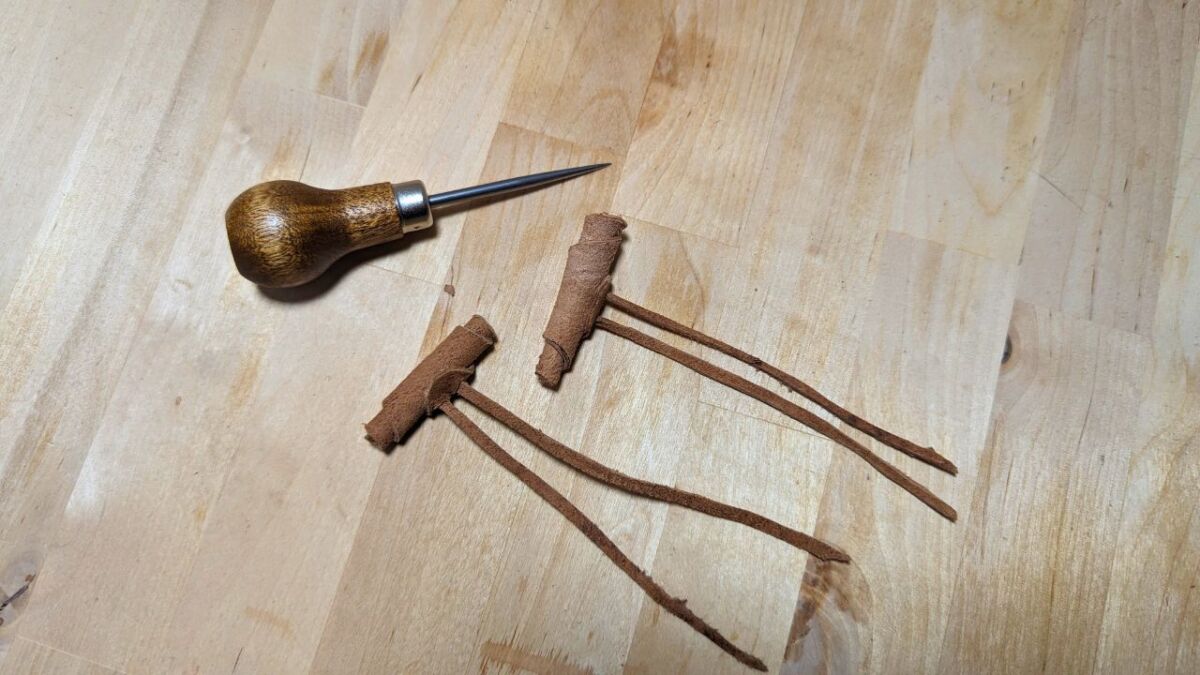
Now you can get started and securely fasten your projects!

And, what do you think about these leather buttons? Are they something for you?


Author of the guide
Martin Gebhardt
Hey, I'm Martin. On my blog, you will learn the basics and numerous details about living in the wild. I think survival, bushcraft and the good life in nature are the keys to happiness. Find me here on Instagram or on YouTube. You can find more about my mission on the About Me page.
Since this is a gear guide, here ...
🤝8 reasons to trust my recommendation
-
Practical Experience: I have tested most of the products I recommend under extreme conditions myself.
-
Independence: As a wilderness mentor, I am not tied to any specific brands - this means my recommendations are unbiased.
-
Expertise: My many years of experience allow me to understand the intricacies and details of various products that a layperson might overlook.
-
Target group understanding: I understand the needs and challenges of outdoor enthusiasts, from beginners to seasoned experts.
-
Quality focus: I attach great importance to quality and longevity. These are characteristics that are crucial in the wild.
-
Clear communication: I try to explain the pros and cons of each product clearly and understandably so that you can make an informed decision.
-
Currentness: I always keep my guides up to date and adapt them to new findings or products.
-
Community Feedback: I work in wilderness schools, teach courses myself, attend courses and am active in various outdoor and survival communities and therefore integrate the feedback and experiences of others into my recommendations.
So when I introduce the best survival knives or flashlights, you can be sure that every recommendation is based on solid experience and extensive knowledge.
Was this guide helpful?
15 people found this guide helpful.
5.00 out of 5 points (15 Ratings)
Comments (0)
This post may contain affiliate links. So if you click on the links and make a purchase, I will receive a small commission at no additional cost to you. Click here, to learn more about it.


