How to build and light a fire in the snow - the complete guide
👉 The key facts from this guide
- Preparation of the ground: The snow should be removed and the ground smoothed to create a stable fire pit.
- Collecting firewood: It is important to collect enough wood for a platform and as fuel. Different thicknesses of branches are ideal.
- Tinder is essential: Tinder is a quickly burning material that ignites easily. In winter, birchbark or Fatwood are suitable options for tinder.
- Building the platform: Once the platform is built and positioned, it is filled with wood and combustible material. It is essential to start with a little wood and add more fuel over time.
- Lighting the fire: A easily combustible material is lit and placed in the center of the fire pit. It is significant to quickly get the fire hot and continually feed it with fuel.
- Using the fire: The fire can be used not only for generating heat, but also for drying damp wood and preparing food or hot water.
There is hardly anything more unfavorable than being caught in a snowstorm in the middle of the wilderness.
It is especially important for you to remain calm and make sure to stay warm!
One of the best heat sources of all is the classic campfire. But how can this even work in the midst of ice and snow?
The fact is, building a fire in winter is challenging.
And today, we will tackle this difficult task.
A fire is good – a shelter is better
First, the good news: Yes, it is definitely possible to build and ignite a fire in a snowstorm to warm yourself.
On the other hand, out of a sense of responsibility, I would only advise this as a last resort.
Especially if you do not have much experience, it can go terribly wrong.
If you find yourself in an icy winter storm, there is a risk of freezing to death within a very short time.
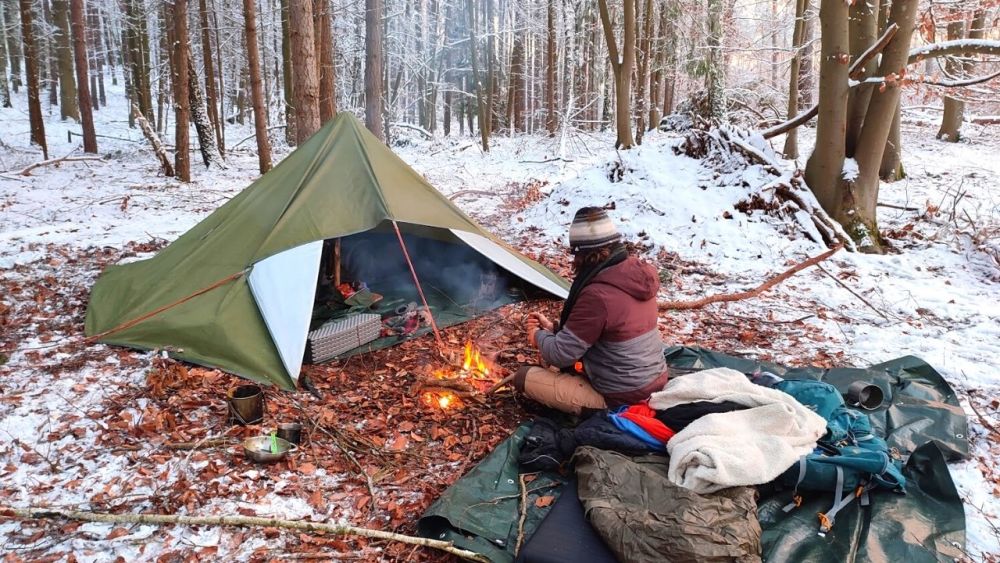
Therefore, FIRSTLY, you should try to find a shelter that protects you from the wind and weather and provides you with the warmth you need.
That should always be the first step if you find yourself in such a situation.
If that is not possible, and you see no other way to prevent hypothermia, then start immediately to ignite a warming fire.
You will find out exactly how to do this in the following sections. So read this article carefully so that you can react as quickly as possible in an emergency.
If you're generally interested in learning how to survive a winter storm, check out the corresponding article on my blog: Camping in a Winter Storm: Tips and Tricks
What do you need to start a fire in the snow?
The equipment needed to start a fire in the snow is hardly distinguishable from the traditional items required for a typical campfire.
The focus is more on the process and preparation of the fire pit, but more on that later.
Make sure you have or collect the following equipment:
- A lighter, matches, or another flame or spark-producing tool
- Tinder
- Firewood
- Optional: a flame-enhancing material such as cardboard, paper, etc.
You're probably wondering what the difference is between a regular campfire and one in the snow, and why a specific guide is necessary when the equipment is essentially the same?
Your question can be quickly answered in the next section.
Also read
How to Make Fire Without a Lighter or Matches (18 Ways) - How to make fire without a lighter or matches? Learn now with my 18 ways how to start a fire even without a lighter or matches.
The Factor of Time: Your Environment Works Against You
It's important to me that the articles I publish always generate added value for you.
That's why this won't just be a "step-by-step guide", but it will also explain the background.
The more knowledge you can extract from this article and apply afterward, the better!
So let's talk about the factor of time. I want you to understand that, unfortunately, you won't have much of it if you find yourself in the middle of a snowstorm.
You are surrounded by biting cold and icy winds.
Cold and wind will eventually bring you to your knees and push you towards hypothermia.
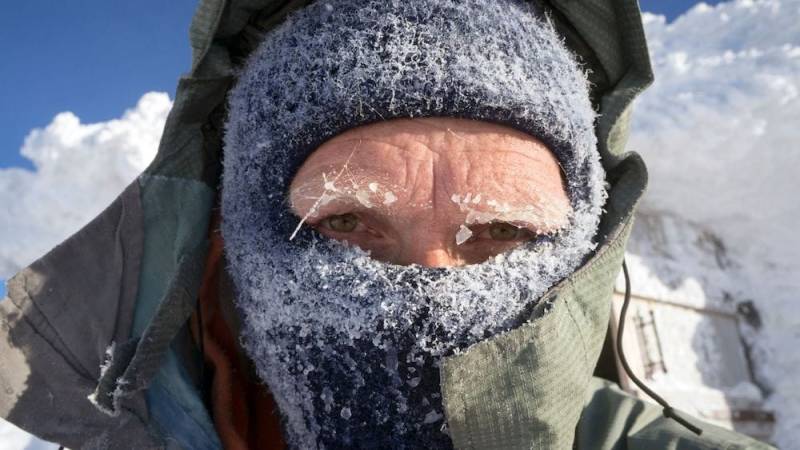
Therefore, you cannot afford to delay or make any mistakes when starting your fire.
In the frosty cold, over time, you will become less and less capable of thinking clearly and moving your limbs as you're used to.
The longer you stay there, the more difficult it will be for you to prepare your fireplace and light the flames. Time is working against you, your fire needs to burn as soon as possible!
Your surroundings will also not make it easy for you.
Depending on where you are, you may have access to firewood and tinder. That's great, but moisture and dampness are also possibilities that can make your life a lot harder.
In plain terms, this means that you have less time on the one hand to light your fire - the longer you wait, the more difficult it will be.
Furthermore, your environment also makes it more difficult for you to achieve your goal.
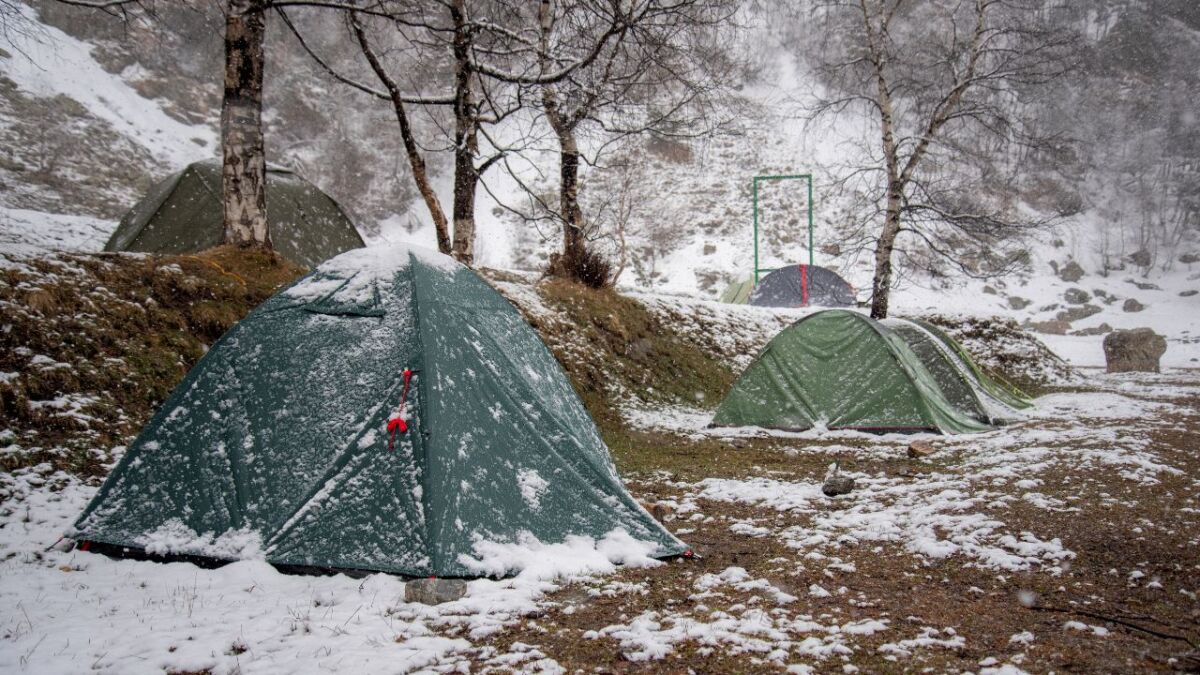
So, you have two factors working against you, which get stronger over time while you get weaker.
Not good prospects, are they?
Correct, and that's precisely why I'm dedicating an entire article to this topic so that you can internalize the necessary steps and access them directly when needed.
I think you understand what I'm getting at.
So, now follow the individual steps on how to build and light a fire in the snow.
Step 1: Prepare the ground
It's difficult to find a suitable campfire spot in the middle of the snow, so you have to design it yourself.
Of course, it becomes more difficult for you, the higher and denser the snow is. So, you should clear it away at least so that you can see the ground.
In case of emergency, you can also simply flatten the ground a little and smooth out irregularities.
Try to make the ground as firm and stable as possible, as far as it is possible in deep snow. Be quick but thorough.
Step 2: Collect enough wood for a platform and fuel
Your fire requires a solid base, so a kind of platform that you also make from the collected wood.
That's why you ideally smooth the ground because that's the only way the platform stays in place.
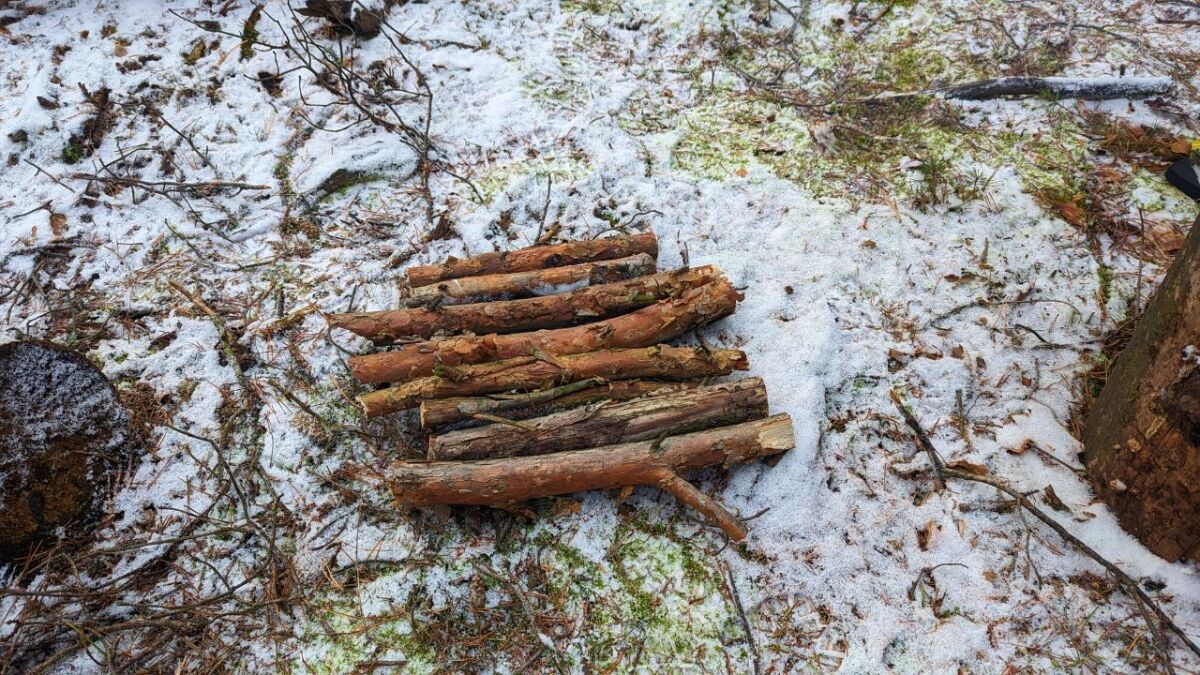
Collect what you find - if you find dry wood, even better!
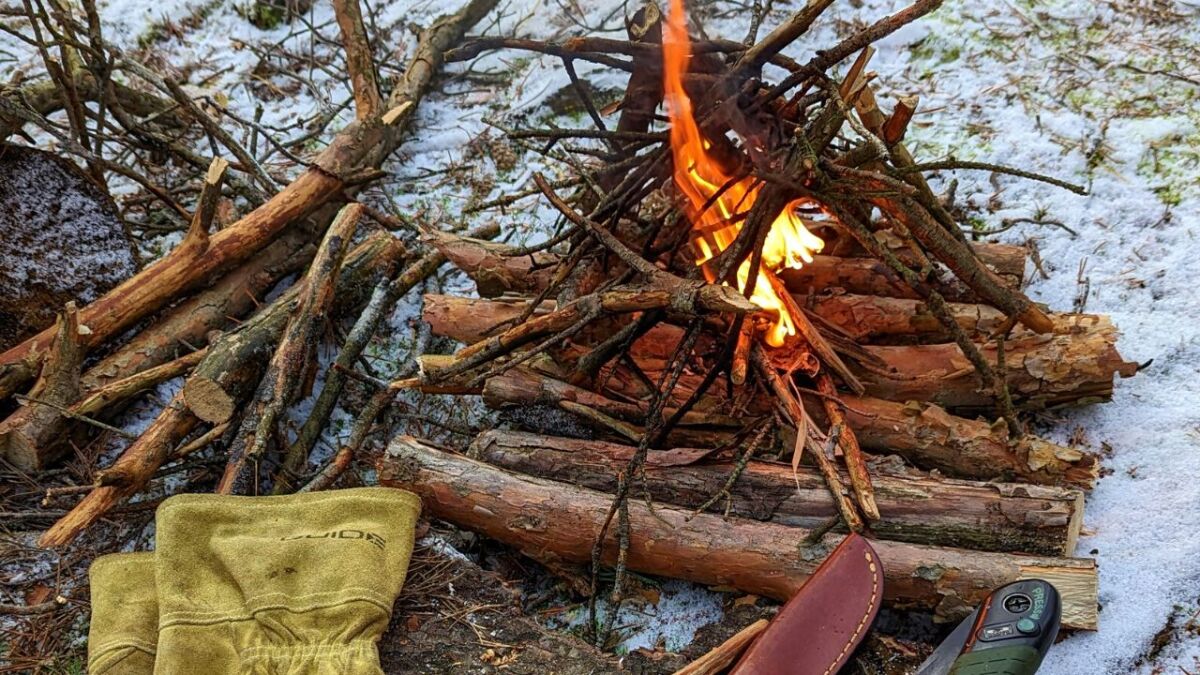
Since a fire first needs to be fed with small branches, you collect various thicknesses of wood, such as:
- matchstick-thin branches
- pencil-thin branches
- thumb-thick branches
- sausage-thick branches
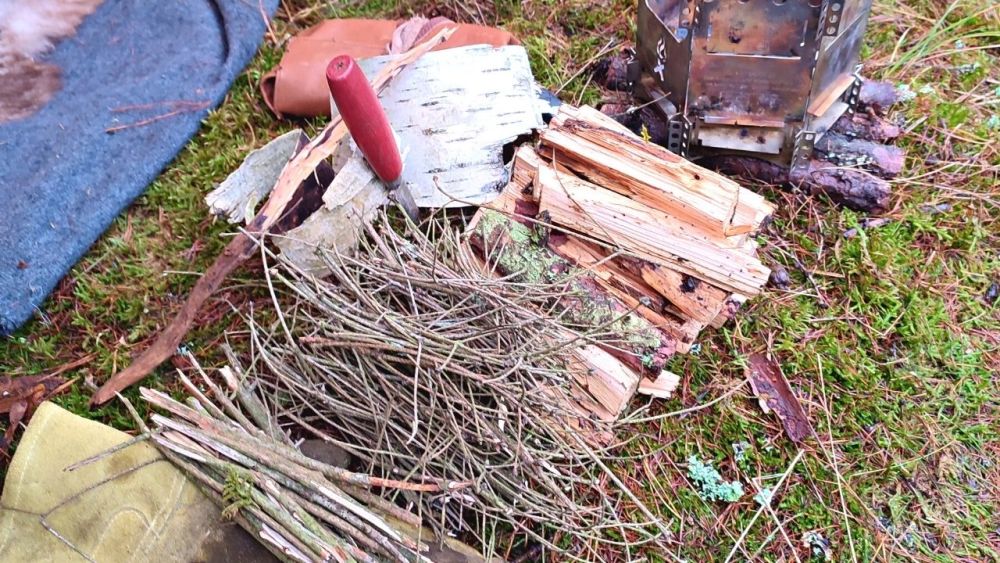
When the thicker branches are burning, add thicker wood.
Also look for stones to stabilize the ground.
If you have flammable materials such as cardboard, paper, or duct tape with you, you can also use them as additional fuel.
You may struggle with damp pieces of wood that make it difficult to ignite the fire. So, the more additional fuel materials you have with you, the better.
Step 3: Collect and use Tinder
Tinder is a quick-burning material and is usually used as the first fuel in a fire because it ignites easily.
In winter, birchbark or pine straw, such as Birch Bark or Pine Straw, are suitable as kindling. However, some people also bring their self-made tinder in their fire kit, such as cotton balls soaked in wax.
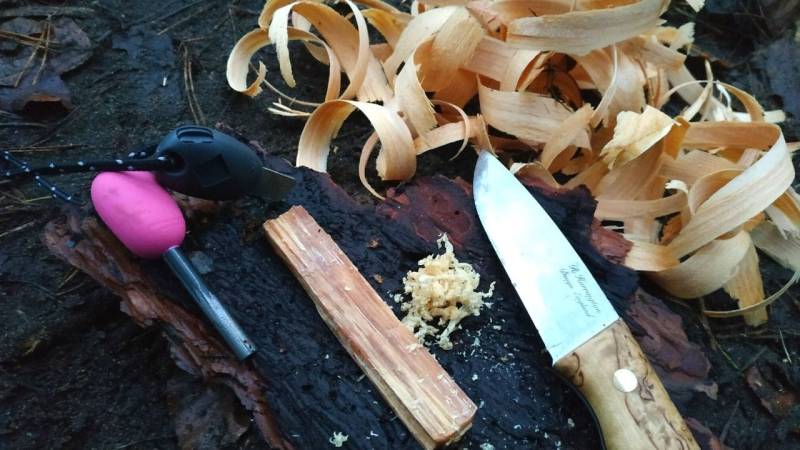
There are two reasons why you should use tinder:
- You want to make sure your fire burns quickly and without worry
- You don't use matches or a lighter to ignite the fire
Let's take a closer look at these two reasons.
Tinder ensures that the fire spreads quickly and becomes hot, causing thicker branches to burn faster and reducing the chance of the fire going out due to snow or rain.
And if you don't use matches or a lighter, you'll probably use a fire starter (find my favorite fire starters here).
With a fire starter, flint and steel, or other fire igniters, you need tinder to turn sparks into flames. You won't ignite paper, let alone small, fine branches, with just a spark.
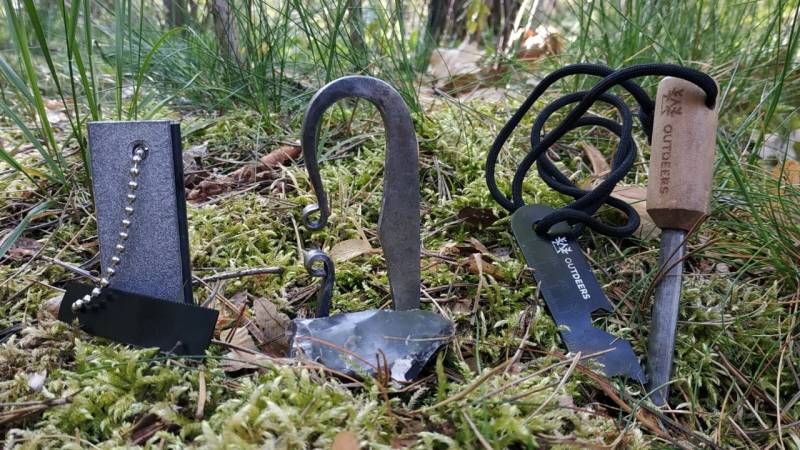
That's why I also recommend my guide, where you can learn how to start a fire successfully with a fire starter.
And my guide to tinder is also invaluable if you want to know what 22 natural and homemade tinders are available.
Step 4: Build the platform and place the rest of the firewood
Once you have built and placed the platform, start filling it with wood and combustible material. Ideally, build a teepee or a structure like a log cabin (find 12 popular building styles as an e-book here).
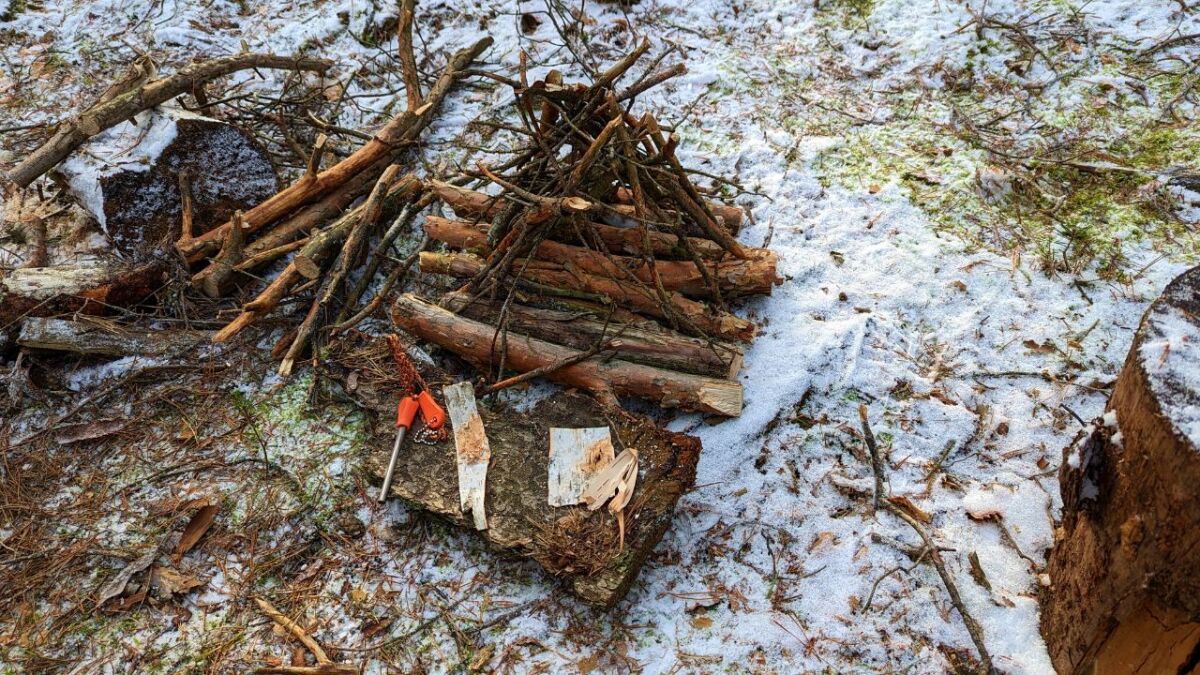
Start with a little wood, as you will add more fuel over time and need to properly ignite the fire first.
You can already place some pieces of paper/cardboard, if available, between individual wood twigs.
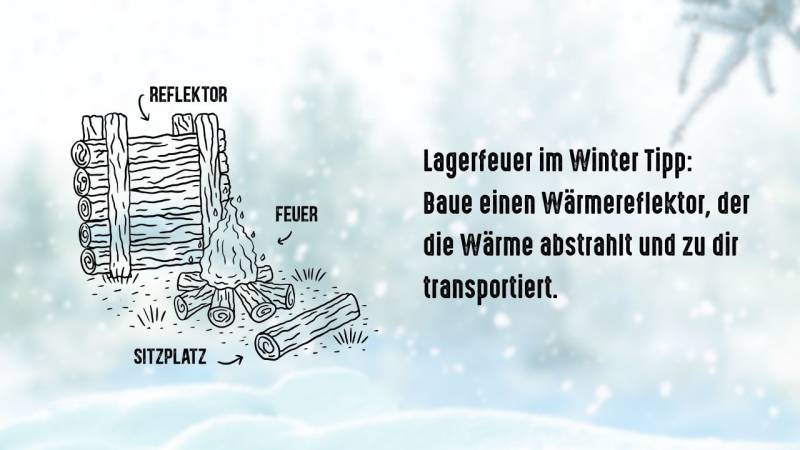
Step 6: Use the Fire
In winter, you will find a lot of damp wood. Your fire gives you the chance to dry it.
So, what's the first thing I do when the fire is burning?
I place the damp branches I found while collecting them around it. Now they can dry a bit. That gives me a secure feeling that I can feed my fire anytime.
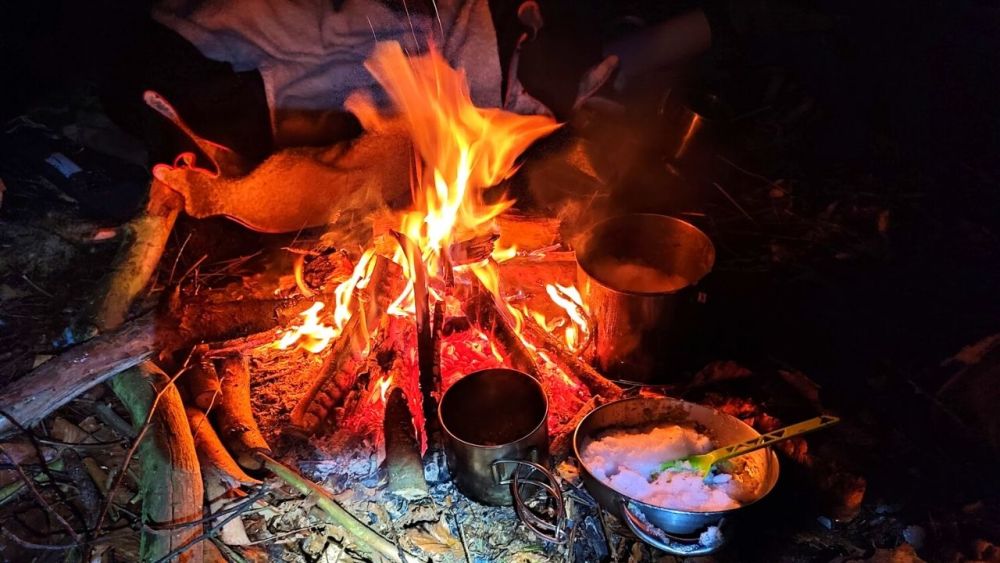
And you can not only warm up properly at your fire site, but also prepare a hot drink or something to eat (here you can find outdoor recipes).
If you want to prepare hot water, you can also use snow for that. Take the snow and put it in a suitable container and bring it to boil over the fire.
Ideally, you have a tea bag, some vegetable, or chicken broth, a soup, or even a little coffee with you, so it's not just a cup of hot water (otherwise, take the needles of the pine, spruce, or douglas fir).
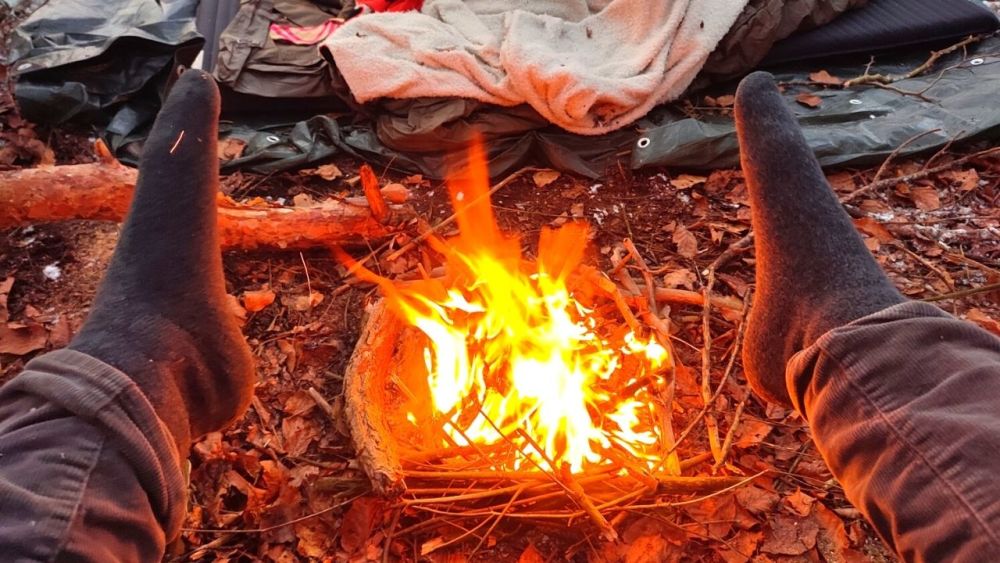
You can now also warm your body from the inside out, and that's essential in a winter landscape. Plus, it will significantly improve your mood.
Read also
Survival in Winter - These tips are important in the cold - Winter weather and cold pose great challenges for survival. To avoid unnecessary risks, you must plan carefully in advance.
Conclusion: A fire in the snow can be both a cozy campsite and a life-saving measure
First: just because you're in a snowy area doesn't mean your life is at risk.
You can start a campfire during a normal winter camping trip for warmth, comfort, and a small cooking area.
I also recommend practicing this skill: go out in winter and start a fire. Practice making fires and other skills. Check out my article "10 Bushcraft and Survival Skills You Should Try This Winter" for more information.
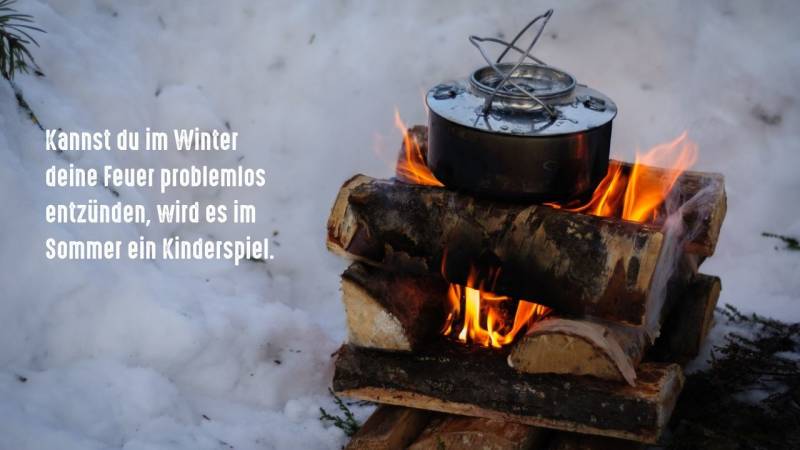
However, it's significant to know what to do in the worst-case scenario. By reading this article, you have the tools to secure your survival in an icy winter storm.
Once you have learned the processes and priorities, you won't soon forget them.
So, I hope you enjoyed reading this guide and could gain value from it.
Always be cautious and prepared so that you don't have any nasty surprises.
Have fun on your winter camping adventure, and remember this guide when you prepare a cup of hot tea by the fire in the snow.


Author of the guide
Martin Gebhardt
Hey, I'm Martin. On my blog, you will learn the basics and numerous details about living in the wild. I think survival, bushcraft and the good life in nature are the keys to happiness. Find me here on Instagram or on YouTube. You can find more about my mission on the About Me page.
Was this guide helpful?
38 people found this guide helpful.
5.00 out of 5 points (38 Ratings)
Comments (0)
This post may contain affiliate links. So if you click on the links and make a purchase, I will receive a small commission at no additional cost to you. Click here, to learn more about it.


