10 Bushcraft and survival skills you should try this winter
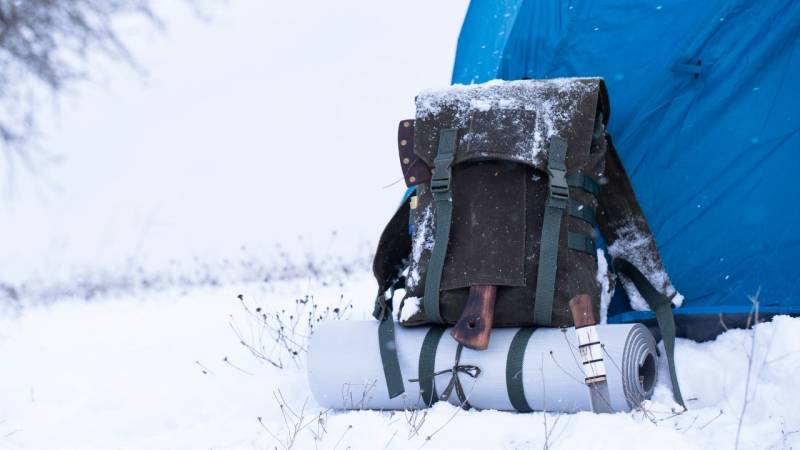
The winter brings cold and darkness, but the good news is there are many bushcraft and survival skills you can practice during the winter months.

From Martin Gebhardt. Check out my “About me” page.
👉 The key facts from this guide
- Build a snow hut: You can either build an igloo made of compacted snow or a Quinzee out of an existing snow pile. Both provide protection from wind and cold.
- Start a fire: Starting a fire in the winter can be difficult, but it's an important skill to practice. Use natural materials as kindling and focus on dry branches hanging from trees.
- Improve your orientation skills: Use the longer nights in winter to improve your navigation and orientation skills in the dark.
- Learn to track animals: In the snow, animal tracks are often more visible, making tracking easier.
- Identify edible plants and trees: Even in winter, you can find edible plants. It's also a good opportunity to identify trees by their bark or needles.
- Melt snow for drinking water: Learn how to effectively turn snow into drinking water. You can melt snow in a pot or, if you don't have a pot, melt a large snowball on a stick next to the fire.
Winter is a time when countless people hibernate and spend much less time outdoors than in summer.
I'm not certain why, as I love experiencing all seasons.
There is nothing more beautiful than taking a walk in the woods or across fields on a cold, clear winter day, when every breath hangs visibly in the air.
And the good thing is: there are many bushcraft and survival skills that you can practice during the winter months.
Now, I'll show you 10 ideas to strengthen your skills.
1. Build a Snow Shelter
I still remember the winters in Thuringia during my childhood. Occasionally, we had a meter of snow and I loved building a cave in it.
Because snow can be used to build wonderful caves and shelters. This works particularly well with snowdrifts or if you find a hill.
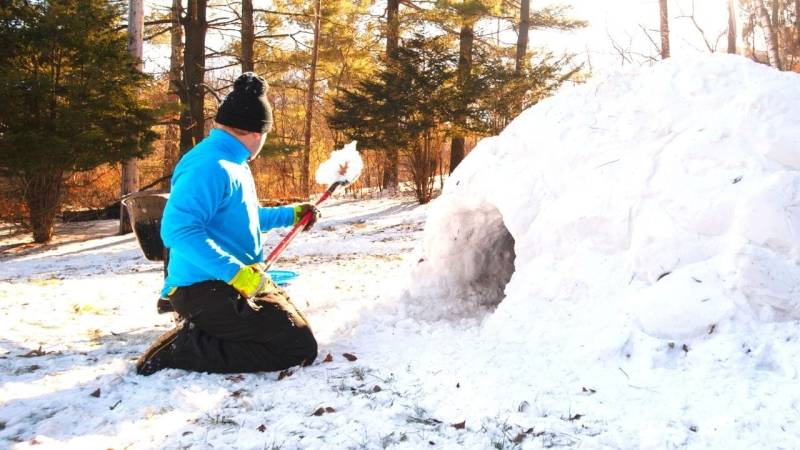
There are basically two types of snow shelters you can build.
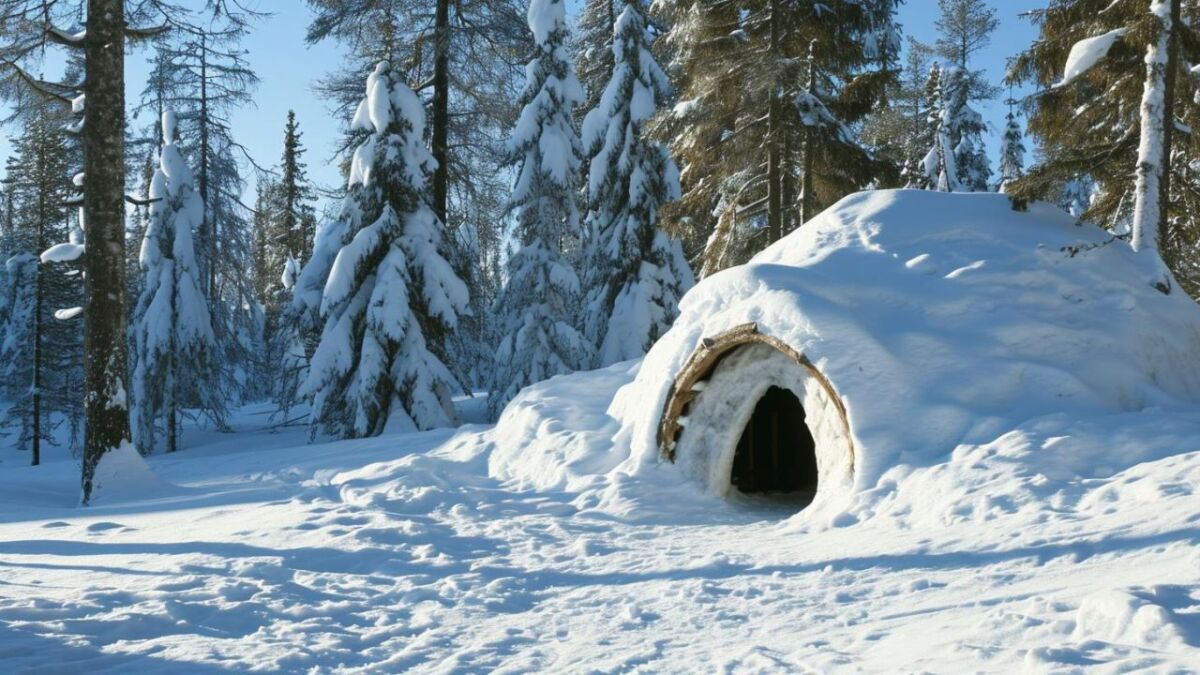
1. The Igloo. For this, you form snow blocks from compacted snow. Then you stack them in a circle until a dome is formed. For an igloo, you need firm, compacted snow; otherwise your blocks will fall apart.
2. A Quinzee. Here, you dig into an existing snow pile. This snow can naturally form through drifts. Over time, the snow pile will solidify and you can build a cave in it. Alternatively, you can also pile up your hill, compact the snow, and then dig a cave into it.
You shouldn't just consider snow caves as emergency shelters. They are also perfect for a sleeping place in the mountains.
The advantage: Igloos and snow caves are weather-resistant and more robust than tents in the mountains.
Reading tip: 7 dangers of snow caves and how to avoid them (+ opinion from a survival trainer)
Especially when strong winds blow, a snow cave is worth its weight in gold. You can also reach higher temperatures in them than in a tent.
With just body heat and a candle, you can easily reach an indoor temperature just below freezing point, while it's thirty degrees below freezing point outside.
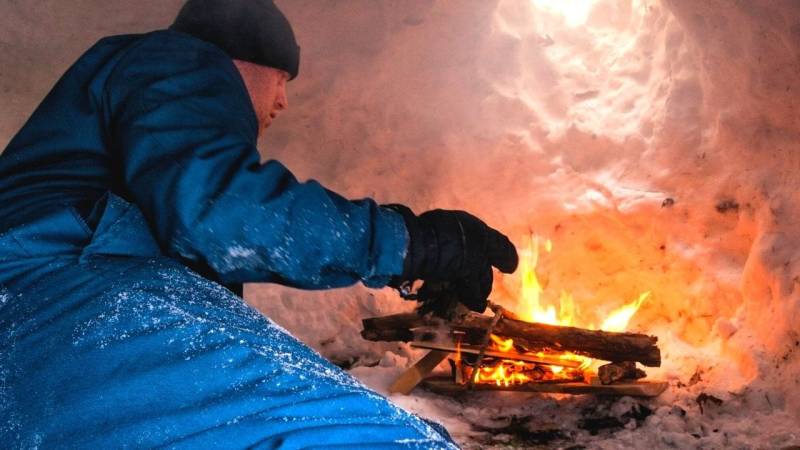
In a dangerous winter environment, knowledge of snow caves is useful and an essential survival skill.
It can also be a fun adventure, even in your backyard. If you have the opportunity this winter, I strongly recommend sleeping in a snow cave.
Read also
9 shelter to stay overnight in the wilderness - outlast the cold in winter survival – Learn how to survive in the cold during Winter Survival in the wilderness. Discover great emergency shelters and learn how to survive in emergencies.
2. Igniting a Fire
You probably know that it's more difficult to start a fire in winter. Whether you use a bow drill, a Firesteel, or matches, it's often more difficult in cold and wet seasons than in warm, dry summers.
Have you ever tried to start a fire with a bow drill on a moist November morning when the fog was hanging over the field? I can assure you that your wood won't be bone-dry anymore, making it more challenging.
Even in summer, I once left my bow drill outside, and it was impossible to produce a glow with it in the morning - it had become damp.
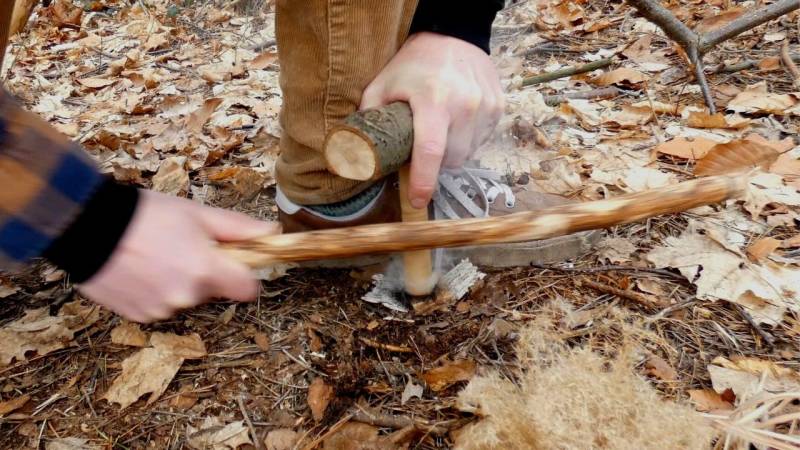
And especially in winter, a fire is more important than in summer. A good fire will keep you warm and dry your clothes. It gives you light to work on long, dark evenings.
So, go outside and practice the various fire-making techniques you already learned in summer.
If you can easily start a fire in winter, it will be child's play in summer.
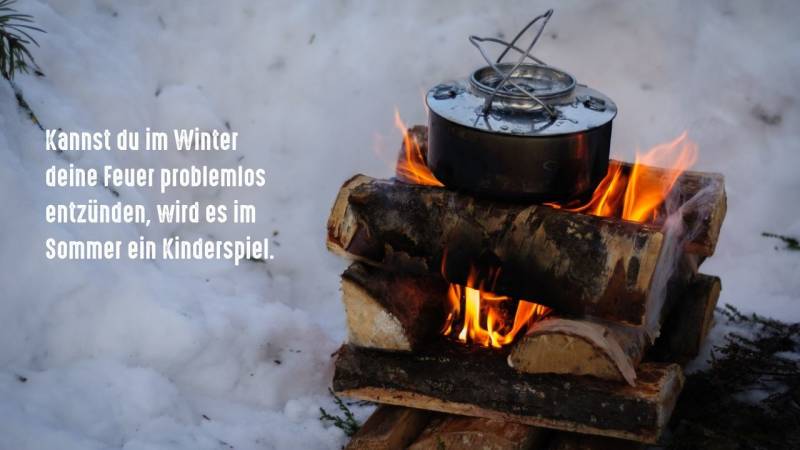
And if you want to take it a step further (and I hope you do), then make sure to work without artificial tinder. Leave cotton wool, petroleum jelly, lighter fluid, and the like at home. Instead, take natural materials, so you are self-sufficient in an emergency.
Natural tinders, such as birchbark, Fatwood, or your tinder nest, will be in a different state than in summer. Your favorites may not be suitable in winter at all.
It's also better to focus on dry branches hanging from the tree. Anything lying on the ground in winter will most likely be wet.
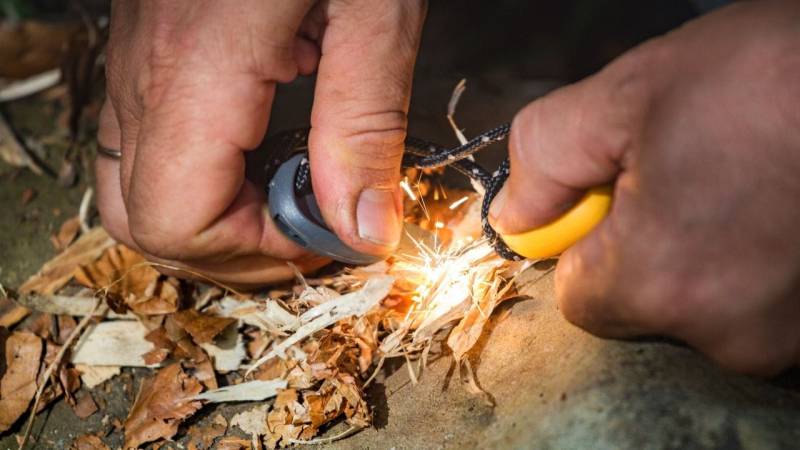
Winter will force you to refocus and refine your skills so that you can rely on them all year round. Winter is the time to take your fire skills to the next level.
Reading tip: Making Fire Without Lighters or Matches (18 Ways)
3. Conduct a Night Hike and Strengthen Your Orientation Skills
You may have noticed that it gets dark quickly in winter, and the days are short. But we can make use of this effect.
The dark season is a promising opportunity to practice skills that benefit from the darkness.
Even if you seldom move around the forest at night, navigating and orienting yourself in the dark is very valuable.
With a headlamp, you are well-equipped, but your field of vision is still limited. Looking into the distance no longer works, and it's usually pitch dark to your left and right. You, therefore, have to concentrate more to keep an overview.
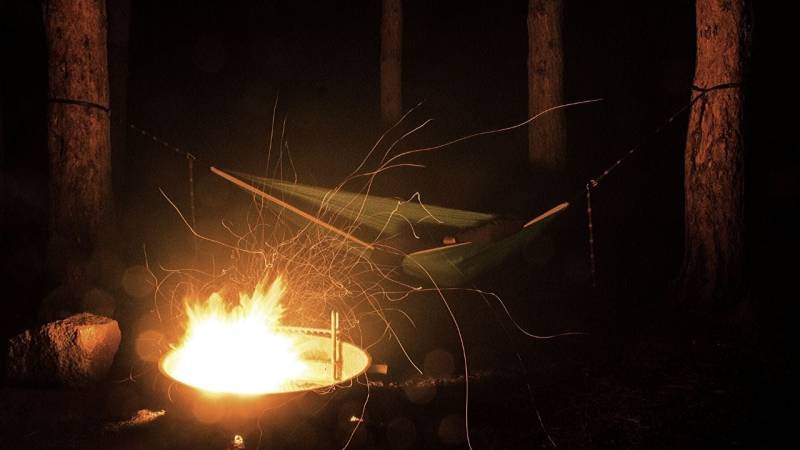
Navigating at night improves your map and compass skills, which can be applied in more challenging situations that may even occur during daylight hours. And it's exciting and fun to be in the dark and find your way.
In addition, many animals are crepuscular or nocturnal. So, you have the chance to see things at dusk that no one else sees because most people leave the forest at night.
Reading tip: 8 tips for better winter hiking
4. Tracking
While starting a fire in winter is more challenging, tracking - identifying and following animal tracks - is much easier. In the snow, you can see almost all tracks, quite the opposite of leaves and grass in summer.
Reading tracks in the snow (Here is my guide to animal tracks in the snow) is great because, except wet, clayey sand, there's no better substrate for discovering clear footprints. It's easier to identify the animal that left the tracks.
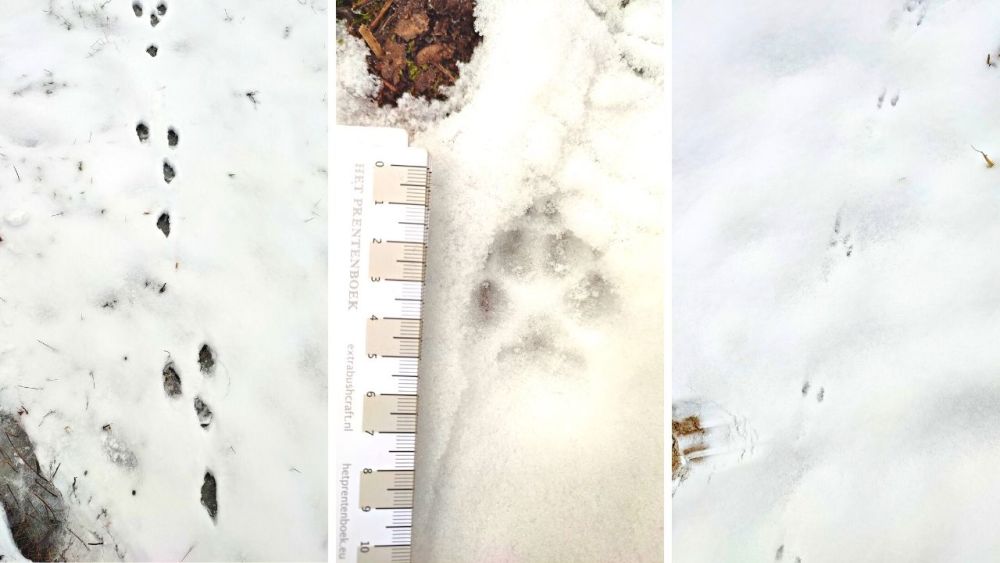
By walking in the snow, you can become familiar with entire footprints, while at other times of the year you may only find partial prints. Identifying a clear track is like a gift, and it will help you at other times.
In addition, you can track animal footprints really well in the snow. The whole trail is usually made up of hundreds of meters.
In the summer, you'll encounter soft mud with great footprints, but for beginners it's difficult to get a complete picture. On snow, the entire distance is covered, and you can follow the track much more easily.
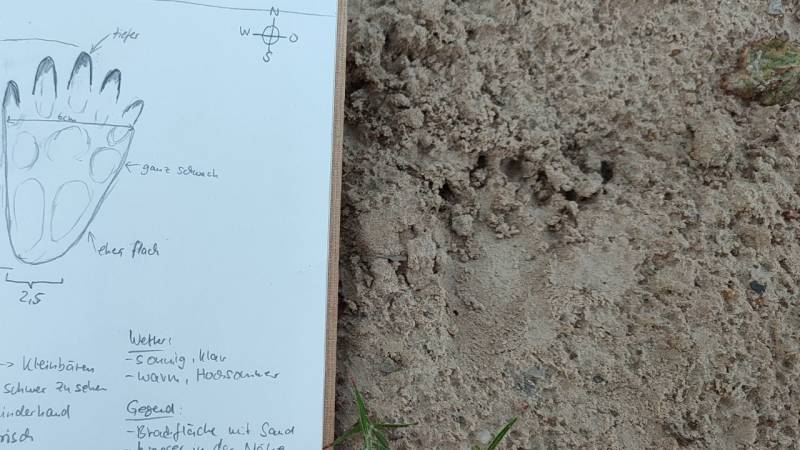
Since the trail is clearer, you can also interpret certain activities and behaviors of the animal much better.
Even an experienced tracker can gather much more information in snowy conditions. Winter is a great time to learn more about animal tracks.
Recommended reading: Learning how to track animals for beginners (with many picture examples)
5. Learn about the stars in the sky
Bushcraft also means understanding nature and its processes.
And the stars in the sky are part of nature, even if they are less tangible than the ground under your feet or the trees, plants and animals that surround us in the great outdoors.
Studying the sky is interesting in itself. And learning about the positions of planets and stars is also useful - especially if you want to navigate with them.

When navigating with stars, you may think of sailors. In fact, that used to be the only way to determine the correct direction at sea.
By improving your knowledge of the sky, the positions of the stars, and their movement, you significantly strengthen your navigation skills.
And winter supports us here considerably because it is much darker than in summer - a great opportunity to study the stars more closely.
Recommended reading: Navigation and orientation without a compass - these 11 methods will help you determine the cardinal directions safely.
6. Identification of edible plants
Finding edible plants is a great way to survive in nature or just to give the wilderness salad a special flavor.
Even in winter, you'll find all kinds of edible plants in the forest and meadows.
Why not try digging under the snow for plants like rabbits or mice? You'll be surprised at what you'll find.
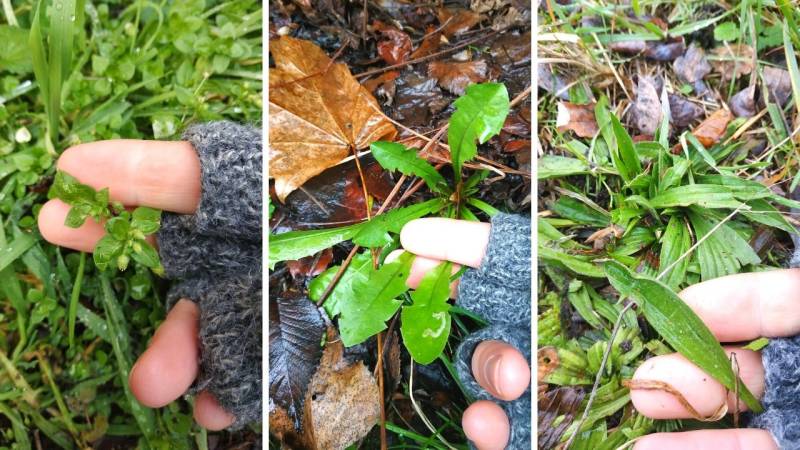
And even if there is no snow, you should check which edible plants can be found in winter.
In the picture above, I found chickweed, dandelion, and plantain in January - all three are edible and delicious plants.
Also read
Winter Food Search: Over 41 Edible Plants, Nuts, Roots and More for Emergency Food in Cold Weather - This winter food search guide is full of facts and fascinating traditions about emergency food that grows in the snowy months.
7. Identifying Trees
Identifying deciduous trees in winter can be a challenge.
However, this challenge is worth it because it improves your ability to identify useful resources in the colder months of the year. And in summer, it's even easier.
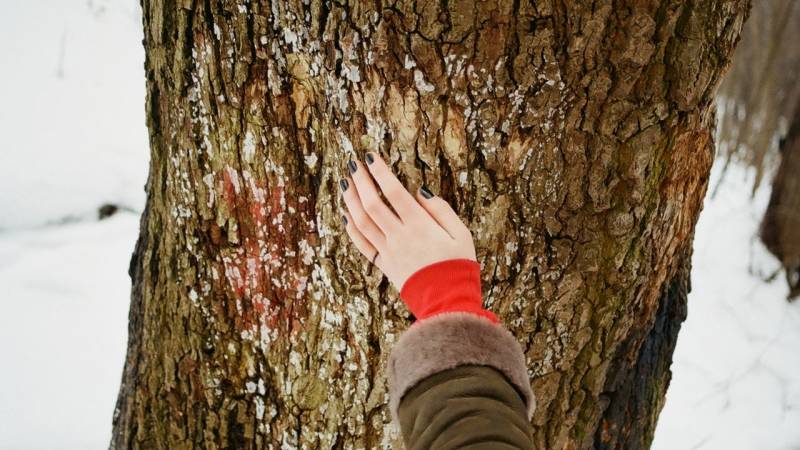
In summer, we often look at the leaves or flowers. But most features in deciduous trees are also present in spring, summer and autumn.
Especially the bark is almost the same in all seasons and a wonderful feature for identification.
With evergreen trees, i.e., conifers, identification is possible with the leaves, i.e., needles.
Although the forests, hedges and meadows are at rest, there is still much to study in the winter months. Especially when the leaves are missing, you can concentrate entirely on the visible features.
Reading tips: "6 Trees Every Survivalist Should Know" and also check out "Identify and Recognize 5 Well-Known Conifers by Their Needles".
8. Building a Torch or Grease Lamp
Did I mention that it's darker and stays dark longer in winter than in summer?
I emphasize the point again because in winter, you will undoubtedly spend longer in the camp. And you will need light in the dark season. Of course, there are headlamps, but you need batteries constantly.
And most of us feel insecure in the dark.
This stems from a past when large and dangerous animals roamed the night landscape, and the light of a bright fire was our ancestors' only real defense against them.
Even today, there are many people who are afraid of the dark. Bears are no longer a threat, but you don't have to sit in the dark after a power outage in summer or after a disaster.
And you don't have to use up your phone's battery with the flashlight app. There are ways to create light. Here are two of them.
How to Make a Primitive Torch
In the Middle Ages, torches were made from wooden sticks (or branches), preferably from wet/green wood to prevent the fire from burning the fingers.
River tubes, cattails, reeds, and bark can also be used. However, certain types of torches need to be tied with twine or similar to keep them stable.
Special types of bark (such as birchbark) or wood burn better than others, but in a survival situation, you can't always be choosy.
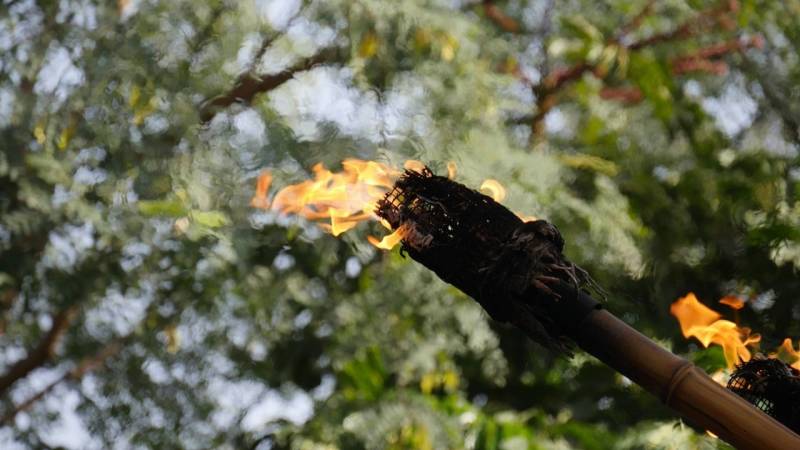
How to Build Torches Yourself?
The simplest torch design consists of a stick with a bundle of rags tied to one end and then soaked in resin, pitch, oil, gasoline, or animal fat.
If you don't have any rags or clothing left, you can wrap the end of the stick with birchbark and stuff it with dry grass, moss, small pieces of wood, or leaves.
It would be ideal to carry some accelerants in your EDC survival kit (Read here: What Is an EDC?) such as paraffin or cooking oil. These are excellent additives for a survival torch.
If you don't have them, you'll have to settle for animal fat (such as bacon fat if you've packed food) or resin.
A primitive torch can be built from a branch or a green stick of at least 60 cm in length and 5 cm in thickness, fabric/birchbark, and a type of accelerant (animal/plant fat, paraffin, kerosene, resin, etc.).
Pro-tip: You can also build a giant cotton swab out of toilet paper. In the next step, you need to dip the wick in oil and let it soak for about two minutes.
A Lamp in a Jar
Oil lamps are thousands of years old, and although this is an old method of lighting, it is not outdated.
Use a plant fiber wick and some oil in a heat-resistant container, and your lamp is ready.
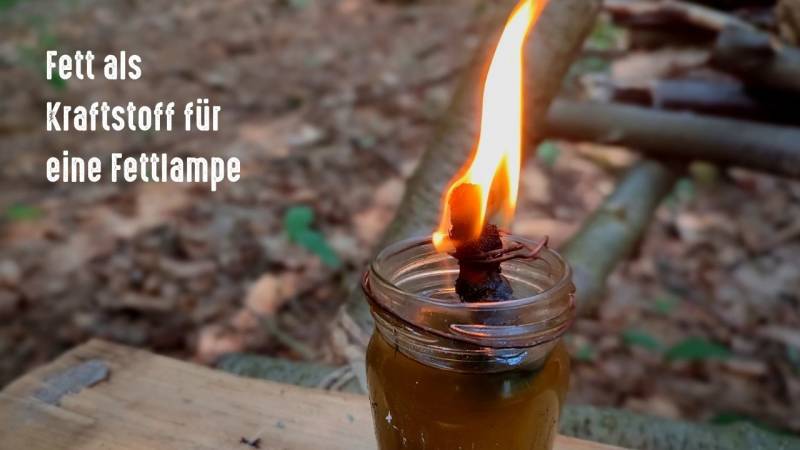
You can turn many types of oil into a fuel source for lighting.
It can be solid oil, such as lard or tallow, or it can also be liquid oil, such as ordinary plant or mineral oil.
You only need a fireproof or heat-resistant container (such as a mason jar or a flat metal can).
Do not use a drinking glass as a container or anything else that can break at high heat.
Stick to a heat-friendly container and plant fiber material for the wick. Light the wick with an open flame (such as a match or lighter) and enjoy the ambiance.
9. Melting snow for drinking water
You probably know that snow is made of water. However, there is quite a bit of confusion about the best way to turn snow into water.
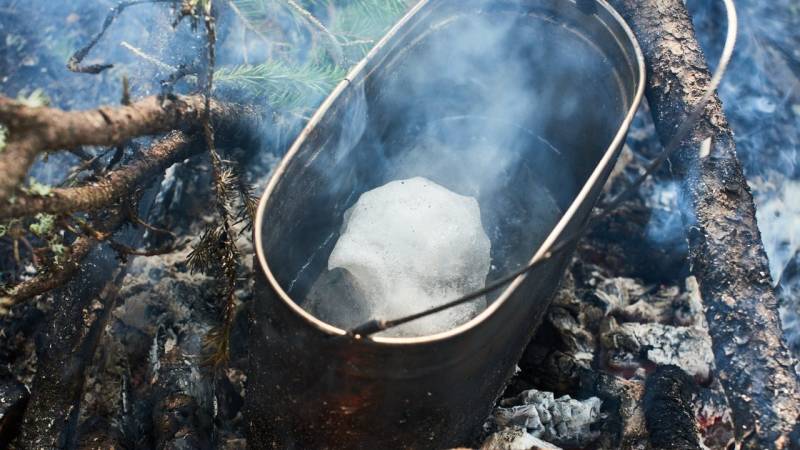
There are two ways to effectively melt snow in a pot and make water from it.
1. You already have water, heat it up and then gradually add snow. The warm water will then melt the snow. As more and more water accumulates, you can add more and more snow. Just be careful not to add too much snow to the water at once in the beginning.
2. Start with a small amount of snow. Melt it and then add small amounts of snow again and again, so it immediately melts, until you have enough water to add larger amounts of snow at once. This is much more efficient than starting with a pot full of snow.
Although both methods above may seem simple, it is worth trying both.
Learning works best through experience, and you will know how much of certain types of snow you need to use.
Because snow is very variable. Sometimes it is light, fluffy, and dry. Sometimes it is heavy, dense and wet.
How can you melt snow without a pot?
I would also like to give you another method to use if you have heavy and wet snow but no pot.
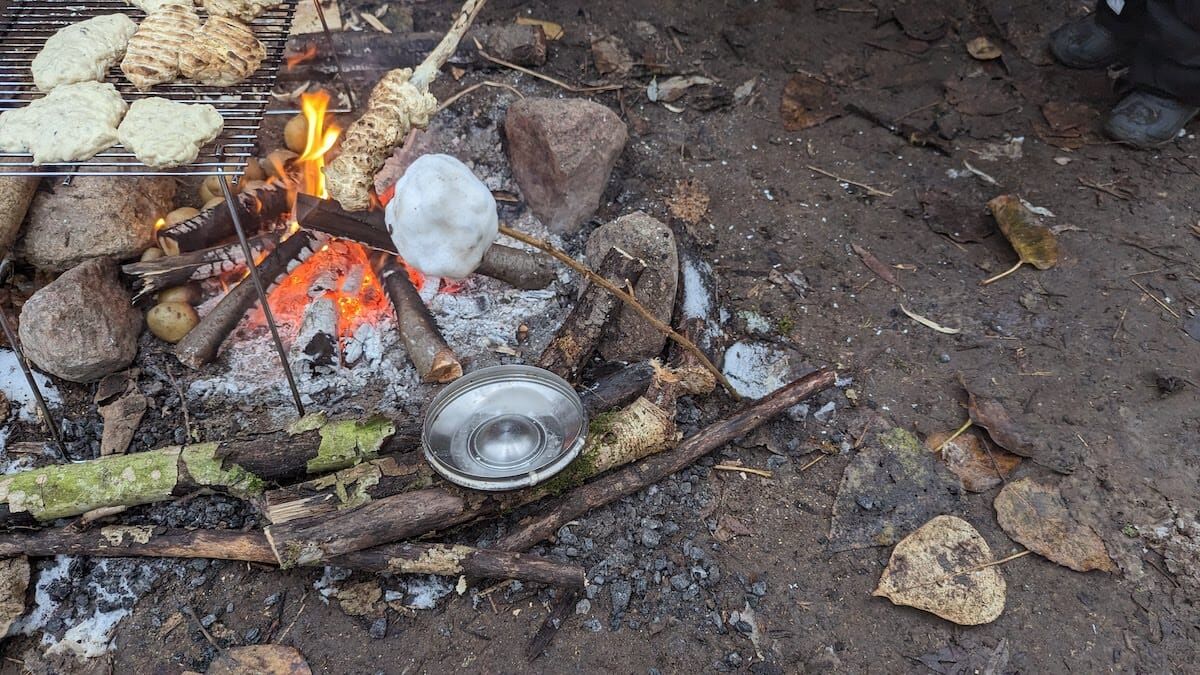
Form a large ball that you can skewer on a stick. Place this stick with the snowball next to the fire. The stick should not be directly over the fire, but it should be near a good heat source.
After a while (and it takes quite a while because the water produced initially seeps into the snow), the snow block begins to drip. Then put a cup or other container under the drops and collect your water.
Melting powder snow without a pot
This method works well if you do not have compacted snow.
Fill a cloth bag or spare piece of clothing with powder snow, hang it next to the fire and let it melt from the radiant heat. Once it starts to drip, put a cup or other container under the drops.
Read also
Can you really eat snow in survival situations? - Snow is like water, but can you eat snow if you are in a survival situation? And if so, you will find out here what you need to consider.
10. Sleep next to a fire
I know two methods for sleeping by the fire.
Do it right and have a wonderful experience in winter.
Or do it wrong and freeze, inhale smoke and have a miserable night.
One thing in advance: You need a lot of dry firewood because it burns well and doesn't smoke.
And you need more firewood than you initially think. It is normal for almost every outdoor beginner to underestimate how much fuel a campfire requires - especially if it is supposed to burn all night.
Challenge 1
Start by bivouacking near a fire using a sleeping mat (here is my top list), a bivouac bag and a sleeping bag (here is my top list). It's best to lay down a tarp too.
Choose a suitable location, keeping in mind that your sleeping bag also insulates you from the heat. Some people therefore place their head towards the fire, as it is usually exposed and the head also loses the most heat.
Challenge 2
If you're looking for a greater challenge, leave the sleeping bag behind and use an old woolen blanket instead. But make sure you get a 100% woolen blanket (e.g., this one or this one).
If you're afraid it might be too cold, you'll need to use two or more blankets.
Challenge 3
If you want to go one step further, build yourself a bed and exclude the sleeping mat. Once you've slept without a sleeping mat, you'll know how much it protects you from ground cold.
You need to break this mechanism of heat loss and build a bed. Build the bed elevated in front of the fire so that the heat also reaches under the bed.
Reading tip: Sleeping outdoors in winter - with these proven tips it will definitely work
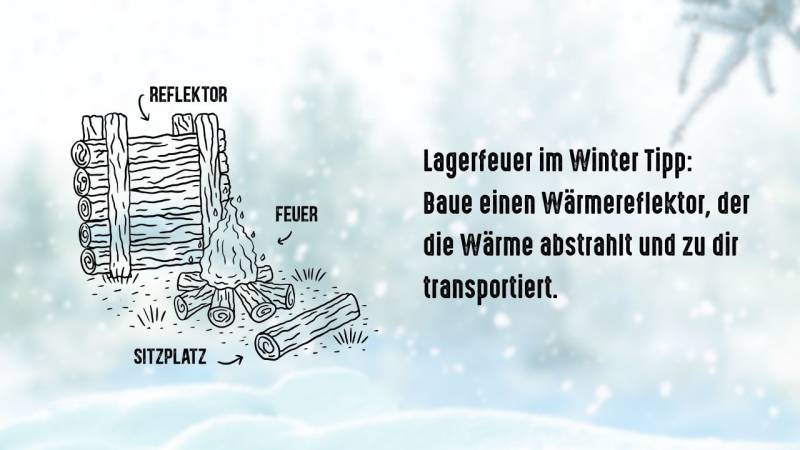
Tip: Build a heat reflector that radiates the heat and transports it to you.
Sleeping next to a fire in winter without sleeping gear is particularly challenging, some even use a hammock in winter.
Take it step by step, learn from your experiences and start small. It's best to bring friends along, so you can share your experiences together.
And the good thing is: These skills will also help you in emergencies, such as when you are stuck in a snowstorm with your car or in a snowstorm with your tent.
Now I want to know from you, what will you try first this winter? Write it in the comments.


Author of the guide
Martin Gebhardt
Hey, I'm Martin. On my blog, you will learn the basics and numerous details about living in the wild. I think survival, bushcraft and the good life in nature are the keys to happiness. Find me here on Instagram or on YouTube. You can find more about my mission on the About Me page.
Was this guide helpful?
25 people found this guide helpful.
5.00 out of 5 points (25 Ratings)
Comments (0)
This post may contain affiliate links. So if you click on the links and make a purchase, I will receive a small commission at no additional cost to you. Click here, to learn more about it.


