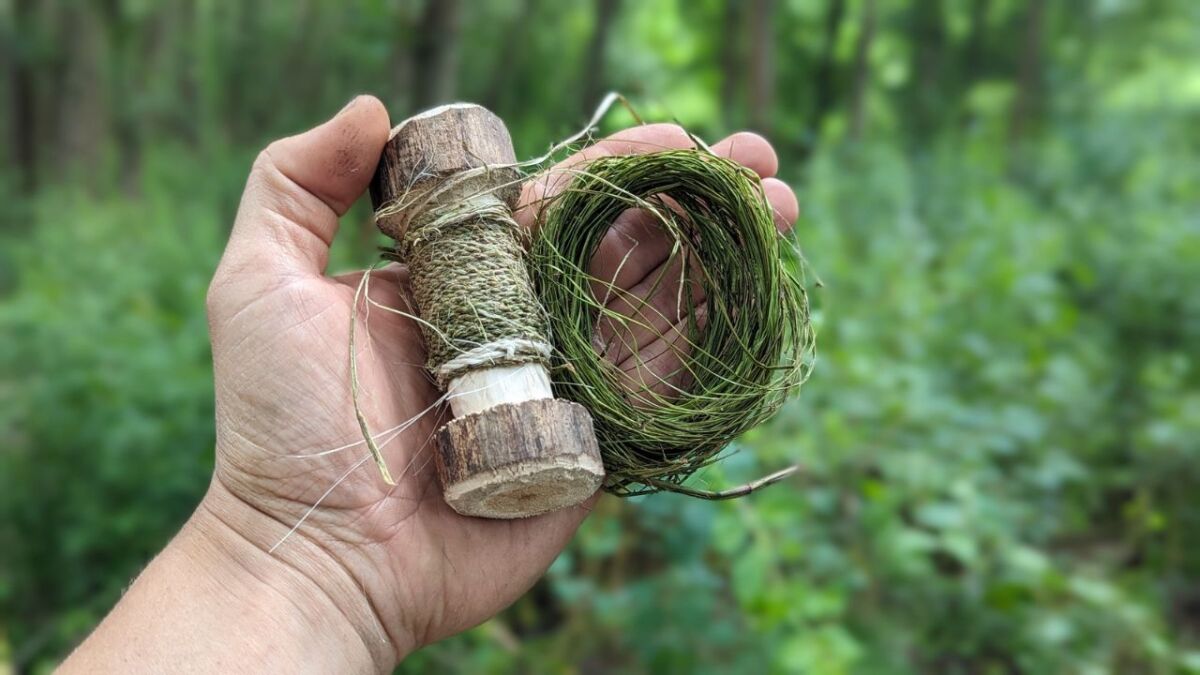
Make rope and sturdy cord from nettle using natural materials for survival
👉 The key facts from this guide
- Materials: Long, sturdy, elastic and grippy plant fibers are necessary, such as those from nettles.
- Processing: The fibers are broken open, dried and then spun into threads.
- Rope making: Two threads are spun in opposite directions to form a rope.
- Lengthening: Ropes can be lengthened by twisting in additional fibers.
- Alternative materials: In addition to plant fibers, strips of plastic bags, paper, or inner bark of certain trees can also be used.
- Exercise: Rope making requires practice and patience to learn the proper technique.
Ropes are one of the most important tools that help to survive a survival situation.
If you are familiar with rope making, you will achieve many goals more easily and keep unpleasant things off your back.
Today I will show you how to make ropes yourself. Let's start right away with the materials you need.
The video on rope making
Short on time? Then watch my video on how to make a rope.
The materials for rope making
You require long, strong, elastic, and grippy fibers from a plant.
In exceptional cases, you can also use other materials like strips of plastic bags, paper, or even toilet paper.
But let's stick with plants. I use the fibers of the nettle for my ropes.
So collect enough nettles (here's everything about the power plant) and remove the leaves (gloves are helpful here).
If possible, look for large plants because this will give you longer and thicker fibers.
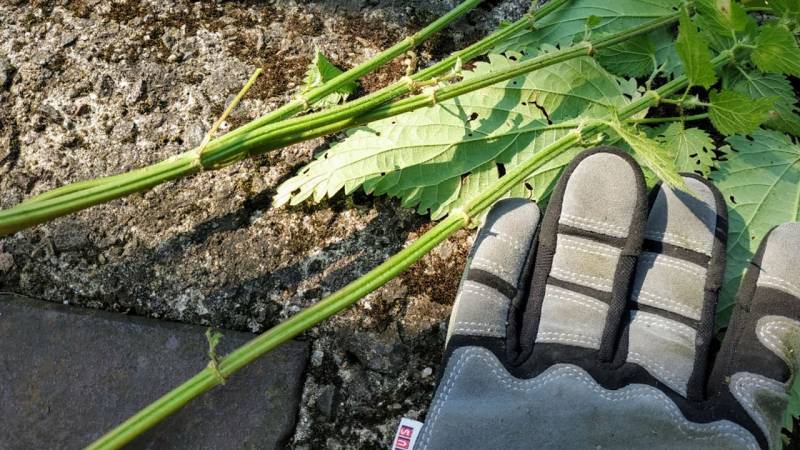
Next, pound or break the stems. This will make it easier to access the fibers we require.
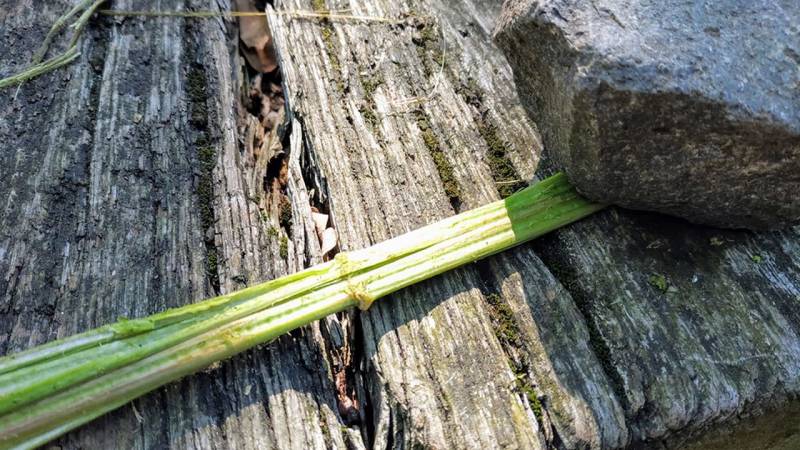
Have you done that? Break the stem in the middle. But do not tear it apart!
You will now see that the outer layer of the stem loosens and the fibers you are looking for become visible.
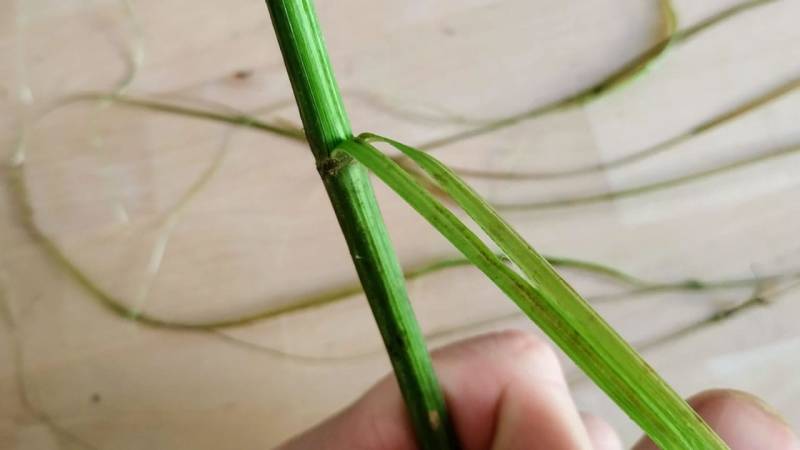
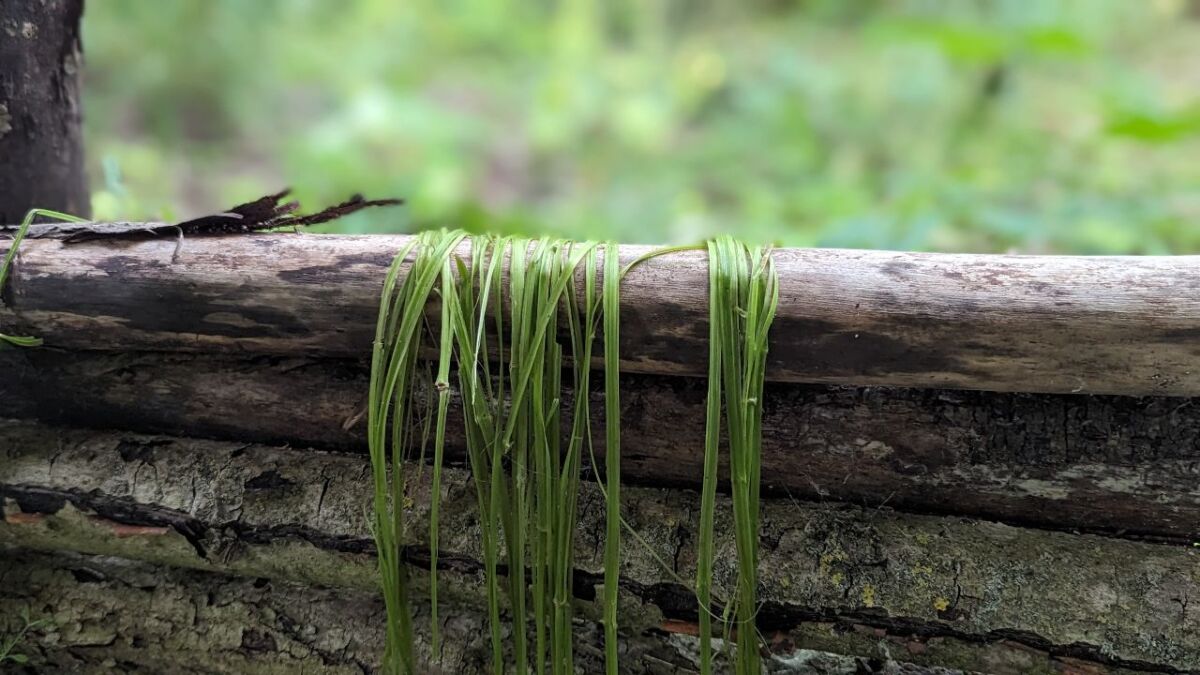
Collect the fibers now because you will make your first rope out of them.
Ideally, let the fibers dry for 24 hours, but you can also start testing right away.
Making a rope
We will now go through everything step by step.
But first, a basic rule when making rope!
- The first twist goes counterclockwise.
- The second twist should be clockwise.
Or vice versa. However, always alternate directions and keep the fibers/ropes under tension.
Here's an illustration to visualize the process:

Or here's a mini video about the best technique for rope making.
In the video, you can see the concept and easily follow along. It's a really simple and quick method, and with it, I can whip up a rope in no time.
Step 1
Take four fibers and split them into 2x2 fibers. So you should use at least 4 fibers for a line. You make a yarn out of 2 fibers. You end up with 2 yarns.
Step 2
Now tie all four strands together with a knot at the end and then twist two strands together (counterclockwise) to make a yarn. Then twist the two yarns together in a clockwise direction. You will receive a strand.
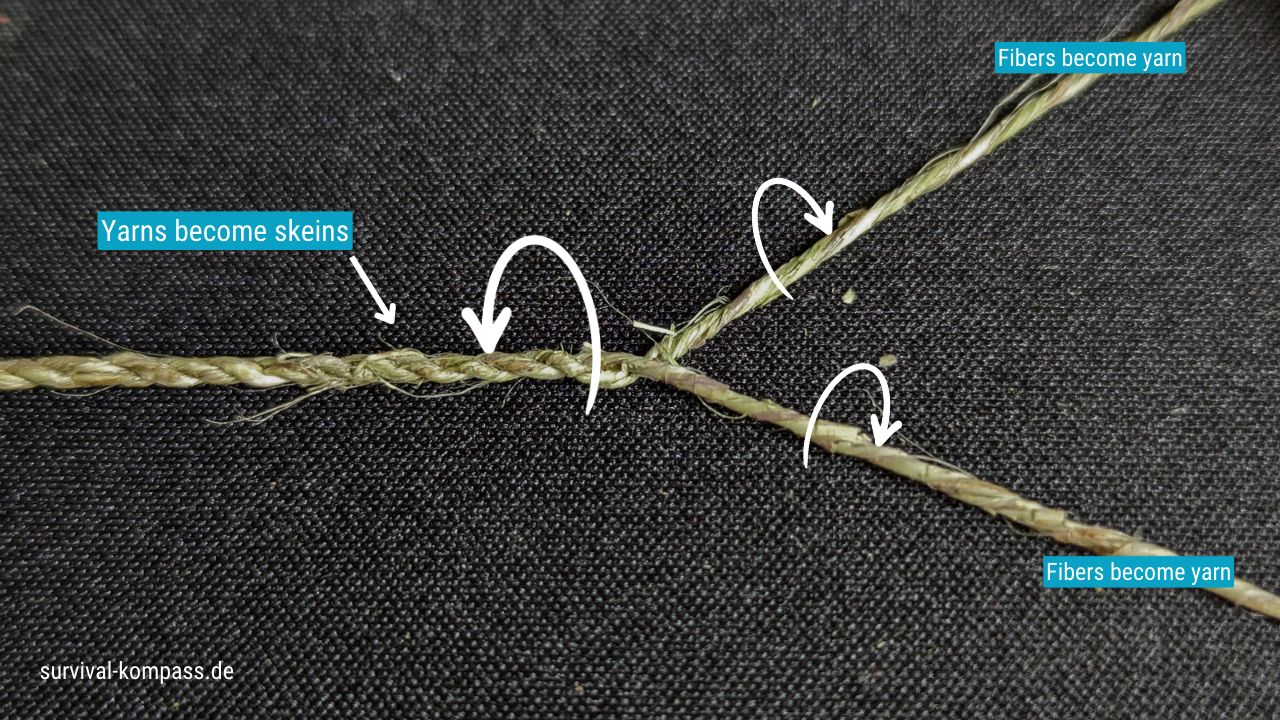
If you do everything correctly, your first rope is finished.
Check its tear resistance and get started on the next attempt.
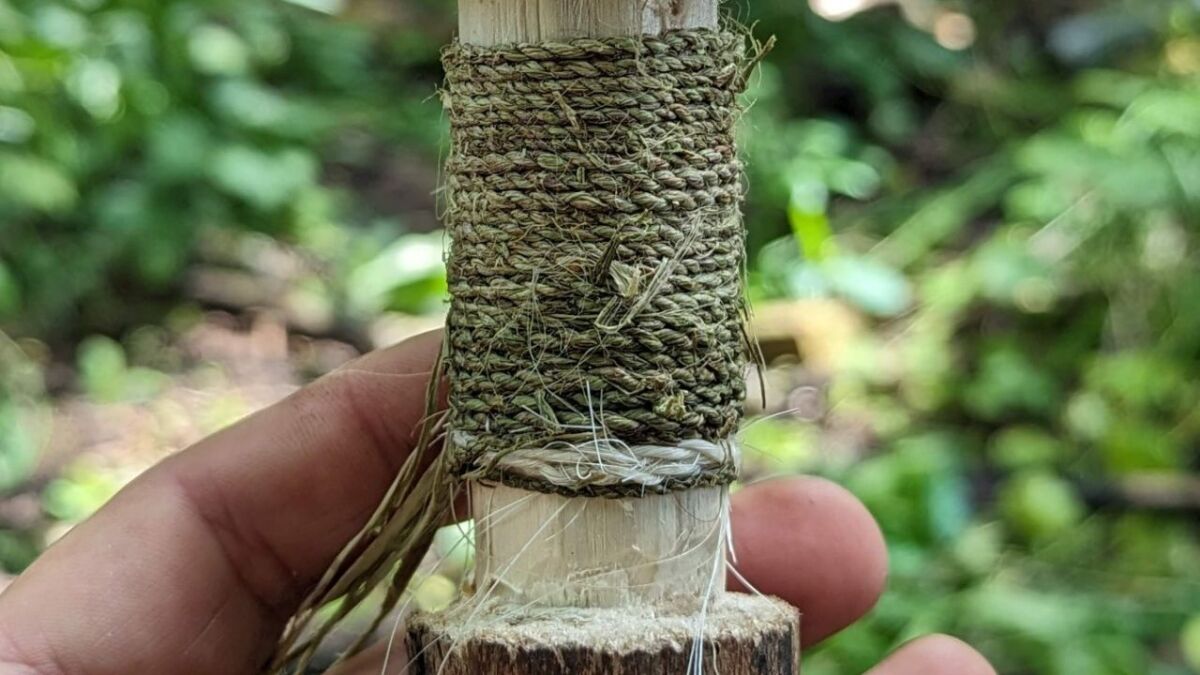
If you want the rope to become thicker, you must now create two identical types of ropes and twist them together again.
Extending ropes
Surely, you have already wondered how to extend a rope.
You extend such a basic rope (the yarn) by winding another fiber. But don't do it with just 2 or 3 cm, take more length to wind. More than 10 cm is best. This way you are on the safe side.
You must also never extend a rope if the parallel section is also extended at exactly the same point. This has a negative effect on stability.
Further information about rope making
You can use any plants that have equally tear-resistant and stable fibers.
For example, the fibers of bark are useful. The inner bark (the bast) of willow and lime is a great material.
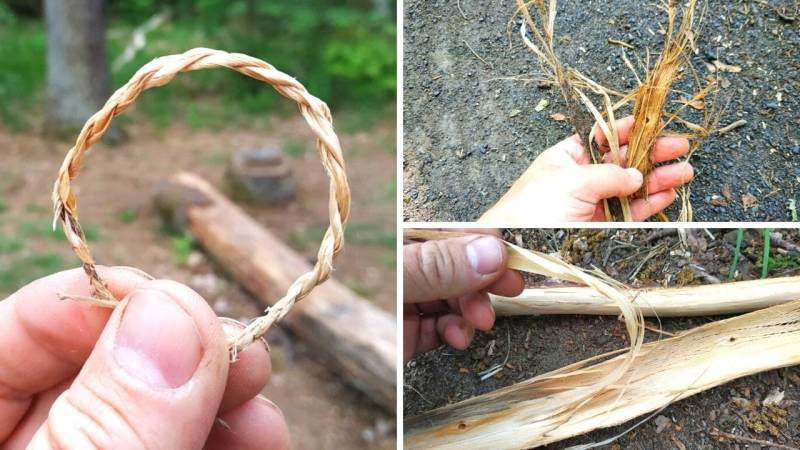
Other materials that are suitable for ropes include:
- Fibers from the stem
- Nettles
- Hemp
- Flax
- Spurge (Warning, toxic, especially the sap)
- Leaves
- Cattail
- Yucca
- Agave
- Douglas Iris
- Inner bark (Bast)
- Willow
- Maple
- Linden
- Cedar
In my Wildimpulse-Program, I will show you in detail how to twist ropes and how to obtain the strong inner bark of the linden tree. Together, we will make bast as our ancestors did. Enroll now (in German).
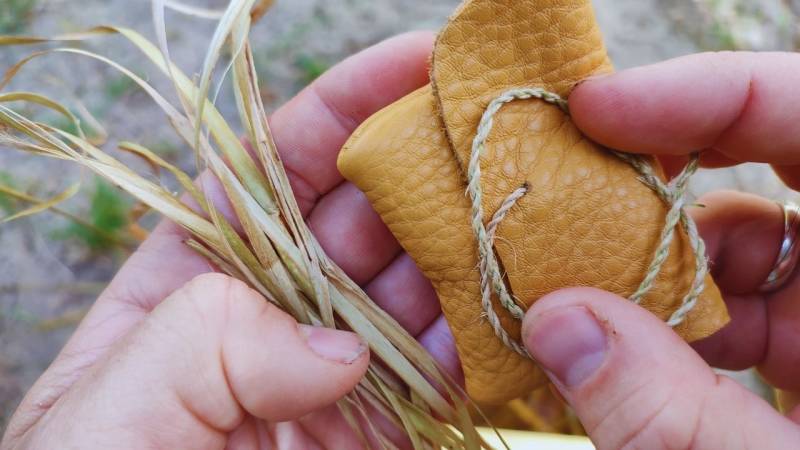
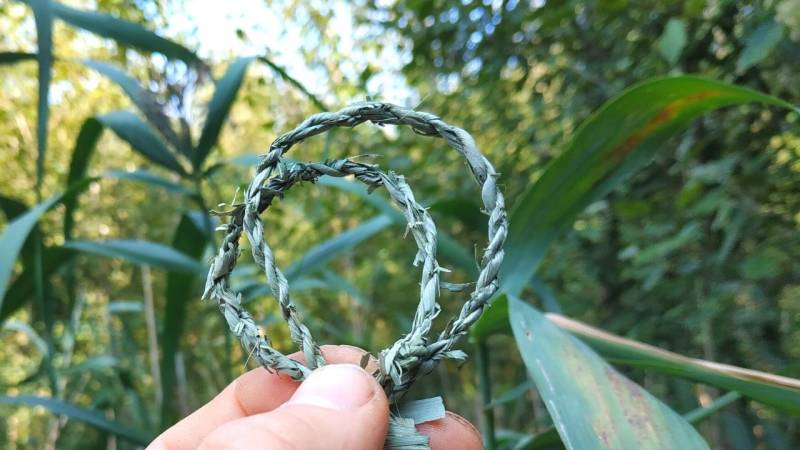
It won't work immediately at first. Making ropes from natural materials is a difficult exercise in the wild.
I can only recommend that you practice over and over again. Through practice, you will gain more knowledge and eventually get the hang of it.
I want to give you a reading tip that goes along with this. Furthermore, take a look at my 6 important knots for bushcraft and survival. You will need them when you have produced enough ropes.
Are you going to make a rope right away? How was the instructions for you?
What materials do you use for rope-making?
Write your experiences in the comments!

Sources for the guide
https://de.wikipedia.org/wiki/Brennnesseln

Author of the guide
Martin Gebhardt
Hey, I'm Martin. On my blog, you will learn the basics and numerous details about living in the wild. I think survival, bushcraft and the good life in nature are the keys to happiness. Find me here on Instagram or on YouTube. You can find more about my mission on the About Me page.
Was this guide helpful?
66 people found this guide helpful.
4.94 out of 5 points (67 Ratings)
Comments (0)
This post may contain affiliate links. So if you click on the links and make a purchase, I will receive a small commission at no additional cost to you. Click here, to learn more about it.


