Build a Bushcraft wooden table in 6 easy steps
👉 The key facts from this guide
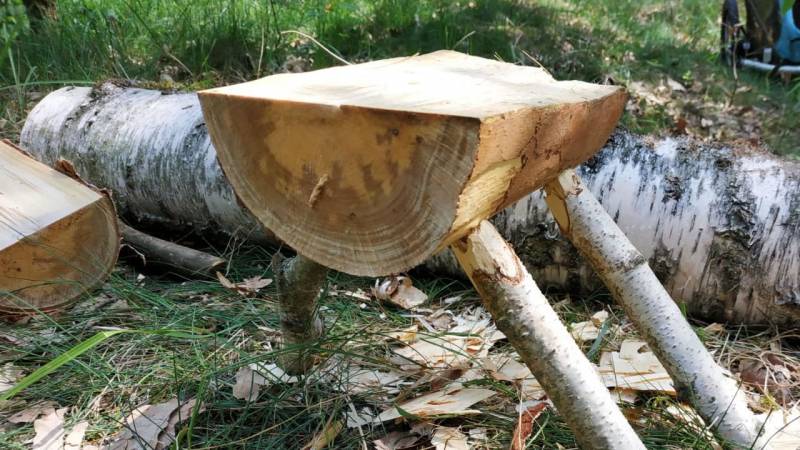
- A bushcraft wooden table is a simple and practical table that you can set up in your bushcraft camp. You will need a tree stump, three branches for the legs, an axe, and a knife.
- The first step is to saw and split a tree stump. The length of the tree trunk determines the length of the table.
- In the next step, you will work on the surface of the split tree stump to achieve a smooth surface.
- Afterward, you will find three equally long branches and sharpen them. These will serve as table legs.
- Using your knife, drill three holes into the bottom of the table and insert the table legs. If the table wobbles, you will need to drill the holes deeper.
Your bushcraft camp is set up, but you don't have a table.
No one likes to eat on the floor.
Sure, you could use a tree slice or a tree stump.
But that gets boring eventually, doesn't it?
Therefore, build your own small wooden table. I will show you how to do it with this picture guide.
Preparation - what you need
I would rather not keep you waiting for long. Let's get started!
You will need the following tools and materials:
- a tree stump to split
- three branches for the feet
- an axe for splitting
- a knife for drilling the holes
Note: Please do not cut down a real tree, there are enough trees that are dead and that you can use.
Step 1: Saw off the tree stump
Go into the forest and find a dead tree trunk. The length of the tree trunk will be the length of the table.
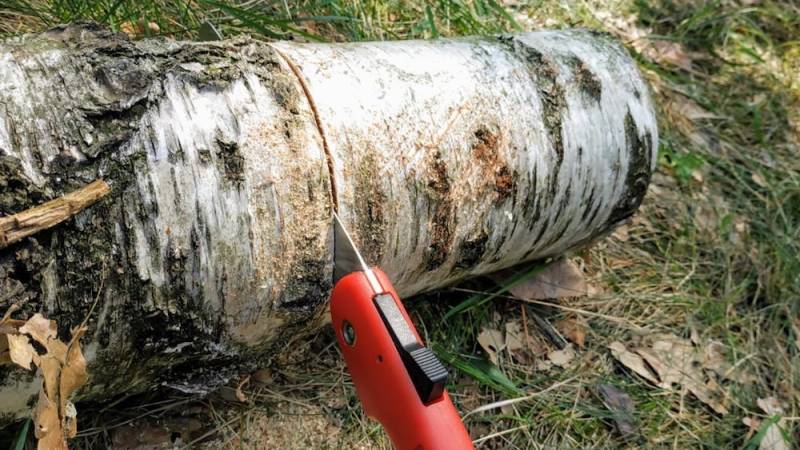
If you want to know what kind of saw it is and why I always have one with me, then check out my article "Why a hand saw belongs in your backpack".
Step 2: Splitting the Tree Trunk
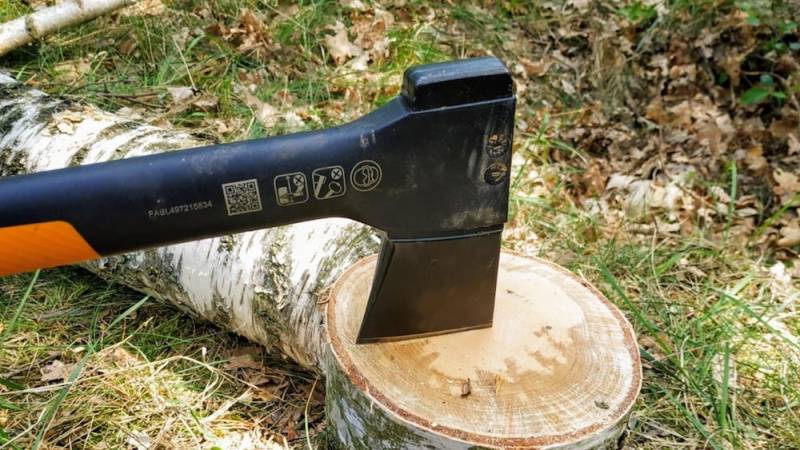
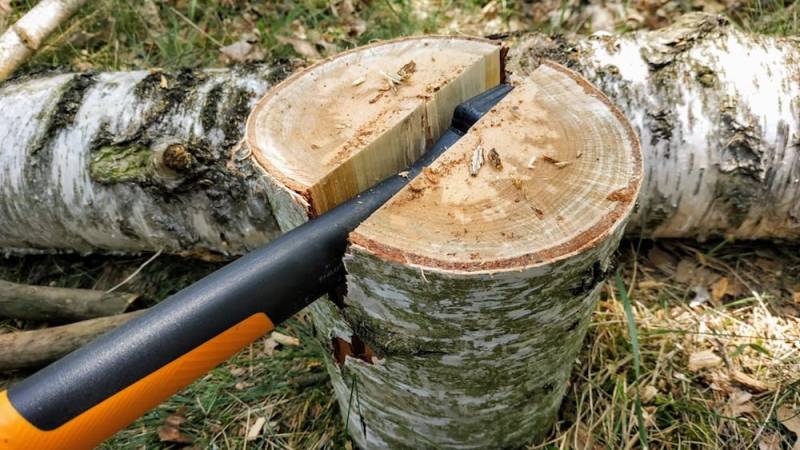
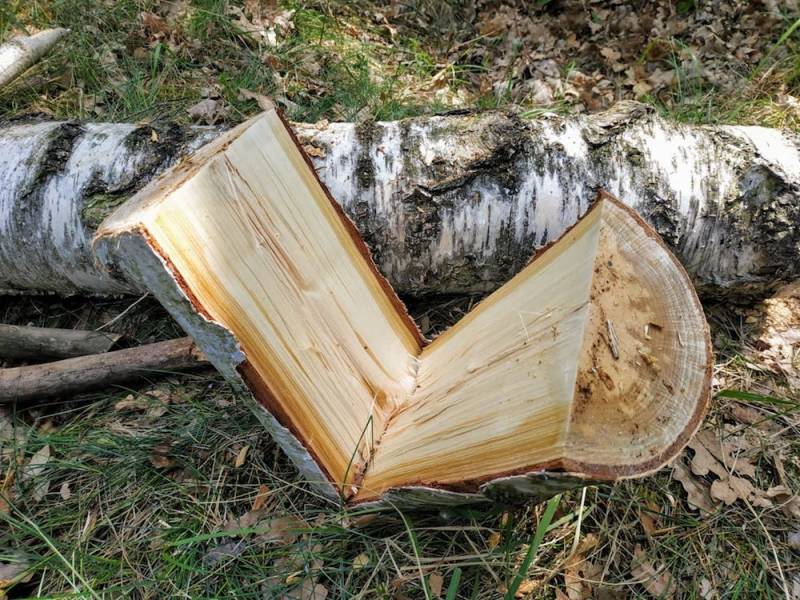
Put your axe on and split the tree trunk as best as possible in the middle.
Step 3: Create a smooth surface
To ensure everything stands straight on the table and nothing wobbles later on, work on the surface a bit.
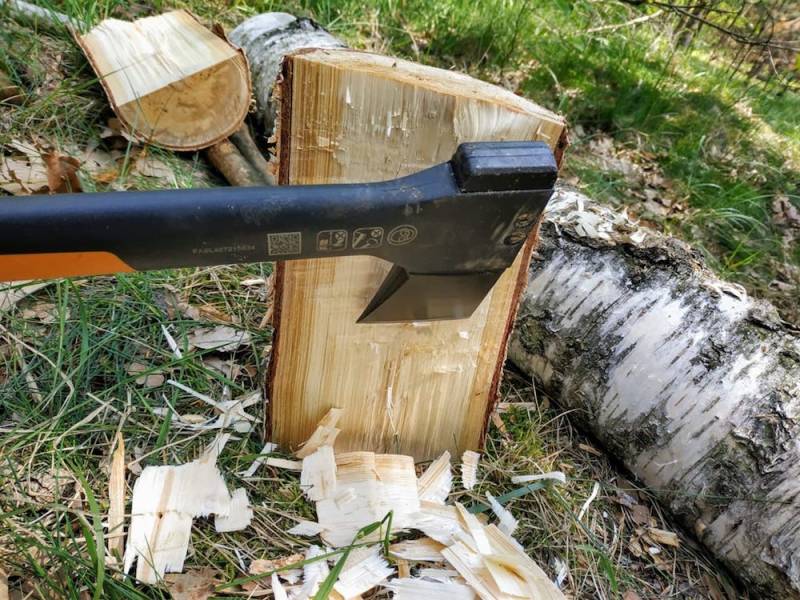
Read about why I use this particular axe and consider it one of the best axes in the article "The 3 Best Survival Axes (Presentation + Pictures)".
Step 4: Making Table Legs
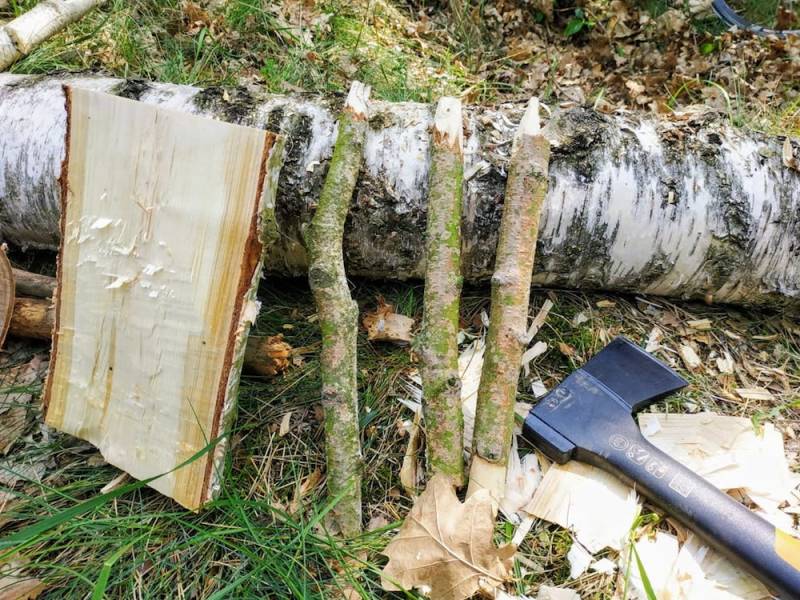
Choose three equally long branches and sharpen them. They will serve as table legs at the bottom of the table.
Step 5: Drilling holes
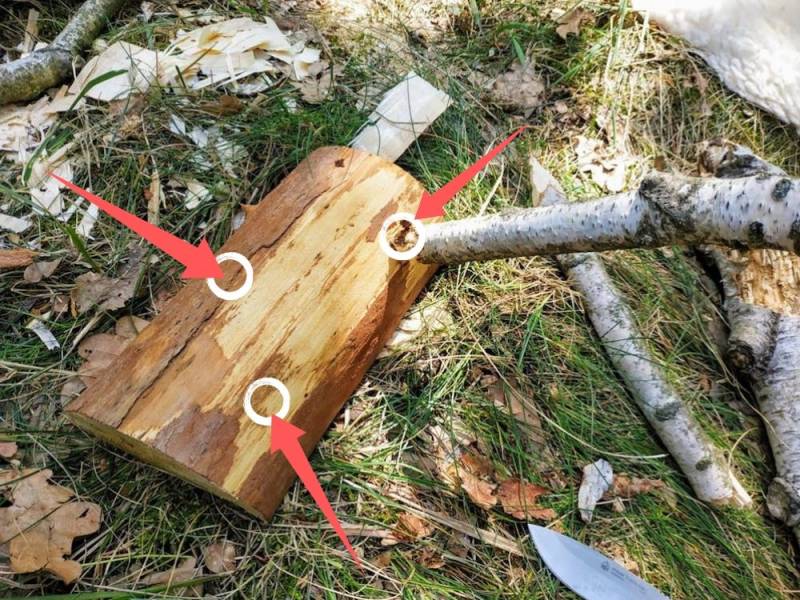
Drill three holes in the bottom of the table with your knife. The table legs will then be inserted there.
Place the holes in such a way that the table stands stable later on. In the image below, I have marked where the holes belong.
Step 6: Attach table legs
Now insert the table legs into your table. Hammer them firmly in.
If the table still wobbles, you need to drill the holes deeper so that the table legs sit firmly.
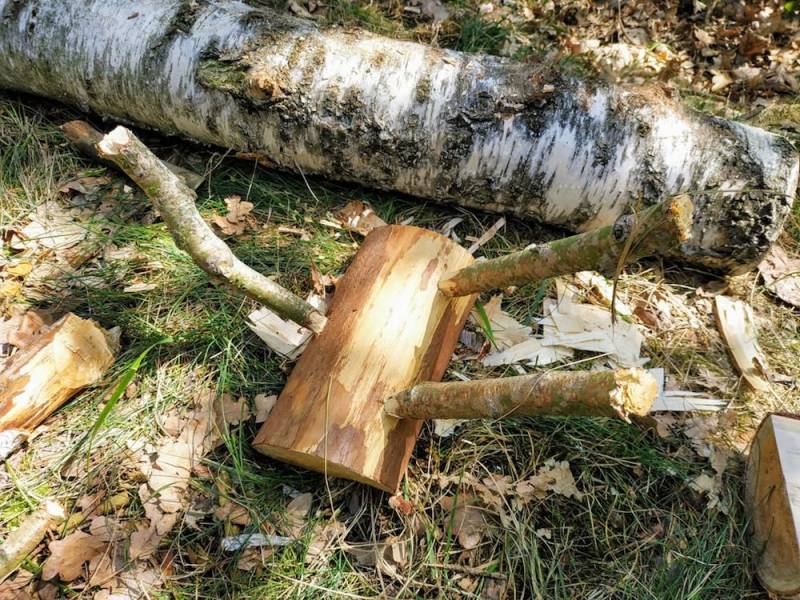
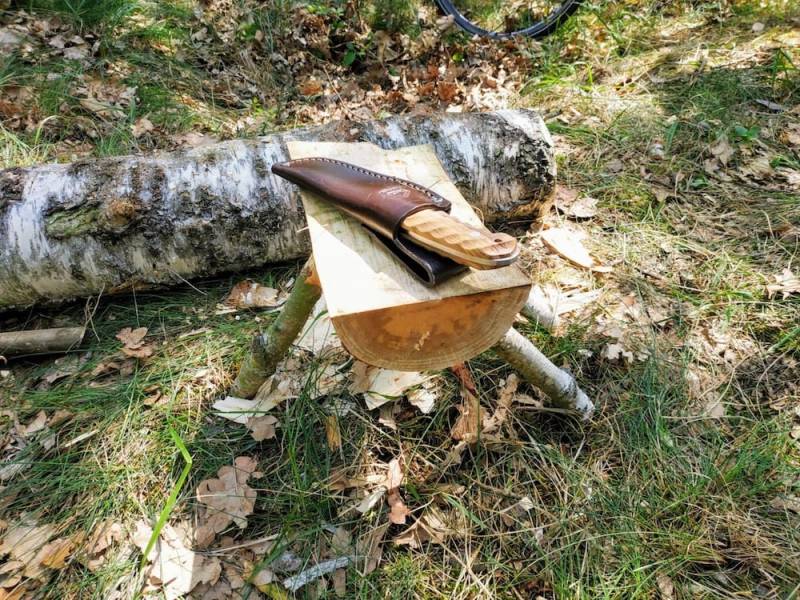
Your wooden table is ready!
If the table legs are secure, your wooden table is ready. You can now use it as a table, cutting board, cooking board, etc.
Or you can improve your forest table by adding four table legs instead of three.
How did you like the manual? Is it easy to understand?
Will you also build such a forest table?
Looking for your next bushcraft project? Then why not build a tripod.


Author of the guide
Martin Gebhardt
Hey, I'm Martin. On my blog, you will learn the basics and numerous details about living in the wild. I think survival, bushcraft and the good life in nature are the keys to happiness. Find me here on Instagram or on YouTube. You can find more about my mission on the About Me page.
Was this guide helpful?
14 people found this guide helpful.
5.00 out of 5 points (14 Ratings)
Comments (0)
This post may contain affiliate links. So if you click on the links and make a purchase, I will receive a small commission at no additional cost to you. Click here, to learn more about it.


