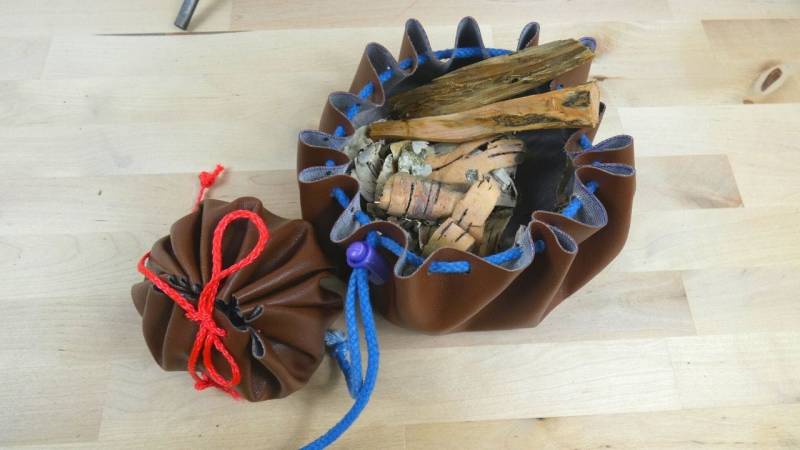
How you make a leather pouch (quick and easy)
Learn here how to make a leather pouch or tinder pouch yourself. The guide shows with pictures in 10 steps how it is simple and quick.

From Martin Gebhardt. Check out my “About me” page.
👉 The key facts from this guide
- Material procurement: You need real leather or artificial leather, paper, scissors, a hole puncher, and a rope or leather cord.
- Create a template: Use a plate or a pot lid to draw a template on paper. Then cut it out and fold the paper four times.
- Draw and create holes: Mark the position of the holes and punch them out with a hole puncher or a hole punch plier.
- Transfer the template to leather: Place the template on your leather and draw the circle and the holes. Then cut out your leather circle and punch the holes.
- Thread the cord: Thread your cord, making sure to alternate it. And your leather bag is ready!
Your tinder is well packaged. You know where your striker is.
Your fire bag is immediately accessible in your backpack.
Wonderful, that's how I like it.
And so that you can also enjoy it, take a look at my following instructions.
I will show you today how to make your own leather bag.
And that in no time. Let's get started.
The Material
You need little for your leather bag. Here is the list:
- real leather or faux leather (alternatively thick fabric)
- paper, scissors, and a hole punch
- a string, rope, cord, or leather strap
Step 1: Get leather
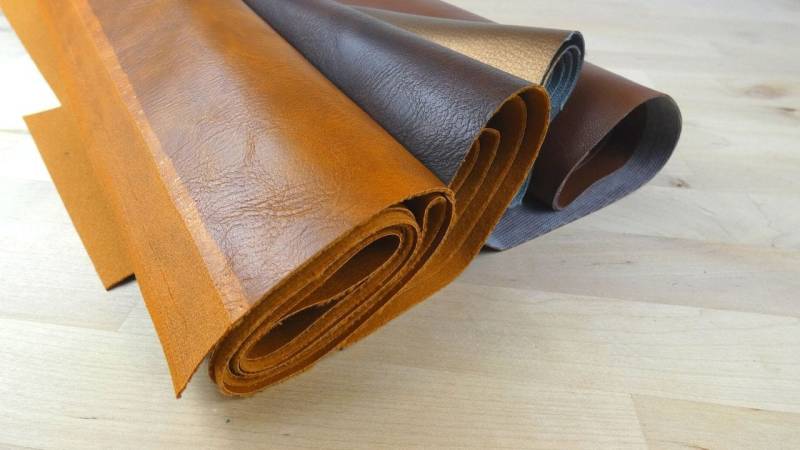
It's best to get leather for your tinder pouch. It lasts long, is durable, and water-resistant.
A recommendation from me can be found here:
- genuine leather pieces, shades of brown, 1 kg, DIN A3
- genuine leather pieces, black, 1 kg, DIN A3
- artificial leather in brown
On the other hand, other materials can also be used. They just have to be thick enough. If the material is too thin, the holes tear.
For example, denim fabric or thick cotton is suitable. But keep in mind: denim fabric or cotton are not water-repellent. Genuine leather is water-repellent.
Step 2: Find template for stencil
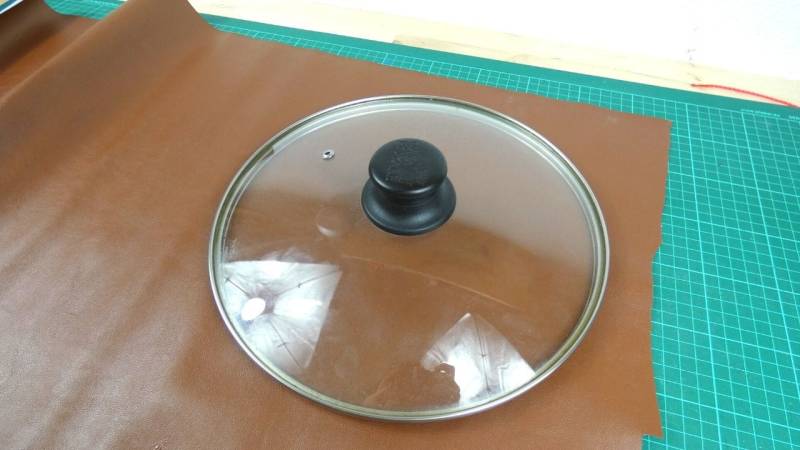
Grab a plate or a pot lid. This will be your template.
My note on this: At first, it may seem quite large, but once you pull the leather bag together, everything shrinks. For this reason, choose a large diameter.
Step 3: Cut out the template
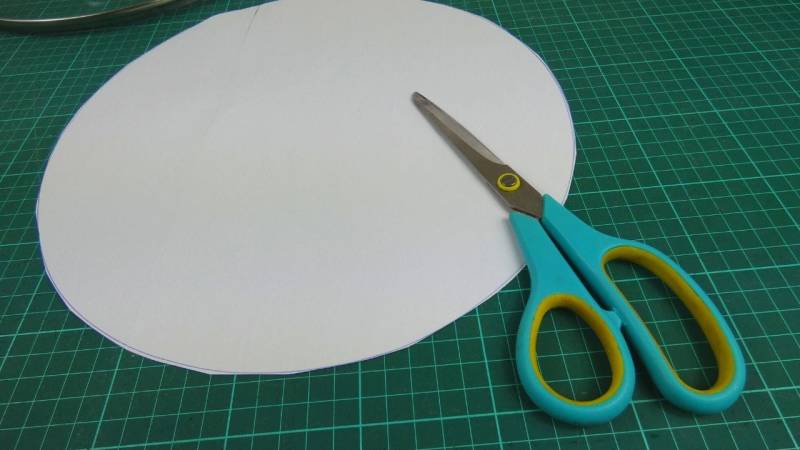
And now you take paper and draw your template on it. If one A4 sheet is not enough, stick several together.
Then cut out your template.
Step 4: Folding the template
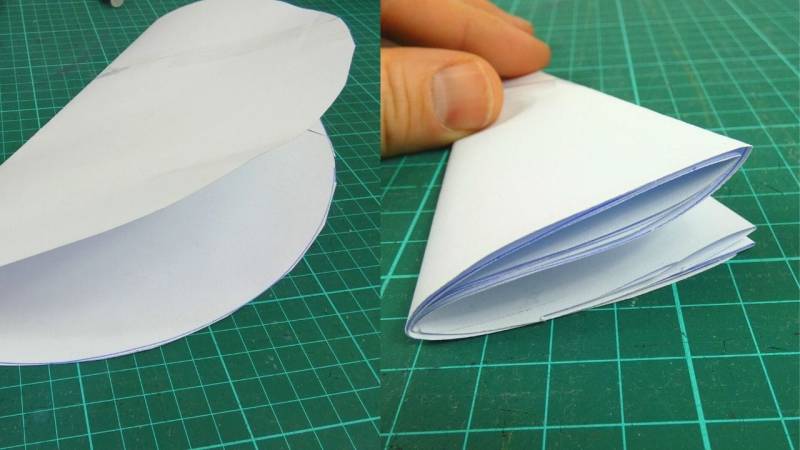
And furthermore: Fold the paper four times.
This is necessary so that you can create your holes.
Step 5: Marking Holes
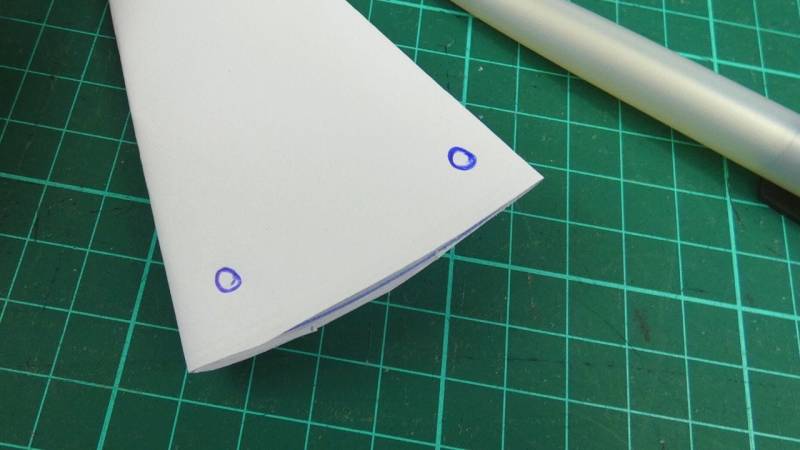
Now mark the position of the holes. A good position is on the left and right edges.
Make sure that the holes are 0.5 to 1 centimeter away from the edge. If you create them too close to the edge, they will eventually tear.
Step 6: Creating Holes
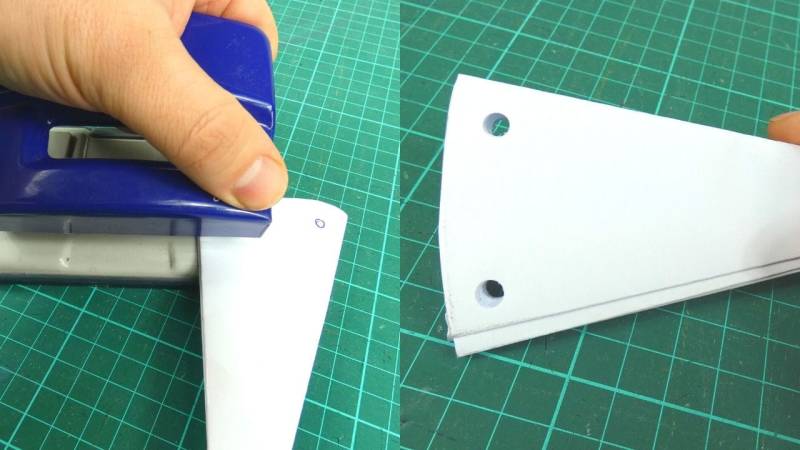
Yes, you're seeing it right: I'm using a regular office hole punch.
If you have a hole punch ready, it's better to use that. But as I said, the office punch does what it's supposed to do.
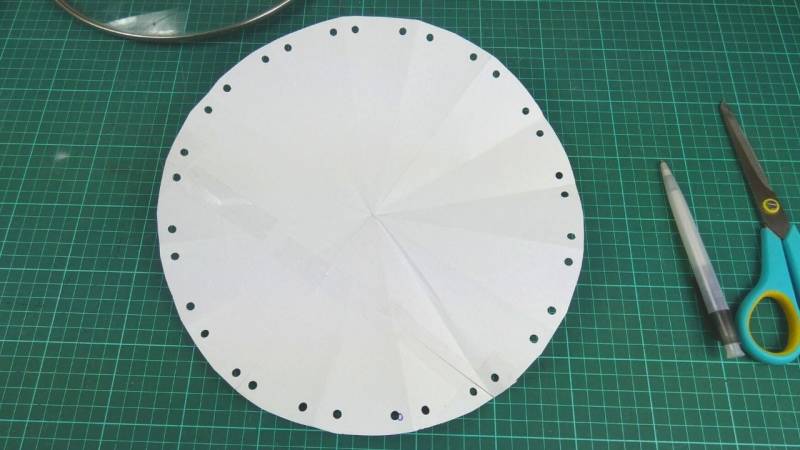
Step 7: Transfer the template onto the leather
Now you place the template on your leather and trace the circle and the holes. Remember to make small dots, so they won't be visible afterward. It's best to do this on the inside of the fabric.
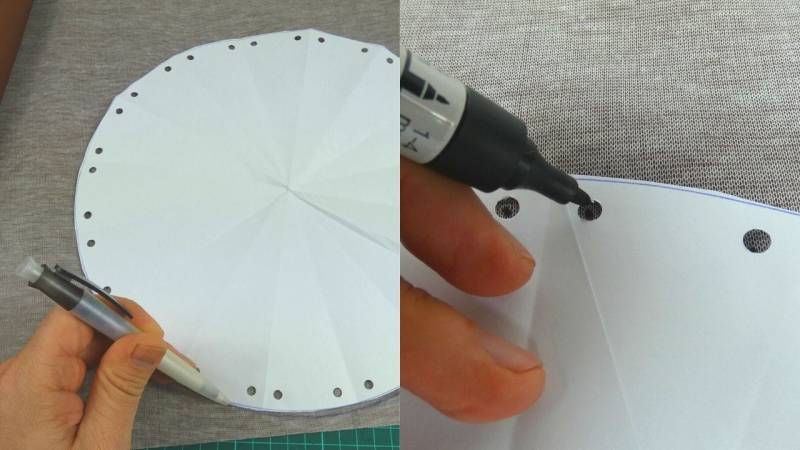
Step 8: Cut out your leather bag
Oh yes, it's taking shape.
Cut out your leather circle.
I can already visualize the bag.
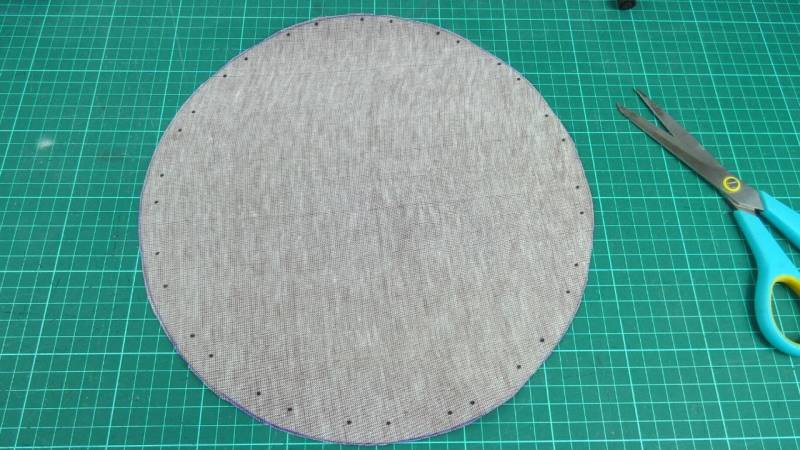
Step 9: Punch the holes
Almost done. Now just make the holes in the leather.
Check again that the holes are not too close to the edge.
I took my hole puncher again to punch holes.
So that you don't have to punch too many holes, fold your circle once to form a semicircle. Make sure that the hole markings are aligned on top of each other.
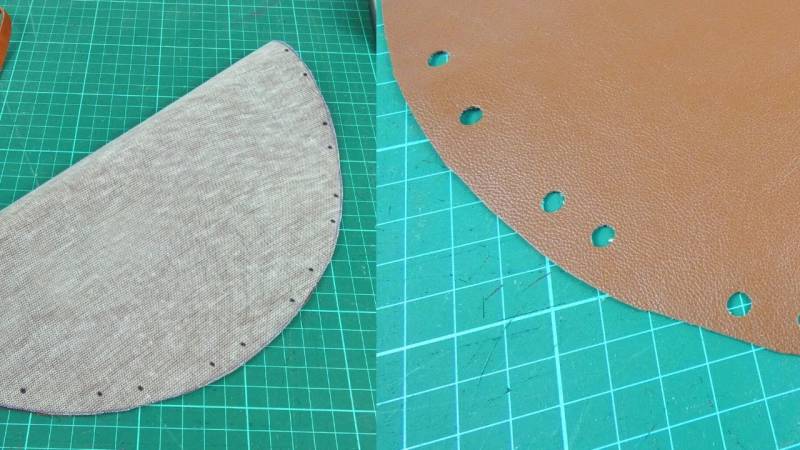
Step 10: Thread the string
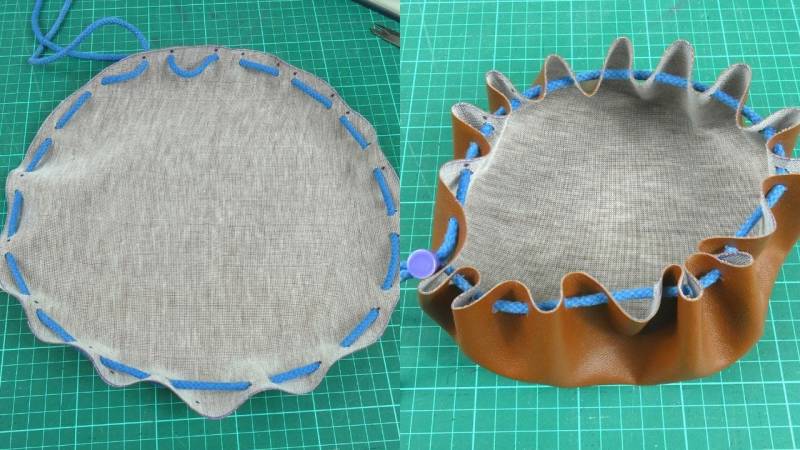
Now thread your string. You can also use a rope, cord, or rope.
It is important that you thread your string alternately.
And the best part is: Thereafter, you're done! :-)
Read also
The most common stitch patterns for sewing for buckskin – Discover which seam techniques and stitches are best suited for soft buckskin - I will show you 5 common hand stitches from natural crafting.
The video for "Making a leather bag yourself"
Also check out my video tutorial.
Summary
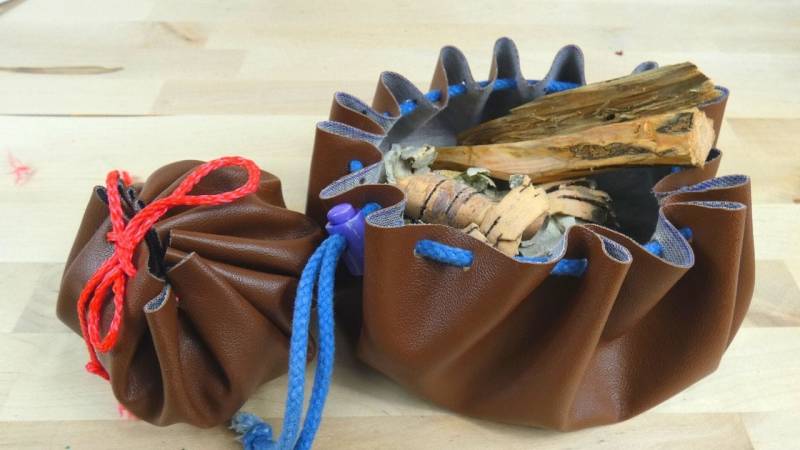
I love my leather bags. They are durable, can get dirty without a problem, and they are also water-resistant.
The leather bags are brilliant for my bushcraft and survival trips.
I keep my tinder in it, for example, like birchbark or Fatwood.
Now it's your turn. What do you find particularly difficult about production?
Leave a comment and tell me!


Author of the guide
Martin Gebhardt
Hey, I'm Martin. On my blog, you will learn the basics and numerous details about living in the wild. I think survival, bushcraft and the good life in nature are the keys to happiness. Find me here on Instagram or on YouTube. You can find more about my mission on the About Me page.
Since this is a gear guide, here ...
🤝8 reasons to trust my recommendation
-
Practical Experience: I have tested most of the products I recommend under extreme conditions myself.
-
Independence: As a wilderness mentor, I am not tied to any specific brands - this means my recommendations are unbiased.
-
Expertise: My many years of experience allow me to understand the intricacies and details of various products that a layperson might overlook.
-
Target group understanding: I understand the needs and challenges of outdoor enthusiasts, from beginners to seasoned experts.
-
Quality focus: I attach great importance to quality and longevity. These are characteristics that are crucial in the wild.
-
Clear communication: I try to explain the pros and cons of each product clearly and understandably so that you can make an informed decision.
-
Currentness: I always keep my guides up to date and adapt them to new findings or products.
-
Community Feedback: I work in wilderness schools, teach courses myself, attend courses and am active in various outdoor and survival communities and therefore integrate the feedback and experiences of others into my recommendations.
So when I introduce the best survival knives or flashlights, you can be sure that every recommendation is based on solid experience and extensive knowledge.
Was this guide helpful?
22 people found this guide helpful.
4.83 out of 5 points (23 Ratings)
Comments (0)
This post may contain affiliate links. So if you click on the links and make a purchase, I will receive a small commission at no additional cost to you. Click here, to learn more about it.


