

Learning to Carve: 7 Things I Wish I’d Known Before My First Project
Free 35 Survival Hacks you'll love!
You will get 35 easy-to-implement survival hacks so that you don't have to stand aimlessly in the forest from tomorrow when things get tough. Take your skills to the next level!
DOWNLOAD HERE FOR FREE👉 The key facts from this guide
- Green wood is much easier to carve than dry wood—a real game-changer, especially at the start.
- Work with the grain, not against it—otherwise, every cut becomes a struggle.
- A sharp knife cuts more cleanly and is usually even safer than a dull one.
- Small cuts get you to your goal faster than brute force. It’s all about control.
- Let the wood set the pace—not every shape comes together in ten minutes.
- Your first project doesn’t have to be perfect. If it works, it was a good project.
- The only real mistake: not starting at all.
I'll tell it like it was.
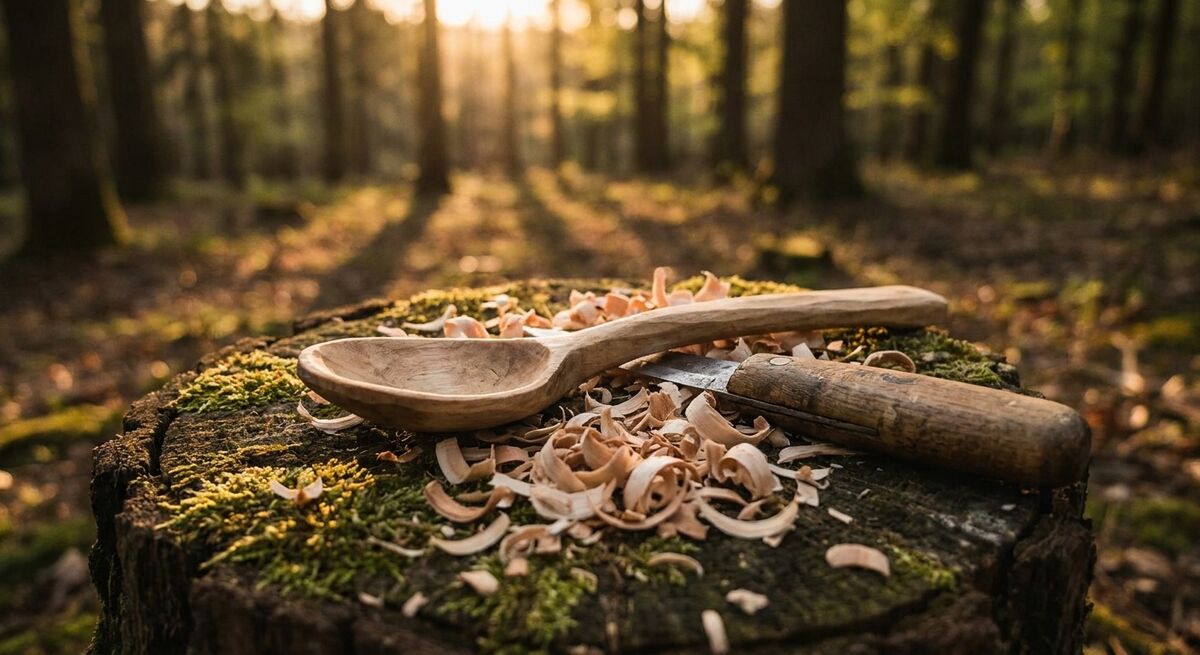
My first wooden spoon was anything but perfect.
Cut too deep. Torn in one spot. And in the end significantly thicker than planned - more of a ladle for giants than a table spoon.
I still remember turning it in my hand and thinking: Well. At least it's a spoon. Sort of.
Today I know: that was completely normal.
Carving is not a skill you're born with. It's something that grows with every branch, every knife stroke, and every small project.
But there are a few things that would have saved me a lot of frustration back then. Seven things, to be exact. And I'm sharing them with you today - not from above, but from someone who started with a much too thick spoon themselves.
1. The wood often decides the outcome
If I could only pass on one single thing, it would be this:
Fresh wood is much easier to carve than dry wood.
Back then, I started with a bone-dry branch I had picked up somewhere. The knife slipped, the wood splintered, nothing went smoothly. I thought I was too clumsy.
But it was the wood (it was also hard beech wood).
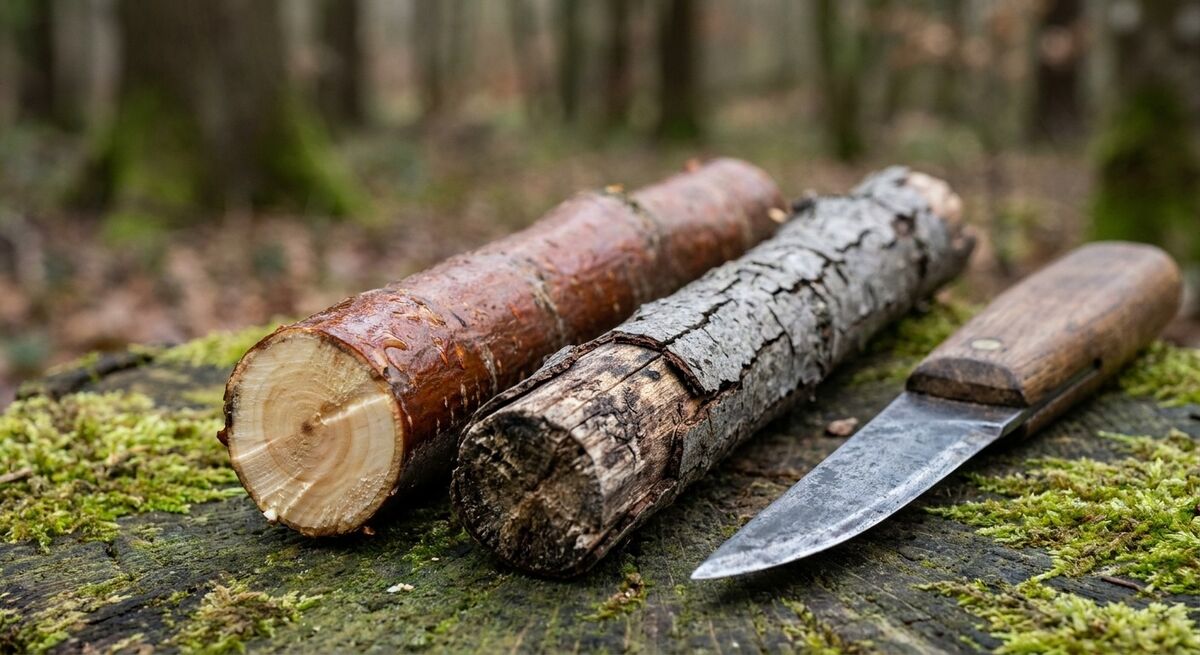
Fresh, green wood - that is, from a living branch or freshly cut - is soft, juicy, and gives way to the knife like butter in comparison. For beginners, this is the biggest difference of all.
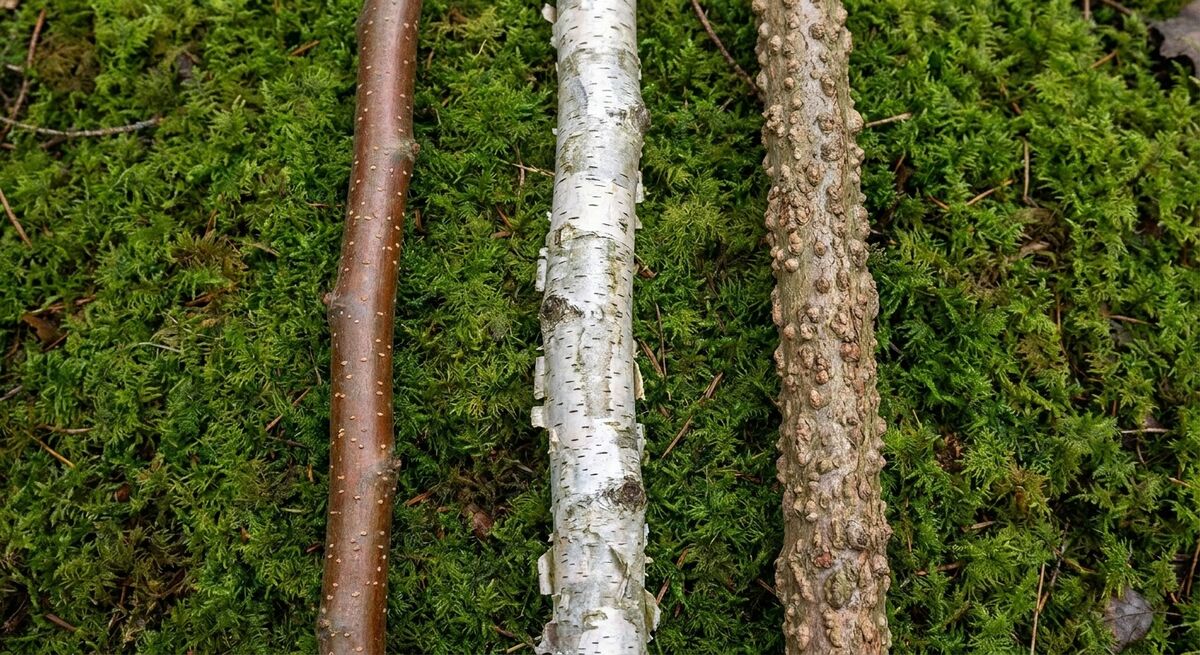
Good beginner woods are linden, willow, birch, hazel, poplar, and maple. They are soft, uniform, and forgive a lot.
I've written extensively about which wood types are suitable for what here: Which Wood for Carving? The Best Wood Types for Beginners
2. Work with the grain, not against it
Wood has a direction. Like a cat's fur.
Stroke it the right way, everything is smooth. Stroke it the wrong way, everything resists.
Carving is the same. When you work with the wood grain, the knife glides. Against the grain it quickly becomes tedious - the wood tears out, splinters, resists.
At first you have to develop a feel for it. A good trick: Make a careful test cut. If the chip comes off cleanly, you're on the right track. If it tears and catches, turn the wood around and carve from the other direction.
Over time you'll see the grain direction at a glance. But at first you're allowed to feel your way in.
3. A sharp knife is your best friend
It sounds paradoxical, but it's true:
A sharp knife is not only cleaner - it's usually also safer.
Why? A dull knife slips off. You have to use more force, the knife doesn't grip cleanly, it glides over the wood - and in the worst case into your thumb.
A sharp knife bites in where you place it. It goes where you direct it. You have control.
So: Learn to sharpen your knife. That's not a side issue, that's basic craftsmanship. More about it in my article Why a Sharp Knife is Safer Than a Dull One.
And if you want to know how to sharpen your knife again without a whetstone: 9 Tricks on How to Sharpen a Knife Without a Whetstone.
4. Small cuts get you to your goal faster
This is the mistake almost every beginner makes - I did too.
You want to make progress quickly, so you take large, powerful cuts. You really rip material away.
And then it happens: The cut goes too deep. You tear out a piece you didn't want to remove. The project is ruined or becomes much thinner than planned. (Remember my too-thick, torn-in-one-spot spoon? That's exactly it.)
The solution is small cuts.
Not force. But control.
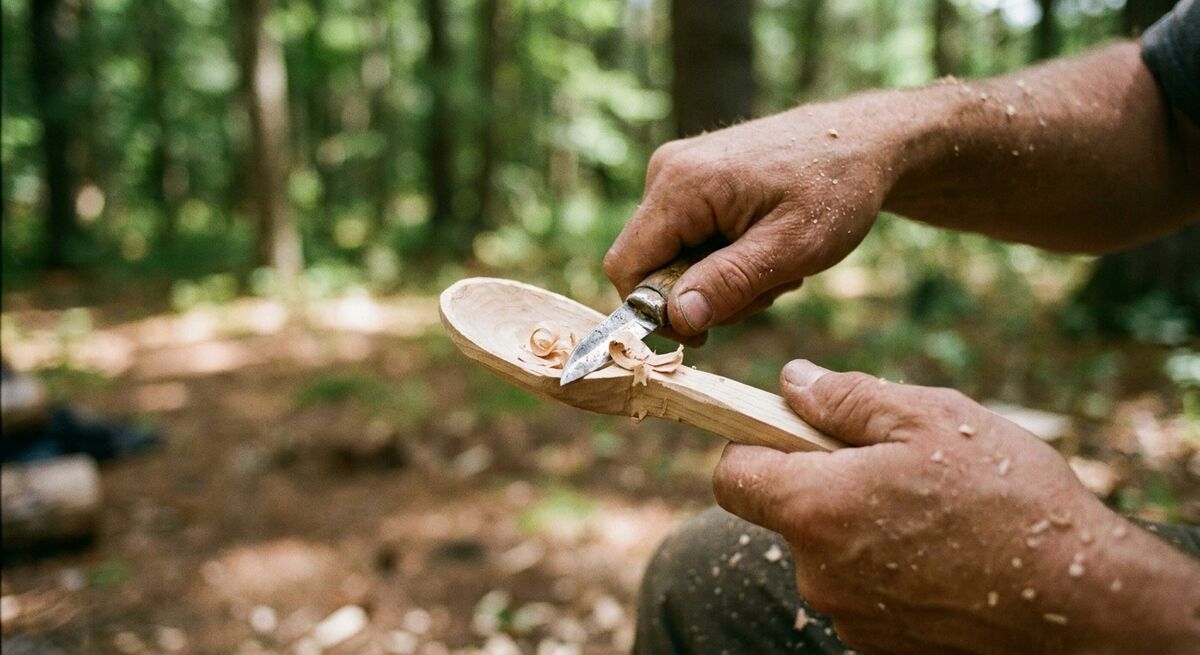
Many small, controlled cuts get you to your goal faster and more safely in the end than a few large ones. You can see better what you're doing. You can stop anytime. You don't make irreparable mistakes.
It feels slower. But it's not.
5. Let the wood set the pace
We're used to things happening quickly. We order something and want it tomorrow. We press a button and expect a result.
Wood works differently.
Not every form takes shape in ten minutes.
A spoon, a bowl, a ladle - that takes time. And this time is not an obstacle, but part of the gift.
When I carve, something happens to me. I become calmer. My breath slows down. I'm completely present with the one movement, the one chip, the one piece of wood in my hand.
It's almost like meditation. And in a world that constantly pushes for acceleration, this deliberate slowing down is a real gift. I wrote more about this idea in my article about the exit from acceleration.
Let the wood set the pace. You'll notice: it's usually right.
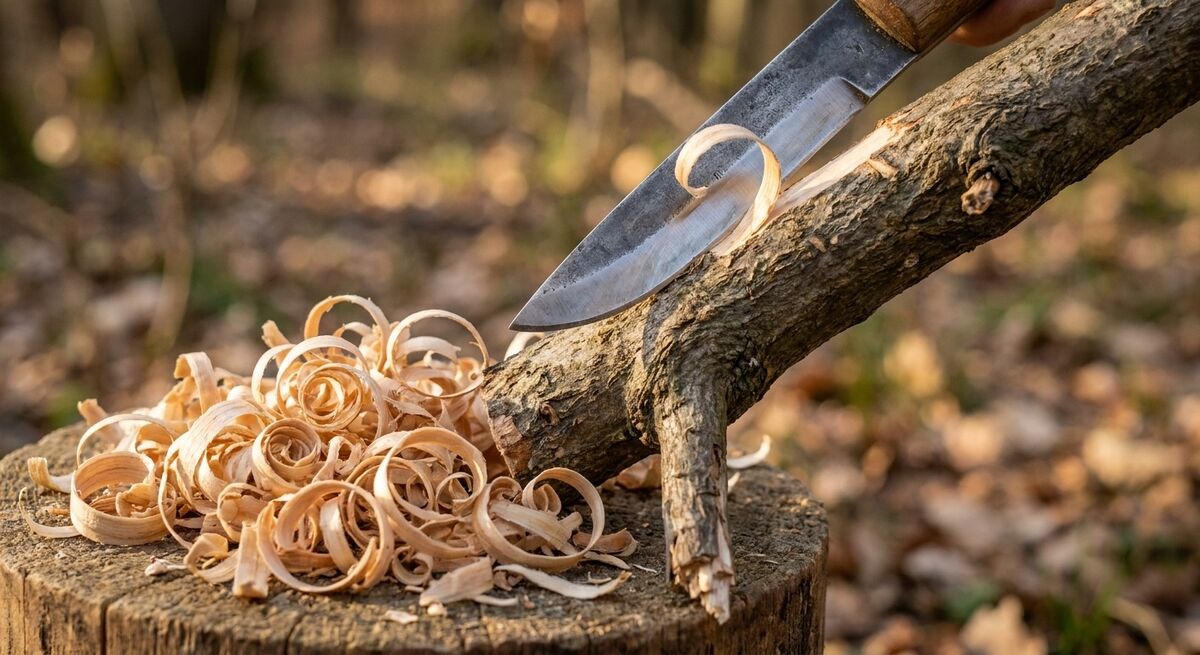
6. Every piece of wood is different
This is one of the most beautiful aspects of nature craftsmanship.
No two pieces of wood are alike.
Every branch has its own grain, its own knots, its own curve. And if you carve long enough, you develop a feel for it.
Some branches show you immediately how they want to be carved. The natural curve of a branch becomes the handle of a spoon. A branch fork becomes a hook. A thickening becomes a ladle.
Instead of forcing your idea onto the wood, you can learn to work with it. To see what's already there. That's a completely different attitude - and it often leads to much more beautiful results.
By the way, this is also a wonderful thing with children. They often still have that unbiased eye for what a piece of wood "wants to be". You'll find ideas for this in my article Bushcraft with Children.
7. Your first project doesn't have to be perfect
And here comes the most important part.
Your first project doesn't have to be perfect.
If it works, it was a good project.
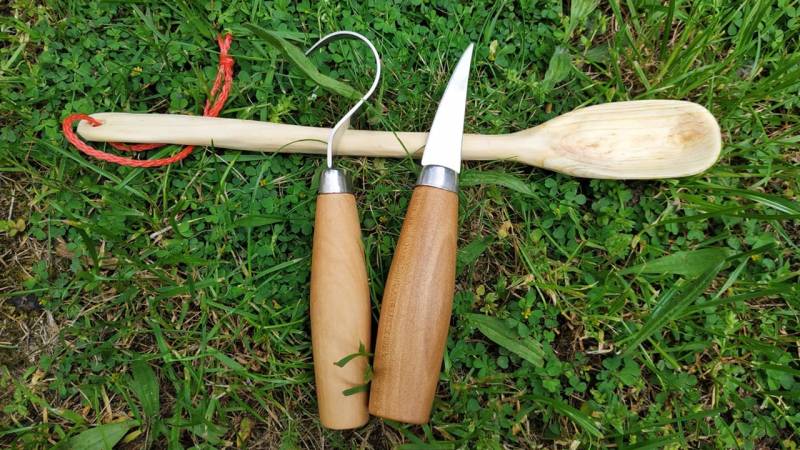
My first spoon was too thick, torn, and crooked. But you know what? You could eat soup with it. It worked. And I was proud as punch.
Nature craftsmanship is not about making perfect things that look like they came from a store. It's about something else: the process, the connection to the material, the feeling of having created something from a piece of nature with your own hands.
The spoon you carved yourself - as crooked as it may be - is worth more than any perfect spoon from the supermarket. Because it carries your story.
The only real mistake in carving
I thought long about how to close this article.
And then I realized that really only one sentence was needed:
There is only one real mistake in carving:
Not starting at all.
Everything else - the cut that's too deep, the torn chip, the too-thick spoon - that's part of it. That's not failure. That's learning.
Everyone who carves beautifully today started with a crooked, thick, torn first piece. Without exception, everyone.
The only difference between someone who can carve and someone who can't is: One started. The other didn't.
What you need to get started
The good news: not much.
- A sharp carving knife (for the start, a simple, good model is enough, like the Morakniv Companion Knife)
- A piece of fresh, soft wood (linden, willow, birch, hazel)
- A cut-resistant glove for the hand holding the wood (especially recommended at first, but optional)
- Time and peace
If you carve with children, be sure to check out my guide to the 5 Best Carving Knives for Children - and why I don't recommend Opinel knives there.
And if you want to learn the basics properly first, my article Carving a Wooden Spoon: How to Start and What You Need is the right next step.
Just get started
Find a branch.
Not the perfect one. Just one.
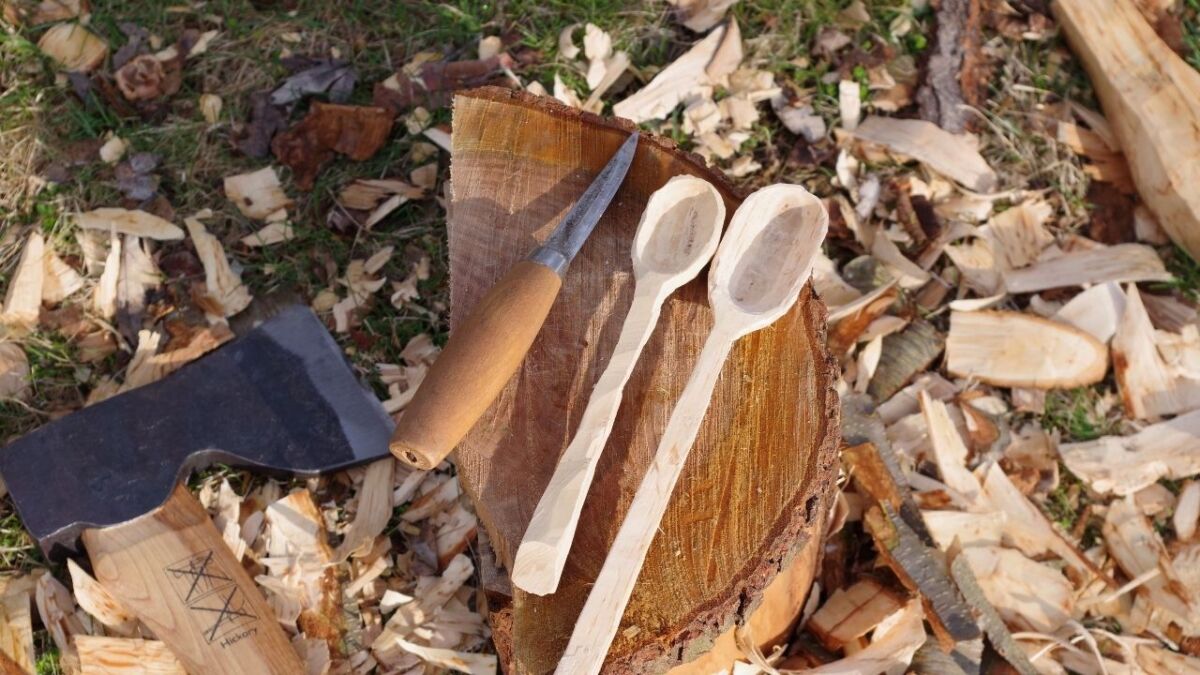
Sit down, take your knife, make the first chip. And then the next. And the next.
Maybe it will become a spoon. Maybe it will just be a sharpened stick. Maybe it will become something you didn't plan for in the first place.
Doesn't matter.
You will have created something with your own hands. You will have become calmer. And you will feel the desire to do it again.
That's what it's all about.


Author of the guide
Martin Gebhardt
Hey, I'm Martin. On my blog, you will learn the basics and numerous details about living in the wild. I think survival, bushcraft and the good life in nature are the keys to happiness. Find me here on Instagram or on YouTube. You can find more about my mission on the About Me page.
Was this guide helpful?
14 people found this guide helpful.
5.00 out of 5 points (14 Ratings)
Comments (0)
This post may contain affiliate links. So if you click on the links and make a purchase, I will receive a small commission at no additional cost to you. Click here, to learn more about it.