Bushcraft with Children: how to start? (with 7 examples + pictures)
👉 The key facts from this guide
- Bushcraft with children can be a great experience. It is important to involve the children in the planning and ensure that they have fun.
- Safety should always come first. Make sure that the children know how to use tools safely and that they respect nature.
- There are many simple projects that you can do with children, such as building a camp, making simple tools, or baking stick bread over a campfire.
- It is essential, that you are a good role model and transfer your enthusiasm and energy to the children.
- At the end of the day, it is significant to clean up everything and not leave any trash in nature.
- Check yourself and your children for ticks, as they can transmit diseases.
For me, Bushcraft is the art of living in the wilderness. Not just surviving, that's Survival.
With Bushcraft, it's all about manual activities.
But how do I introduce Bushcraft to my children?
Today I will show you with examples how to get started with children in bushcraft and get them excited about it.
A good plan is worth its weight in gold
Before you set off into the wilderness with your children, create a plan at home beforehand.
What do you want to do, and what do the children want to do? Involve your children as much as possible in the planning process so that they can look forward to it.
Ask yourself the following questions:
- What do we absolutely want to do?
- What would be nice to do, but maybe we won't manage?
- Which place do we choose?
- What do we do in case of rain?
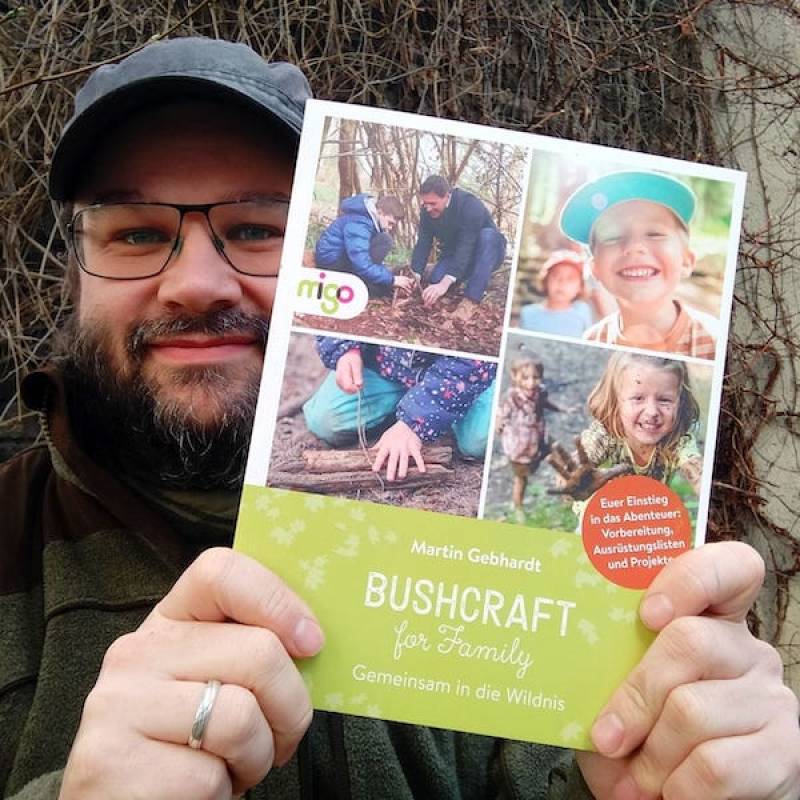
Get the book "Bushcraft for Family" (in German) and learn how to prepare and behave in nature. I also present numerous projects on how to build tools and shelters with simple means and experience nature in a special and sustainable way. Order it here.
The Preparation
If you are with children in the forest and meadows, always remember to bring enough food and drink.
Hunger can quickly lead to a bad mood.
If you are getting involved in manual work, never forget your first aid kit. Whether you are with children or alone on the go, your medi-pack is life insurance.
Here's a video about what you need to take with you at a minimum. You can get everything at the pharmacy for a few euros.
Something fundamental that you should also explain to your children as the top rule: It is essential and the priority that neither you nor your children cause harm to nature.
That means:
- Never kill or harm animals
- Never cut down or damage living trees
There are plenty of opportunities to be active in the forest without harming nature. More on this with specific examples coming up.
Safety in the Wilderness
When you are out with children, safety comes first. Accidents don't happen by chance, and it's important to avoid them as much as possible.
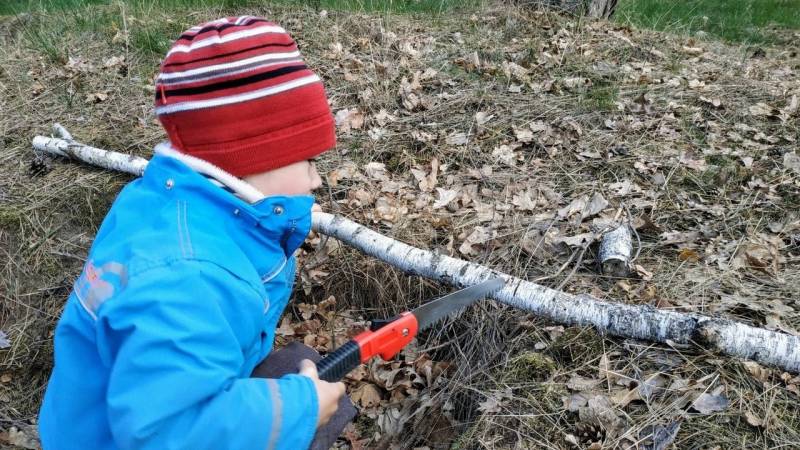
If your children are already handling knives or saws, make them aware of the dangers. But not only that: also show them how to use the tools correctly and safely (Read also: Dangers in the forest - 15 things you should pay attention to).
The Border
If the children are older (from 4 to 5 years old), they can already do many things on their own. Talk beforehand about how far they are allowed to move away from you, so where the limit is.
If you as a parent are unsure whether your children can recognize boundaries, then attach glowing bands to trees. This way, every child quickly recognizes the boundary and knows: "This far and no further".
The Place
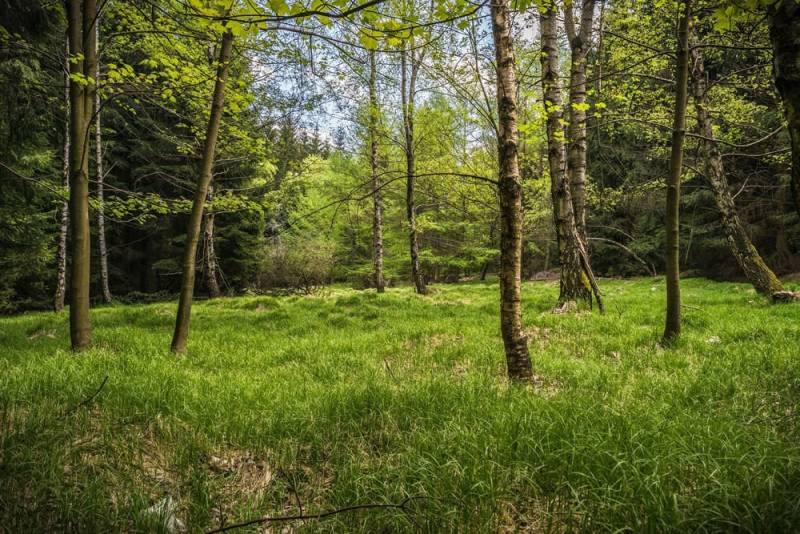
For your first outing, do not choose a dense forest. This will make it harder for you to see everything, and you will have a harder time seeing your children. A large clearing is a good starting point. The edge of the forest is also a suitable option.
The forest clearing in the picture below is perfect. There are some trees and you have a good overview.
It can also be your garden or a public campsite.
It is better if you find a quiet place where you are relatively undisturbed. Furthermore, it is especially nice for children if there is a water source, such as a small stream or something similar that is not too deep so that the children are safe.
Although you cannot make a fire in the forest without permission (more on that later), it is also possible to get by without one for now. Therefore, a forest clearing is a practical option.
You can find many more information about the ideal location in my article "How to find the ideal location for your bushcraft camp".
Also read
Adventure in the wilderness: Where in Germany can you practice bushcraft and survival techniques? - Where in Germany can you practice bushcraft and survival techniques? Can you go into the forest? Is the backyard suitable? What other places are there?
Your Attitude
You are in the forest with your children for the first time. This can be a great experience. And if it goes well, your children will remember it for a long time.
But what can you do first to make it a good experience?
Answer: You must be a good role model.
If you enjoy it, your children will have fun. If you are motivated, your children will be motivated. If you bring power and energy, your children will follow your lead.
Don't give "instructions" to your children like a schoolmaster. Never sit in camp and boss your children around. That will ultimately backfire.
You must really be excited for your trip.
You must be so full of motivation that you "infect" everyone else with your passion.
And if someone is feeling down or crying, don't let it bring you down. Acknowledge it, but don't be annoyed and don't let your "energy fountain" run dry.
How to win everyone over - and this works not only with children.
The Goal
If you are alone in your bushcraft camp, you don't need to consider others.
But now your children are with you and the most important thing is that you have a good day.
If you prioritize your needs, it's possible that your children may suffer as a result.
Your goal is to spend a great day, Regardless of what you do exactly. It is critical that everyone has a good time, and you have a great time together.
The Arrival
You have reached your destination. Great.
Take a deep breath and give yourself a moment of peace before you start.
Afterward, go through your plan. Who does what?
Then become active and put your plan into action.
Reflect on your actions and look at what you have done. Learn from it.
Note: It is likely that not everything will go according to plan and that's okay. The main thing is that everyone has fun.
How you can take action - the craft
I recommend starting with light activities that can achieve quick results. This is good for the children.
I will now show you 7 examples.
1. Build a camp
What would a camp be without visible boundaries?
Therefore, first collect old sticks, branches, and one or two tree trunks.
Arrange the sticks in such a way that a circle with an opening is created.
As a parent, you need to help with the tree trunks. Otherwise, it's too difficult for the children.
You can use the tree trunks as a bench.
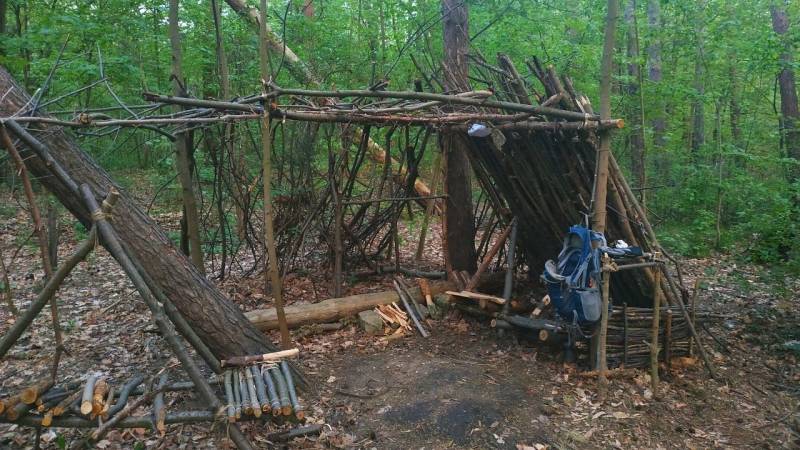
I built the camp in the picture with my children gradually. There are seating options, a table, a windbreak, and a fire pit.
When it looks like rain, immediately stretch your tarp or tarpaulin (find my tarp buying guide here) over the enclosure. It is therefore advantageous to build your camp between trees to secure the tarpaulin.
If there are no trees nearby, then build a tripod. In my tripod building guide, I will show you exactly how to build it in 10 minutes. Several tripods can be used to hang a hammock or a tarp.
2. Build a shelter (easy)
Everyone has to pitch in and search for old sticks and branches.
To cover it, you will also need dead twigs, old moss, and leaves.
Lean a large tree trunk as a roof rack against a tree and check that it is really secure. Then stack the branches and sticks from bottom to top on the support.
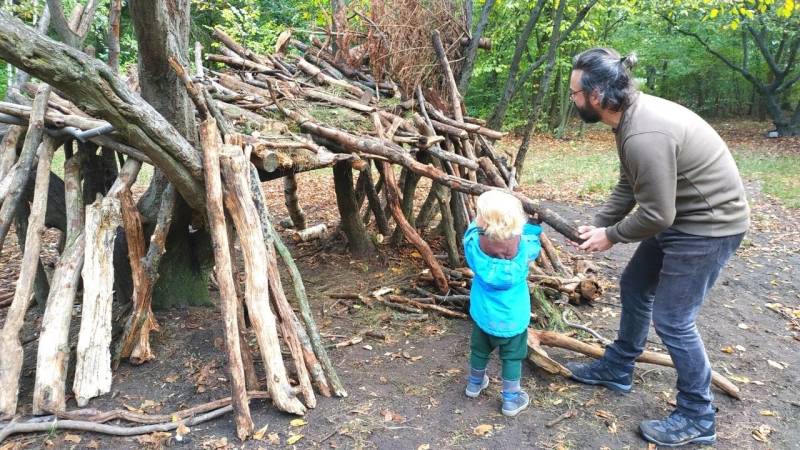
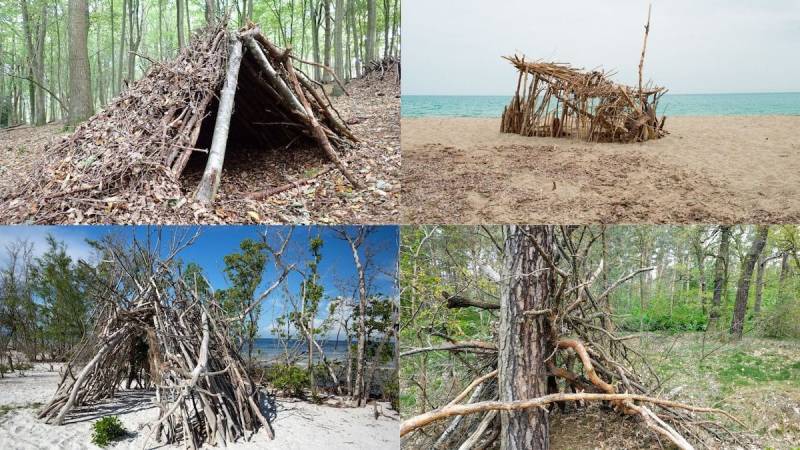
Below in the picture you can see such a built shelter.
Also read my article "How to Build a Bushcraft Shelter [Guide]".
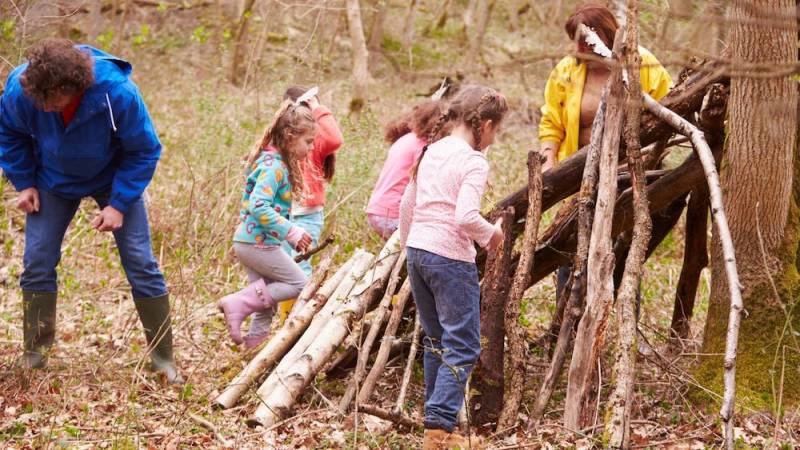
Here are some more examples. It's not relevant whether it becomes the perfect shelter. Everyone should enjoy participating, helping - and building something together.
3. Building a Digging Stick (Easy)
Bushcraft is craftsmanship, manual labor, and crafting. Therefore, it is best to build first simple tools with your children.
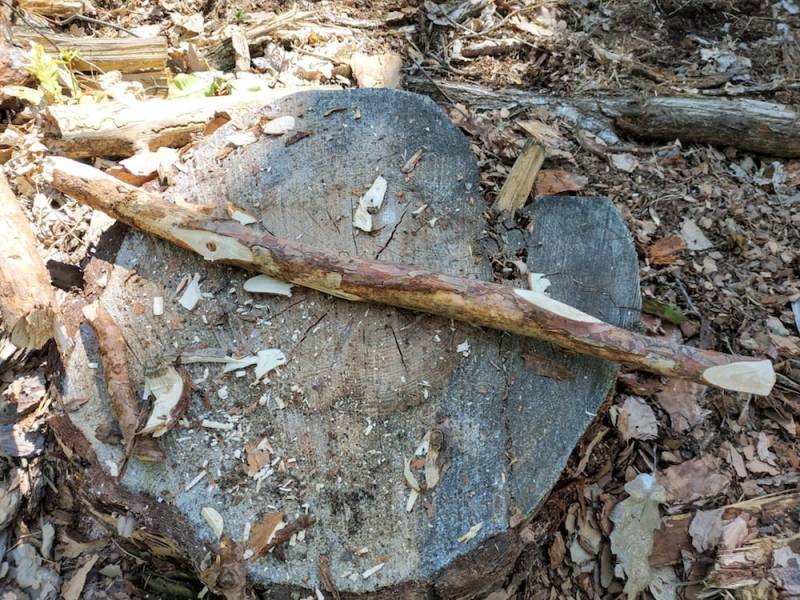
The Digging Stick is required for digging and raking. It is a substitute for a shovel and claws.
You can use a Digging Stick to create a depression for collecting water or for your campfire.
The Digging Stick is approximately 80 cm long and pointed or flat cut at the front. This is the only way to penetrate the soil.
Below the image you can see a Digging Stick. The thin end on the right is flatly cut with an axe.
Read also
The 5 best carving knives for children - and why I do not recommend Opinel knives (+carving guide for parents) – Learn from the wilderness educator and wilderness mentor which knives are best suited for children to use for carving. Are Opinel children's knives really good?
4. Building a Plow (Easy)
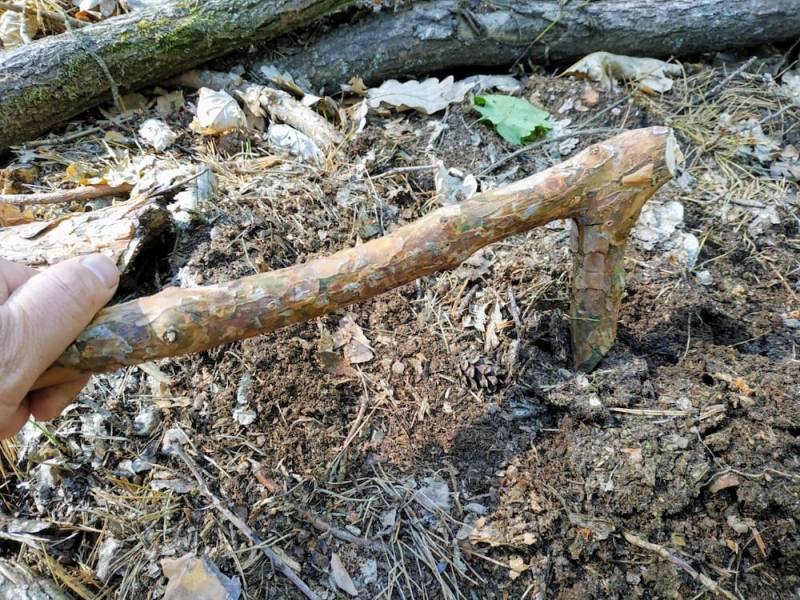
The plow is a digging stick made from a forked branch. With it, you can work the soil even better.
In the picture you can see a wooden plow. It is slightly smaller than those for adults, as it was made for children.
The plow is my secret tip for a first tool.
My children love their plow. Each one has their own, and they knock, hammer, dig and push with it.
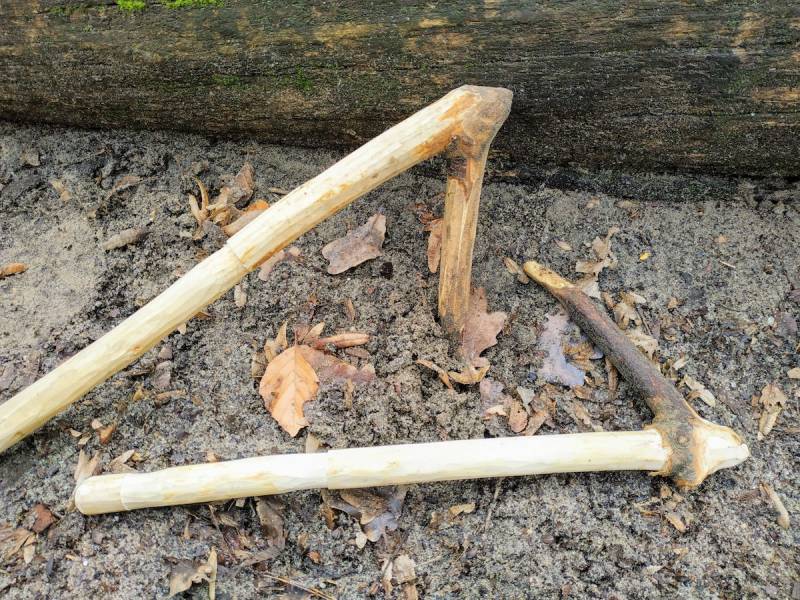
Additionally, a plow can be decorated with carved rings or small notches.
5. Building a Stone Axe (Difficult)
A stone axe has the advantage of not being sharp (although it can be, so be careful). Your child can use it to work on old branches and trunks.
You will need:
- a big stone
- a thick stick
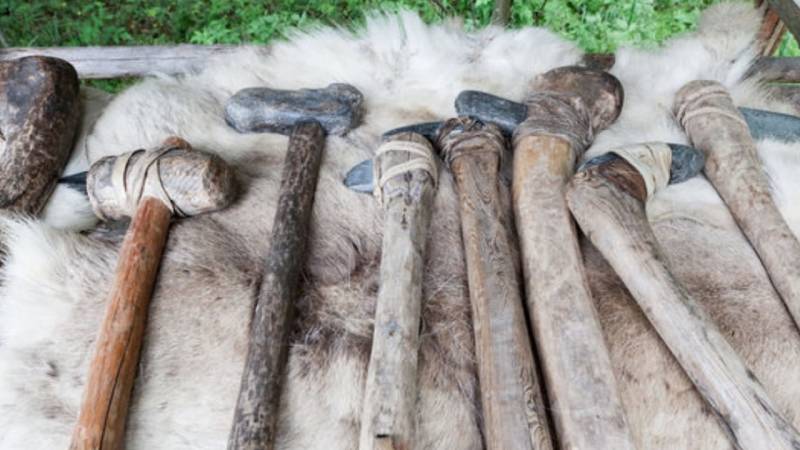
Attention during the production of the axe blade. Do not let your children do this and keep them at a distance.
To make an axe blade, place the stone (as big as a man's fist) on another stone. Now smash the stone with a third stone.
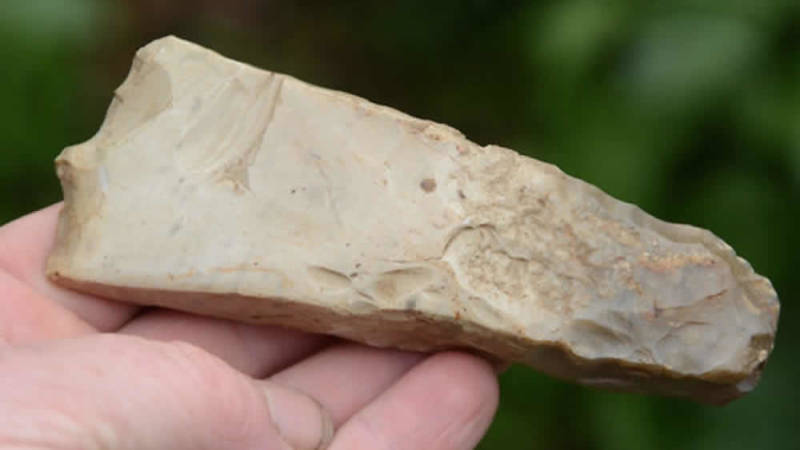
With a bit of luck, you can now get a large, sharp splinter. The best suited are flint or fire stones.
Below in the image you can see such a stone. It is sharp at the front (left) and perfectly suitable.
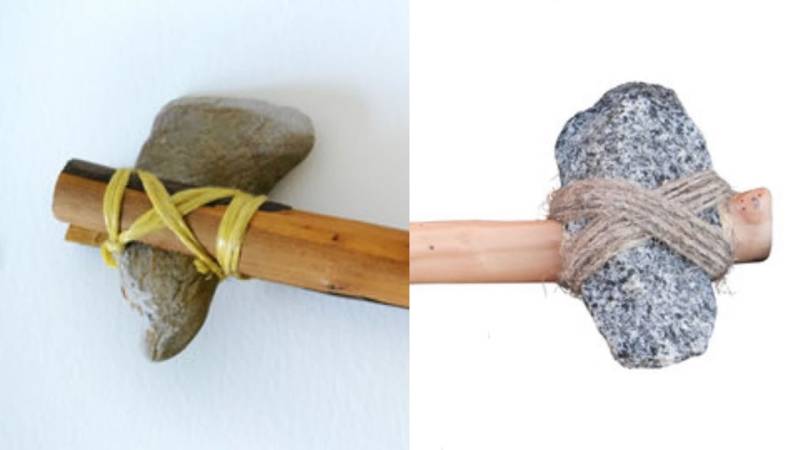
The stone must now be placed in or on the branch.
If it should go into the branch (more difficult): Split the branch and insert the splitter at the top. Tie everything tightly with a string.
If it should be on the branch (simple): Place it on one side of the branch and tie it tightly together.
6. Making Fire (Intermediate)
Attention: As already described above, this is only possible if you have permission or are at an official fire pit.
I have extensively read and researched about the topic "Fire in the Forest".
The conclusion: Open fire is prohibited in Germany. If you do light a fire, you can expect fines and penalties. However, there are exceptions. Take a look at my article "Is a fire in the forest allowed?" for more information.
If you want to know how to make the perfect fire, then read my article "How to ignite a fire? [10 steps to success]".
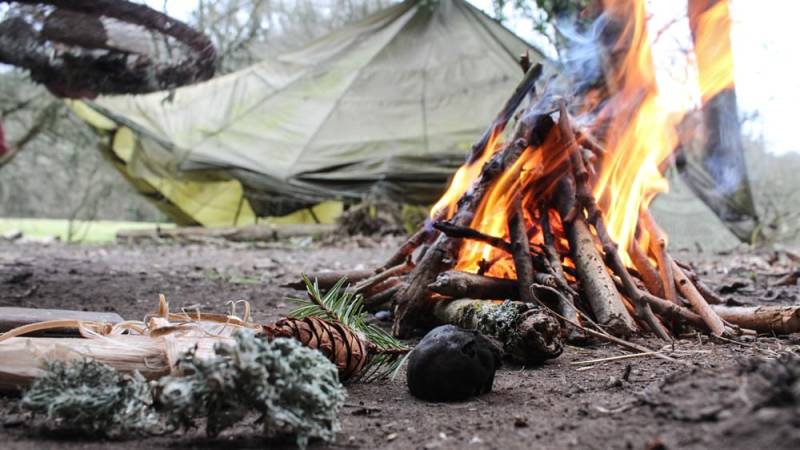
And if you are travelling with children and want them to take part in making a fire, then I recommend you take a look at my tips.
Making a fire with children is a little more tricky, but it is a fantastic experience.
You can find the guide here: Making a fire with children: tips for a successful campfire
7. Making Stock Bread (Easy)
If you can make a fire, it's a good idea to cook food.
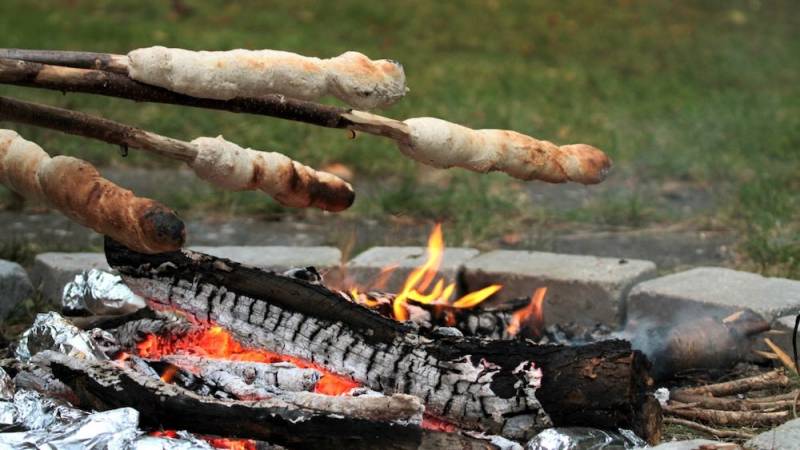
Children love the campfire and it's even better when they can bake their own bread on a stick. (Read more about this topic in my detailed guide)
Take flour, water, and salt with you - that's all you need.
Put the flour with some salt on a round stone and make a well in the middle. Then pour water into it gradually and mix everything until a dough is formed.
Now take a stick and wrap the surrounding dough. Then slowly roast it over the fire so that the dough bakes through.
If making the dough is still too time-consuming, use toast bread instead. It works just as well and provides quicker success.
Here's a reading tip: "3 Breads You Can Bake Without an Oven in the Wilderness".
If you manage to complete even one or two of the recommended manual tasks, that is a success.
Surely, on your first trip, you won't be able to do everything right away. That's why you'll have ideas in store for your second trip.
Or you can grab my 15 forest games that will guarantee your children have fun in the woods. This way, you always have an ace up your sleeve when boredom strikes.
Read also
41 Bushcraft Ideas with Children - kid-friendly outdoor activities for parents, groups, and classes – Here you will find 41 great kid-friendly outdoor activities to introduce your children to Bushcrafting and nature. Perfect for family activities.
The Departure
Do you want to make your way back home again?
Then clean up everything again. Spread the logs and branches apart.
Be sure to take the trash with you. Every small piece of plastic belongs in the trash, as animals can die from it.
Always remember: A true Bushcrafter is a friend of nature and protects it.
Summary
Bushcraft with children can be incredibly fun.
Especially when you manage to ignite the enthusiasm for bushcraft and survival in your children.
When you put your children to bed in the evening, review the day again. What did you build? What was particularly exciting and thrilling? Are there already plans for another bushcraft day?
Health tip: Check yourself and your children for ticks, as they can transmit diseases and are widespread throughout Germany. In my article "Ticks: How to protect yourself and remove them" you will find all the information you need to stay safe.
How do you like my tips for bushcraft with children?
Do you have any other ideas that are easy to implement with children?
I am happy about every comment.


Author of the guide
Martin Gebhardt
Hey, I'm Martin. On my blog, you will learn the basics and numerous details about living in the wild. I think survival, bushcraft and the good life in nature are the keys to happiness. Find me here on Instagram or on YouTube. You can find more about my mission on the About Me page.
Was this guide helpful?
28 people found this guide helpful.
5.00 out of 5 points (28 Ratings)
Comments (0)
This post may contain affiliate links. So if you click on the links and make a purchase, I will receive a small commission at no additional cost to you. Click here, to learn more about it.


