Bushcraft inspiration for at home and backyard: 12 projects to recreate
With these Bushcraft ideas for at home, the backyard, and your four walls, you can try it first and then test your survival skills in nature.

From Martin Gebhardt. Check out my “About me” page.
👉 The key facts from this guide
- There are numerous exercises that can help you strengthen your skills at home, in the backyard or garden.
- Try Flintknapping to shape tools out of stones or glass.
- Make Feathersticks to have dry tinder material for fire.
- Practice techniques for water filtering to obtain drinkable water in the wilderness.
- Build a shelter to develop skills for shelter building.
- Make rope to have cords and ropes for various purposes.
- Practice knot techniques to master various tasks in the wilderness.
To improve your Bushcrafting skills, you don't necessarily have to go deep into the woods.
You can also build, weave or carve at home.
An ideal place for this is a basement or your garden, but you can also implement some practices in your living room. No matter what conditions you have, you can start Bushcrafting right now.
Additionally, you can make useful items that you can use in everyday life. Who doesn't like a self-carved spoon or a completely individual stone knife?
In this blog post, I will introduce you to 10 Bushcrafting inspirations for home and backyard. Get inspired and dive into the world of Bushcrafting.
1. Try Flintknapping
Flintknapping (Read here all regarding Flintstones) refers to the shaping of stones or glass to make tools. The stones are struck to the ideal shape and size.
Flintknapping requires a lot of practice and patience, but with the right technique and necessary tools, you can create useful and artistic items from stones and other materials.
So, it's ideal for your home! Here, you can try it out relaxed and don't have to struggle with basic knowledge in a survival situation.
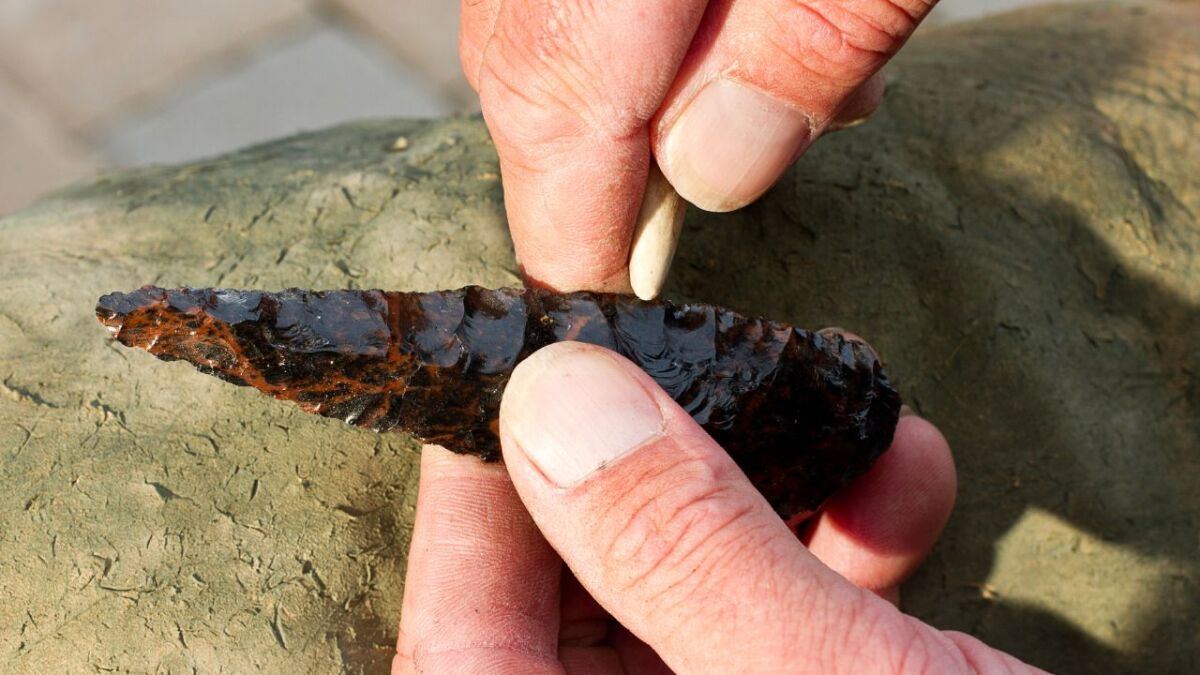
You can make the following things from stones:
- Knife
- Spearheads
- Arrowheads
- Wedges
- Scraper
- Jewelry
- Bowls
- or other simple tools
Even an axe is possible! All you need is a hammer, a retoucher and a work surface.
You're probably wondering what a retoucher is, right? This doesn't refer to a tool in Photoshop, but rather a tool for shaping the desired piece. The retoucher can also be a stone.
It is important to wear suitable protective clothing. Anyone who has thrown a stone against a rock face knows that it splinters. Therefore, you should definitely wear safety glasses, gloves (here's my buying guide for that) and ideally protective pants.
2. Making Feathersticks
Making Feathersticks is a great skill. If you master this method, you can relax a little more when it comes to starting a fire. Because here you can find dry kindling.
Feathersticks or holzlocken in German are carved from a piece of wood with a knife or axe. Here, you cut at an angle along the piece of wood with the knife and remove such a fine layer.
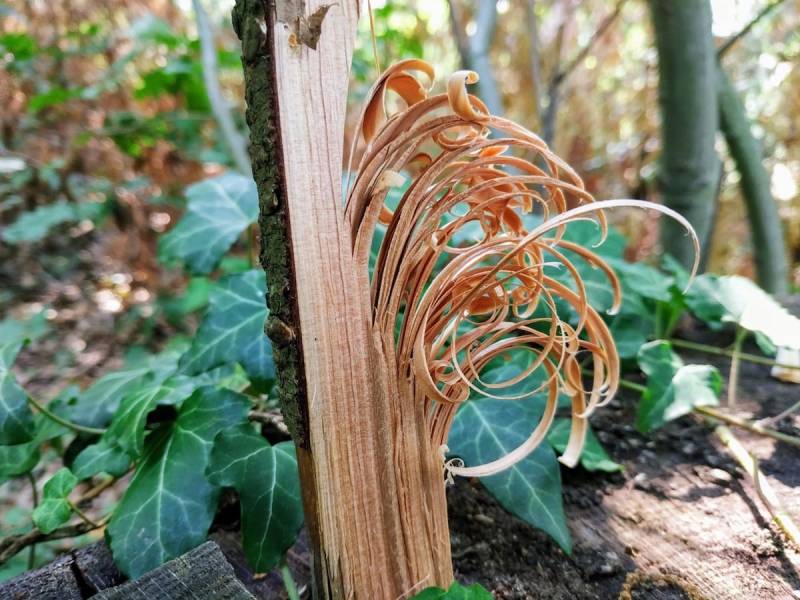
You stop just before the end so that the feather remains on the piece of wood. You can practice this wonderfully at home or prepare the kindling for your wilderness trip in advance. For this, both slightly thicker branches and split wood are suitable.
You can find a detailed guide here
What are Feathersticks? (with video) - Feathersticks help you to start a fire even in wet weather. Learn what Feathersticks are and how to make them in this article.
3. Techniques for filtering water
In the wilderness, you will often come across fresh water that you cannot drink directly. Boiling water takes time and the conditions to make a fire, which you may not have.
It is therefore important to have alternatives at hand. Water is one of the highest priorities in the wilderness, and you should be prepared for it. So, why not start at home?
Distilling
There is a way to build a solar distillation apparatus. All you need is a plastic bottle, a tin can, and the sun. With this method, you can also wonderfully filter salt water.
I have already discussed how to build it in this guide. Contrary to popular belief, distilled water is not toxic but drinkable. So, cheers!

Sediment filters
Rocks or even coal can filter water. If water comes from a rock, you can be very sure that it is drinkable. You can also build your own filter.
To achieve this, you also require a bottle and various materials for filtration. Additionally, you still require a piece of fabric. At home, you can use cotton wool for this, but in the wild you have to get creative.
👉 Find the exact instructions here!

If you have already tried some alternatives at home, you are well-prepared for the wilderness. If you know how to get your water, you can focus more quickly on building your shelter or finding food.
4. Building a Shelter
When it comes to building a shelter, you might not immediately think of your home, as you already have a shelter there. However, if you have a garden, you can practice building one to your heart's content.
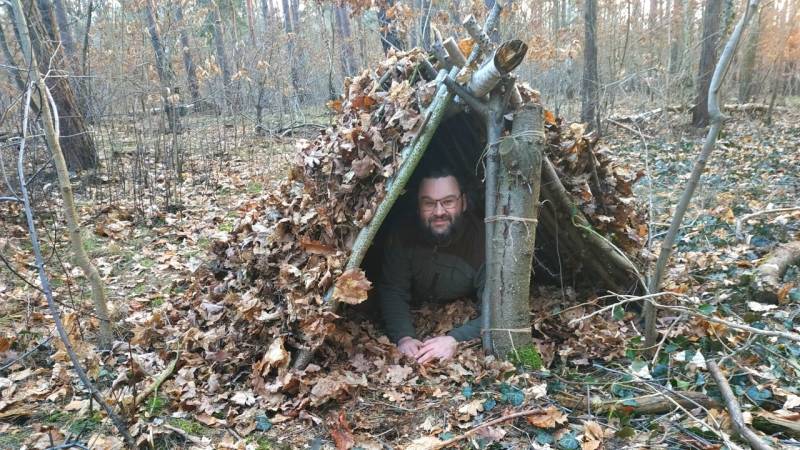
It took me several hours to build my first shelter back then. I would have loved to put those hours into finding food instead. I initially wanted to be protected from the wind and weather and clearly prioritized my needs.
Nowadays, I don't take anywhere near as long and have more time for other things in extreme situations.
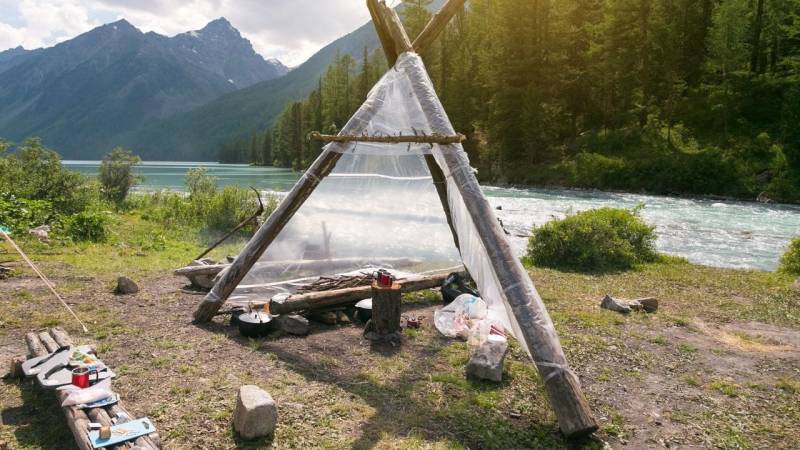
If you have the opportunity to build your first shelters in your garden, that is great training.
This guide provides you with all the information you require for your shelter.
5. Making Rope
If you have your ropes, cords, and paracord in the wilderness with you, that's great. For building shelter, for animal traps, or for hanging your hammock, rope is essential.
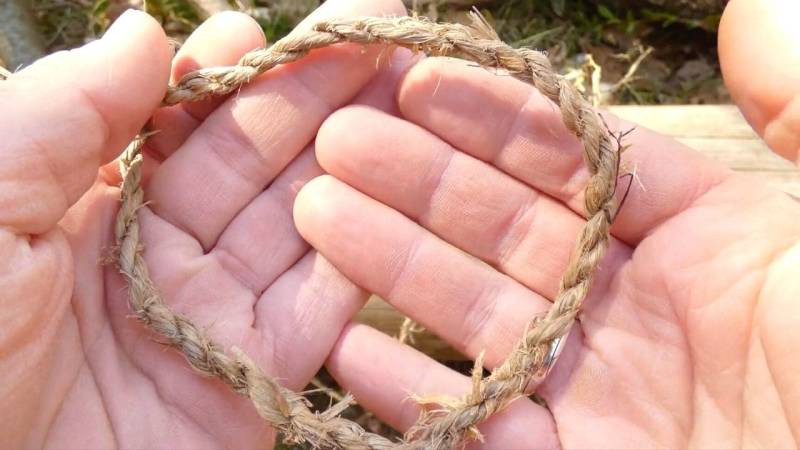
Even more advantageous is learning how to create your own ropes. There are various materials that you can use. Whether plant fibers, tendons, or bark, the resources seem almost endless. In my opinion, the most common and easiest to process is the fiber of the nettle plant.
Nettle grows everywhere and is often harvested for food anyway. So, why not use the whole plant and strip the fiber from the stem. Then you twist it and have a sturdy cord. The bigger the nettle, the bigger and stronger the fibers.
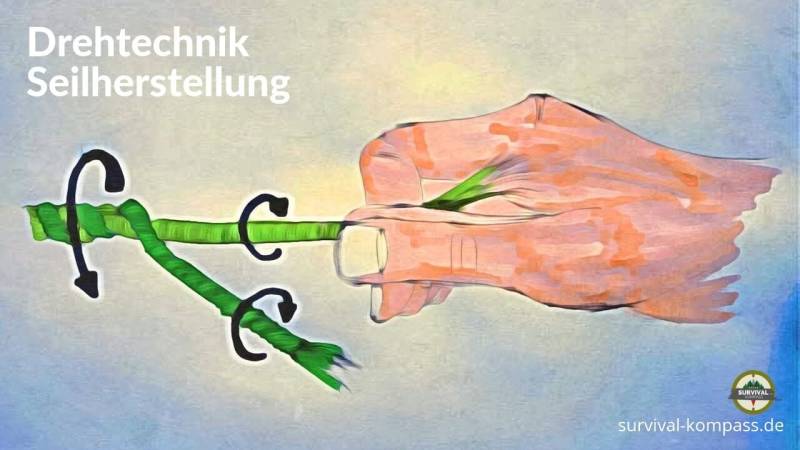
You can also easily spin ropes at home. All you have to do is harvest the nettles and then sit comfortably in your chair and start spinning.
Click here for the exact instructions.
P.S. To practice the twisting technique, you can also grab some string and get started.
6. Practicing Knot Techniques
As a Bushcrafter, you need knots to master various tasks and challenges in the wilderness. Knots can be used, for example, to attach, repair or transport equipment.
They can also be used to build or secure camps and other structures. In emergencies, knots can also be used as rescue ropes or for signaling.
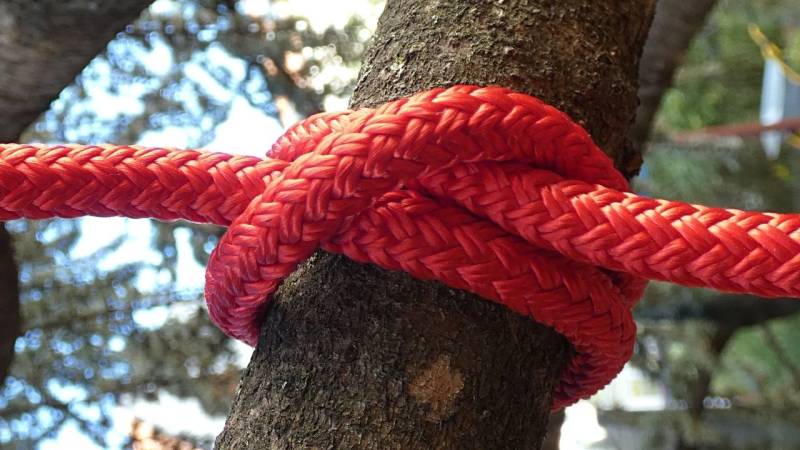
Overall, knots are an important part of Bushcrafting and a necessary skill for anyone who wants to spend time in the wilderness.
Therefore, I explicitly recommend practicing knotting even at home. This saves you a lot of frustration and time in the wilderness.
If you only learn the knots while building your shelter, you will invest valuable energy in this process. This doesn't have to be the case.
Because you do not learn knots overnight, and it takes constant practice.
We live in the age of the Internet or can read books to acquire new skills. Use the time and master some knots before facing the wilderness.
Also read
6 essential knots for bushcraft and survival (picture and video guide, +PDF) - So that your connections are bombproof, today I show you my 6 best knots for bushcraft. You learn step by step how to tie them yourself.
7. Learning or improving carving skills
It is a fact: You can learn or improve carving skills anywhere, even in your own living room. Make sure to prepare a suitable surface to avoid stress with wood shavings.
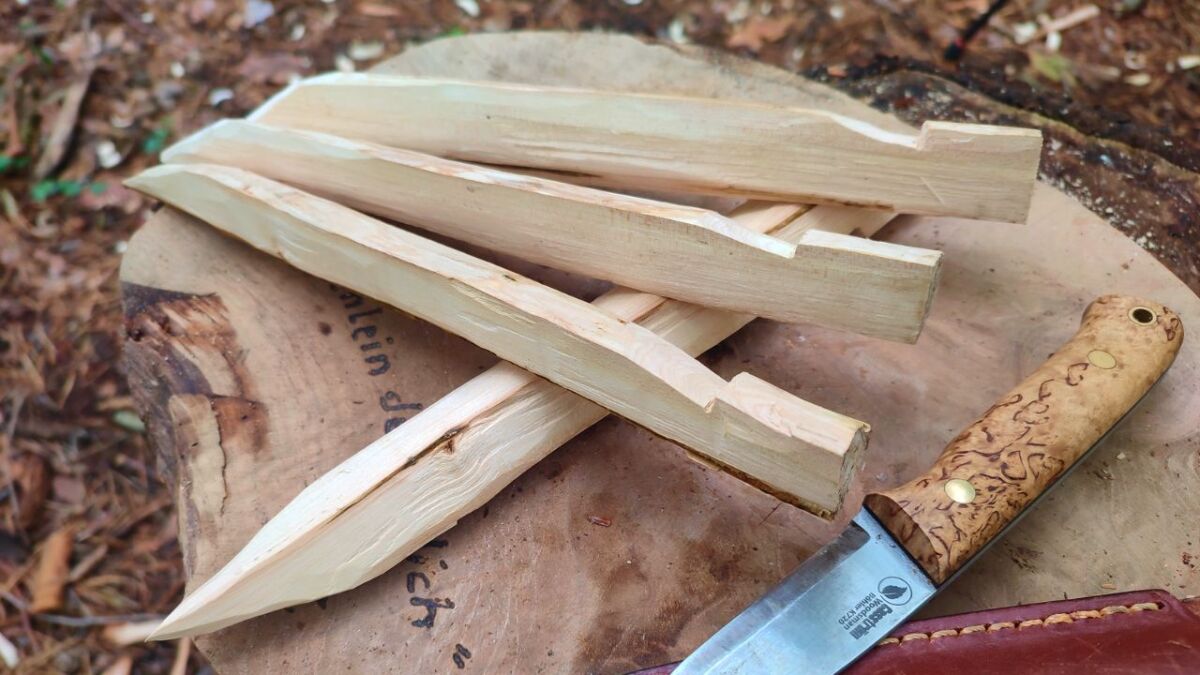
One way to start carving is to make a hook from a V-shaped stick. Use this hook to hang a pot over a fire.
In addition, you can carve tent stakes or pegs. Depending on the thickness of the stick, use either an axe or a knife. Sharpen the end and carve a notch at the other end to attach a rope. Use these carved stakes or pegs to secure a tarp or your shelter.
Finally, you can also carve your cutlery. This requires some instruction and specialized carving tools, but there are also books and information available on the internet to help you.
A self-carved cutlery is not only useful, but also a unique experience and a one-of-a-kind item. So, why not try to make your own cutlery?
If you want to make it easier, try chopsticks, a skewer, and tongs.
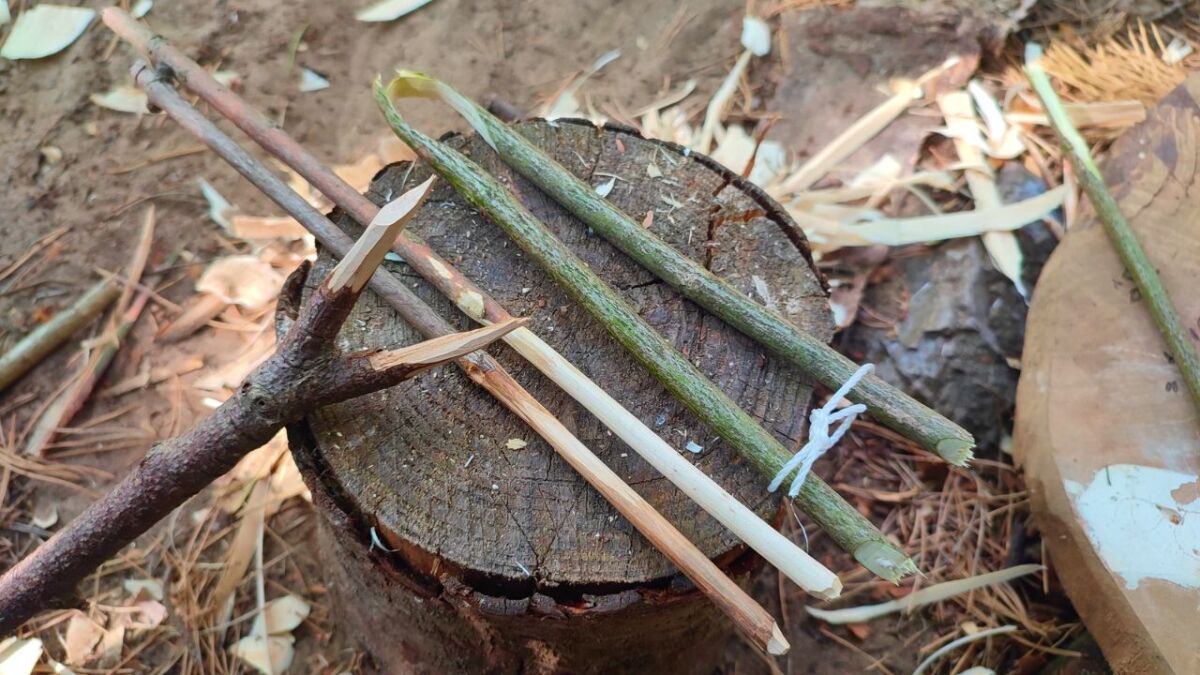
Here are some more ideas that you can try at home while carving:
- Figures: You can try carving small figures or statues out of wood. This requires some patience and finesse, but over time, you will surely make progress.
- Wooden toys: You can also try carving wooden toys for children. This could be a small car or a horse, for example.
- Jewelry: You can also carve small pieces of jewelry such as earrings or pendants. You may need to use special tools for this, but it's worth trying out.
- Signs: You can also carve signs, for example, for the garden or as a directional sign.
- Wood printing: You can create wood prints by carving an image onto wood and then pressing paint onto it. This could be a great way to create artwork or personalized gifts (Find here even more gifts for Bushcrafters).
- Sculptures: If you have more experience with carving, you could also try carving sculptures out of wood.
There are many possibilities for what you can do with carving. Let your creativity run wild and simply try out what you like. You will surely make progress soon and have a lot of fun carving.
8. Bow and Arrow
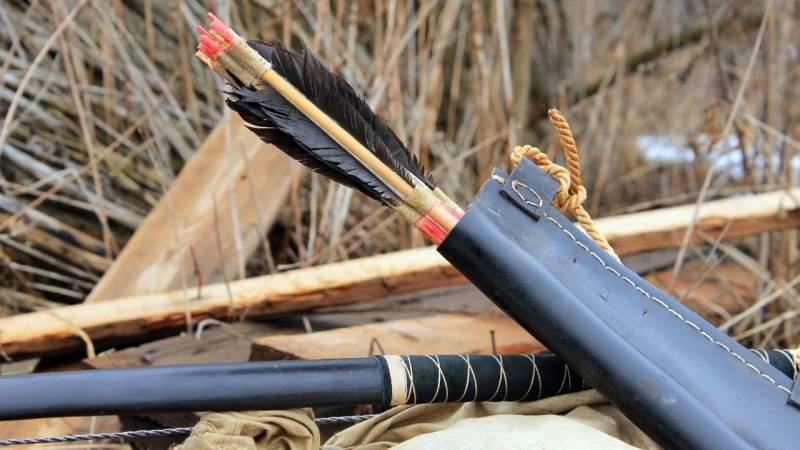
Building an effective bow for hunting is not easy and requires a lot of practice. However, archery can also be seen as a hobby and serve as entertainment in the wilderness. You can already learn how to build the bow and arrows at home.
Bow
For the bow, you need a branch that is flexible but not too bendable. There must be enough tension to shoot your arrow several meters through the air.
Our ancestors used either plant fibers or animal tendons for the bowstring. You can use the aforementioned nettle fiber wonderfully for this purpose, but synthetic cords also serve their purpose.
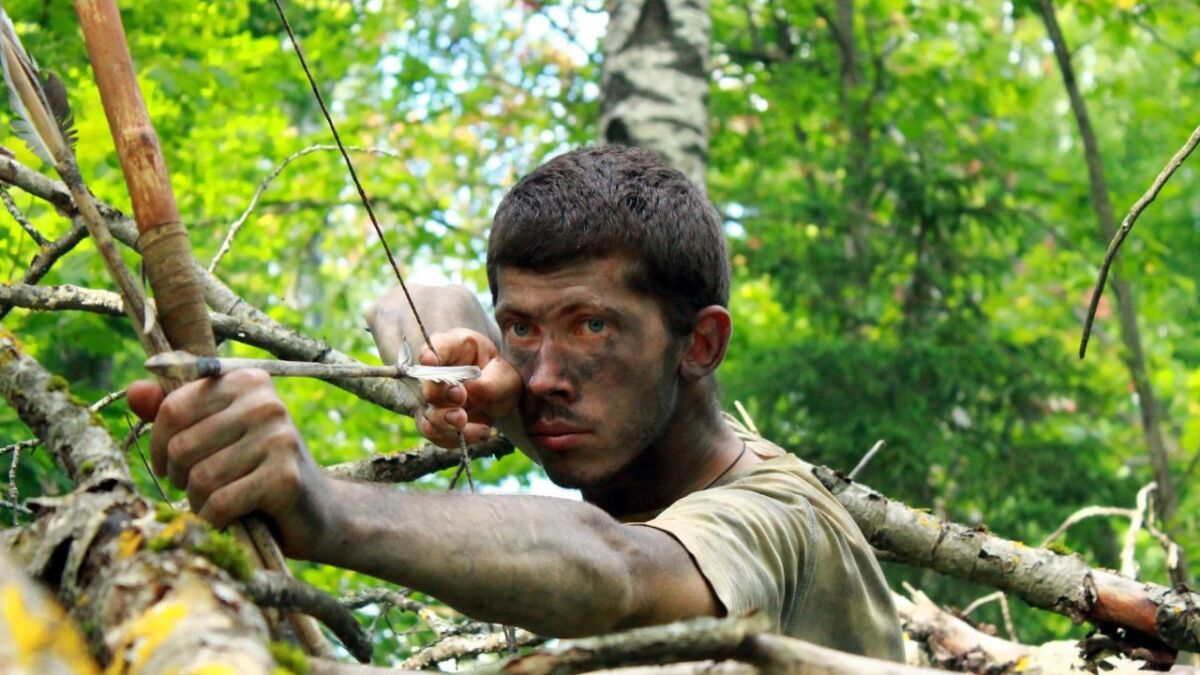
To build a bow that you use for practice, you must follow these steps:
- Choose the material for your bow. Traditionally, bows are made from wood.
- Create a template for the bow. Measure the length of the bow arm and draw the template accordingly. Furthermore, consider the desired pulling force of the bow and the thickness of the material you want to use.
- Cut the wood for the bow according to the template. Use a handsaw or an electric saw to cut the wood carefully according to the template. Ensure that the cuts are straight and precise to ensure that the bow works well later.
- Sand the edges of the bow arm. Use a sanding machine or a grinding stone to smooth and shape the edges of the bow arm. Ensure that all edges are sanded equally to ensure that the bow pulls evenly later.
- Attach the strings to the bow. Use strings made of natural materials such as gut or animal tendons to connect the two ends of the bow arm. Use strong stitches or knots to securely attach the strings to the bow.
- String the bow. Ensure that the bow is properly strung by slowly and carefully pulling it. Make sure that the strings are evenly tensioned and that the bow has an even shape.
Before starting to build the bow, make sure that you comply with all applicable laws and regulations and that the construction and use of bows are allowed in your country.
The Arrow
For an arrow, you need a straight branch. You can either sharpen it at the front or make an arrowhead out of stone, bone, or other materials.
To ensure that the arrow flies straight, you also require fletching. You have the free choice with the feathers.
At the end, carve a nock point to ensure that the arrow sits securely in the string, and then you can start.
9. Making a bowl
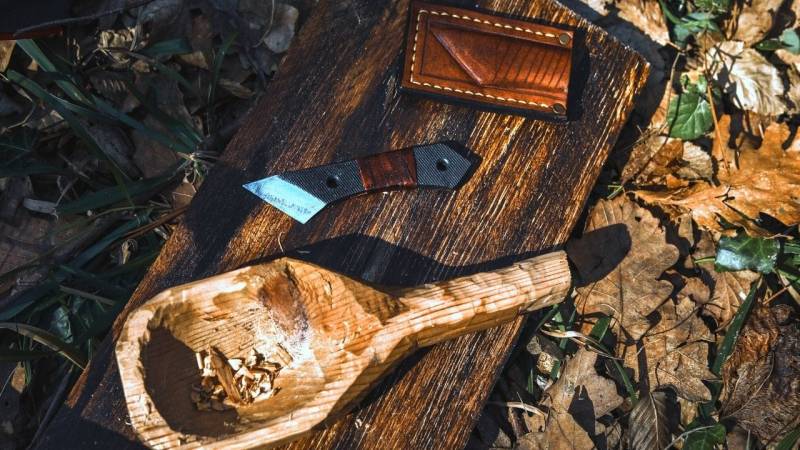
There are two options here: carving a bowl and burning a bowl. To burn a bowl, you require a garden. Because it requires embers and the resulting sparks are dangerous, at least for your furniture. I've already gotten a few holes in my clothes.
For the second option, you require special carving tools such as a peeling knife.
10. A tripod for cooking
A tripod is a great tool for cooking over the fire. I've already told you how to attach the hook to the cooking pot. Now you just need the frame.
All you require are three sticks of roughly the same length. Depending on the size of the fire, you may need to choose the length of the sticks.
Tie the sticks together at the top and stand the tripod up. If you've already mastered this, cooking is child's play.
In this article "How to Build a Tripod for Bushcraft and Survival (+Video)", you'll learn even more.
11. Setting up fishing gear
Food procurement is another important aspect in every survival situation. If you would rather not depend on your provisions, fishing is a valid way (compared to hunting) to fill your stomach. However, you first require a fishing rod with a hook.
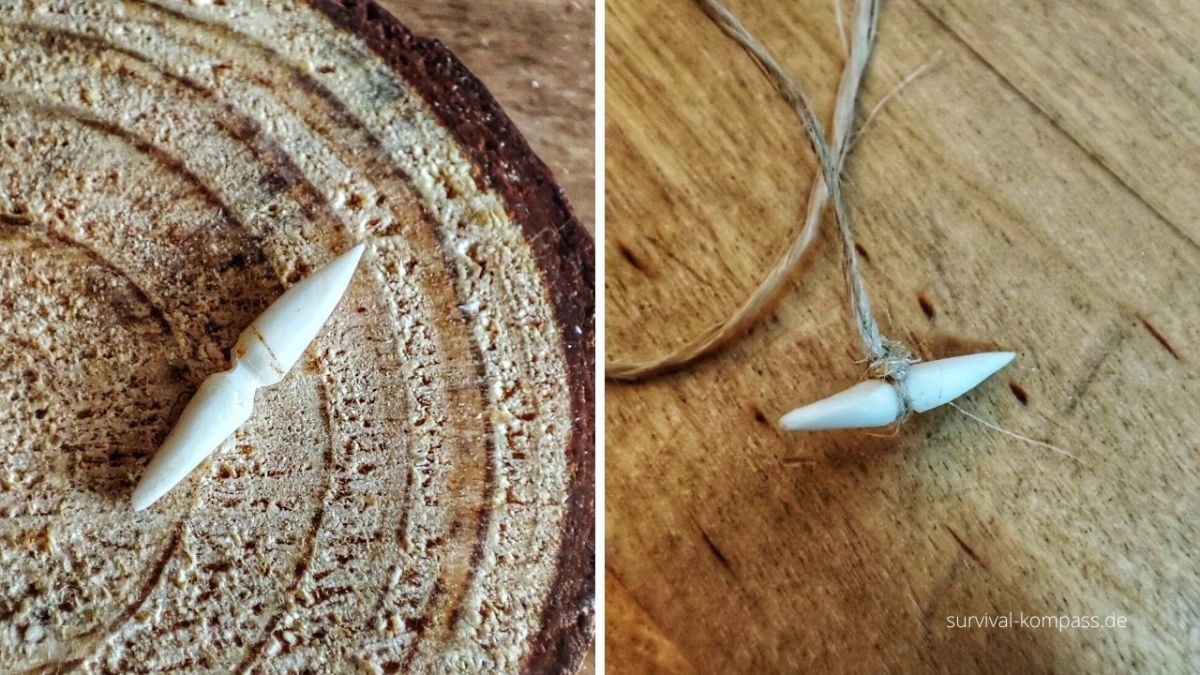
For starters, a fishing hook and line will suffice. The fishing hook can be wonderfully made from bone, metal or, in an emergency, even wood. For the line, you need something that is sturdy. A neatly braided nettle cord can serve you well here.
12. A needle made of bone
Do you have some bones left over from your last chicken soup? Then keep them!
It is possible to make a needle from a bone by working the bone to achieve the desired shape and size.
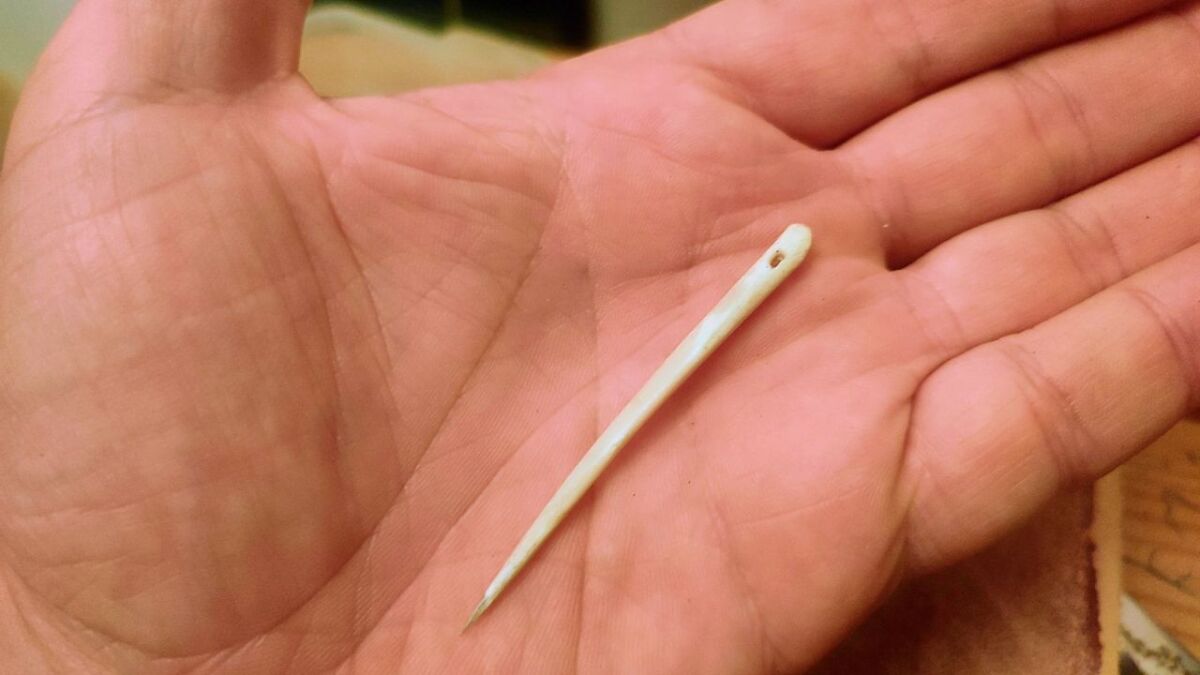
Here are the basic steps you can take:
- Choose a bone: A suitable bone should be as firm and stable as possible to prevent it from breaking too easily when being worked on. Suitable bones include animal hooves or the shin-bones of mammals.
- Clean the bone: Remove all meat residues and other impurities from the bone by washing it thoroughly and drying it.
- Grind the bone: Use a grinding tool to shape and size the bone as desired. Depending on how fine the needle should be, you can grind the bone finer or coarser.
- Smooth the needle: Use a fine sandpaper or other polishing substance to smooth and polish the needle.
It is important to note that making needles from bones is a demanding task that requires some time and practice. Especially when grinding and polishing, one should be cautious not to damage or break the needle.
Conclusion: These 12 bushcraft inspirations for home and backyard will advance you
Do you feel the itch in your fingers during winter, but it's too cold to go outside? Are you sick and actually want to be out in nature?
Here I give you some tips on what you can practice in such times, even within your own four walls.
You can strengthen your skills in flintknapping, making Featherstick, and filtering water.
You will learn how to make sleeping bags and tent floors from natural materials, and how to make essential survival equipment from branches and ropes.
Anyway, it is always worthwhile to practice preventively and not just deal with all the topics theoretically.
So, why not at home? Have fun trying it out.

Sources for the guide
https://en.wikipedia.org/wiki/Knapping
https://nanu-magazin.org/flintknapping-steinwerkzeug-selber-machen/
https://de.wikipedia.org/wiki/Retusche_(Arch%C3%A4ologie)
https://survival-kompass.de/salz-aus-wasser-entfernen-trinkwasser/
https://survival-kompass.de/wasserfilter-selber-bauen/
https://survival-kompass.de/bushcraft-shelter/
https://survival-kompass.de/seile-selbst-machen/
https://www.bogensportwelt.de/bogensehnen
https://de.wikipedia.org/wiki/Pfeil_(Geschoss)
https://www.survivalworld.com/survival/bushcraft-projects-you-can-do-at-home/

Author of the guide
Martin Gebhardt
Hey, I'm Martin. On my blog, you will learn the basics and numerous details about living in the wild. I think survival, bushcraft and the good life in nature are the keys to happiness. Find me here on Instagram or on YouTube. You can find more about my mission on the About Me page.
Was this guide helpful?
55 people found this guide helpful.
4.93 out of 5 points (56 Ratings)
Comments (0)
This post may contain affiliate links. So if you click on the links and make a purchase, I will receive a small commission at no additional cost to you. Click here, to learn more about it.


