9 shelter to stay overnight in the wilderness - outlast the cold in winter survival
Learn how to survive in the cold during Winter Survival in the wilderness. Discover great emergency shelters and learn how to survive in emergencies.


From Martin Gebhardt. Check out my “About me” page.
👉 The key facts from this guide
- Discover various shelter options in the wilderness, including Lean-To, wickiups, snow caves, igloos, and tarp survival shelters.
- Whether in a lean-to, igloo, or quinzee, effective insulation from the ground and the elements is crucial for warmth and protection in winter.
- For many shelters, especially Lean-To and wickiups, a fire or good sleeping equipment such as a sleeping pad and sleeping bag is necessary.
- Leaf hut: Unique in its construction, the leaf hut can be insulated in a way that it can keep warm even without a sleeping bag.
- Always pay attention to safety aspects, especially when using fire in shelters and the stability of snow caves and igloos.
- Regular checks and repairs of your shelter are essential to ensure long-lasting protection and warmth.
You stand in the snow, the cold bites, and dusk is approaching.
It may be uncomfortable for you, but a shelter must be built.
And that's final!
You wonder: How on earth do I do this?
The fact is: You can't survive without protection - especially not in winter.
I will reveal to you today how to build a roof realistically over your head with simple means and the psychology of survival art.
Step by step, you build your fortress in the snow with me.
I will show you ways today that defy even ice and frost. Come on, let's get started!
Quick Overview of the Shelters
Here is a tabular overview of the different shelters with the relevant facts.
| Type of Shelter | Construction Time | Material Requirement | Insulation | Sleeping Equipment | Advantages | Disadvantages | Special Features |
|---|---|---|---|---|---|---|---|
| Lean-To | Quick to medium | Logs, branches, leaves, twigs, cord | Low | sleeping pad, sleeping bag | Quick setup, flexible, spacious | Windy, low insulation | Additional securing towards the weather side |
| Leaf Hut | Medium to long | Branches, leaves, twigs | High | not mandatory | Good insulation, inconspicuous, compact | Longer construction time, risk of moisture | Perfectly insulated, warm even without a sleeping bag |
| Wickiup | Medium to long | Stronger branches, leaves, moss, cord | Medium | sleeping pad, sleeping bag | Sturdy, room for multiple people | More elaborate setup | Fire possible inside with appropriate size |
| Snow Cave | Medium | Snow, shovel | High | sleeping pad, sleeping bag | Great insulation and protection | Time-consuming, safety risks | Air holes for breathing important, elevated sleeping position recommended |
| Igloo | Medium to long | Ice blocks, saw | High | sleeping pad, sleeping bag | Great insulation and protection | Technically demanding | Air holes for breathing important, elevated sleeping position recommended |
| Tarp Shelter | Quick | Tarp, cord | Low | sleeping pad, sleeping bag | Quick setup, water- and wind-resistant | Low insulation | Fire possible if hung high enough |
| Shelter from Fallen Trees | Quick depending on condition | Fallen tree, branches, leaves | Medium | sleeping pad, sleeping bag | Natural resources, stable | Not always available | Natural protection without major impact on the environment |
| Quinzee | Medium to long | Snow, shovel | High | sleeping pad, sleeping bag | Great insulation and protection | Work effort, stability risk | Compaction of snow before hollowing out important, air holes and elevated sleeping position |
1. The Lean-To: Your first bastion against the cold
I still remember the first night in my self-built lean-to - it wasn't easy, but I made it through.
The memory: The stars were twinkling as I lay under my roof of branches and leaves, surrounded by the silence of nature.
What is a Lean-To?
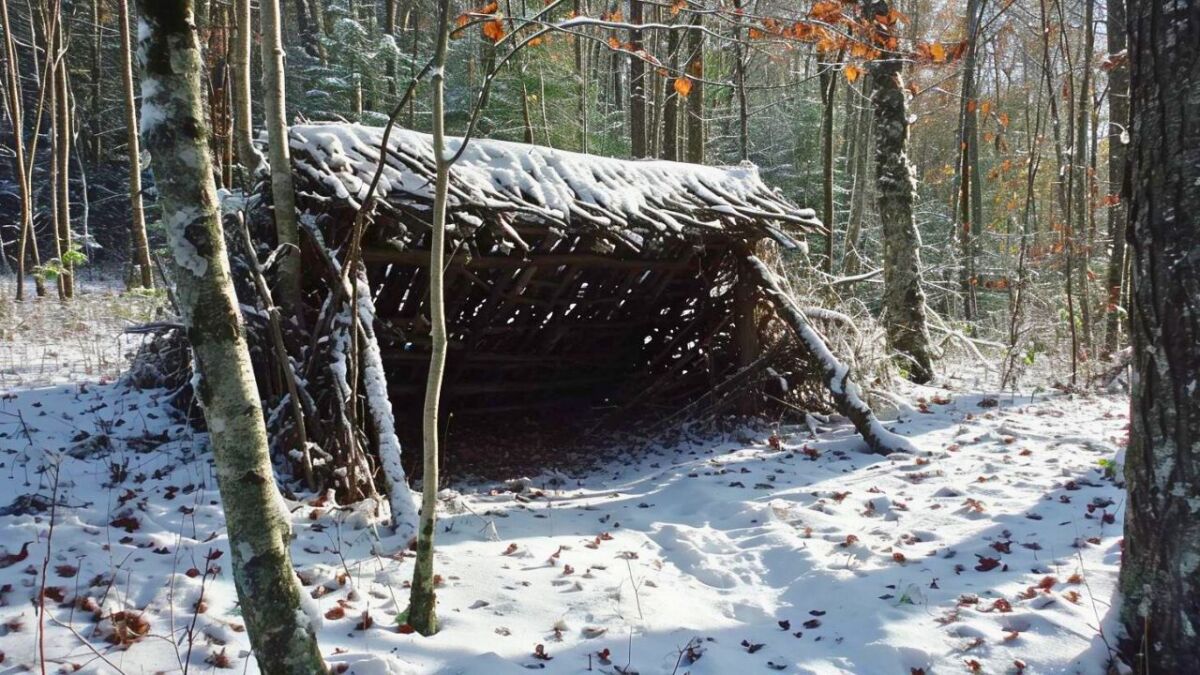
Building a lean-to is pure simplicity and only requires a few long branches leaning diagonally against a pole between trees or rocks. Then covered with whatever nature provides.
Advantages and Disadvantages of the Lean-To in Winter
-
Advantages:
- Quick to build: You don't need any tools, just your hands and the gifts of the forest.
- Flexible: Can be done almost anywhere you are stuck.
- Materials: Most of what you need is readily available - branches, leaves, and twigs.
-
Disadvantages:
- Insulation: Such a lean-to shelter can be drafty, and insulation is not possible. You will need a fire that burns continuously in cold weather.
How to sleep ideally in a lean-to
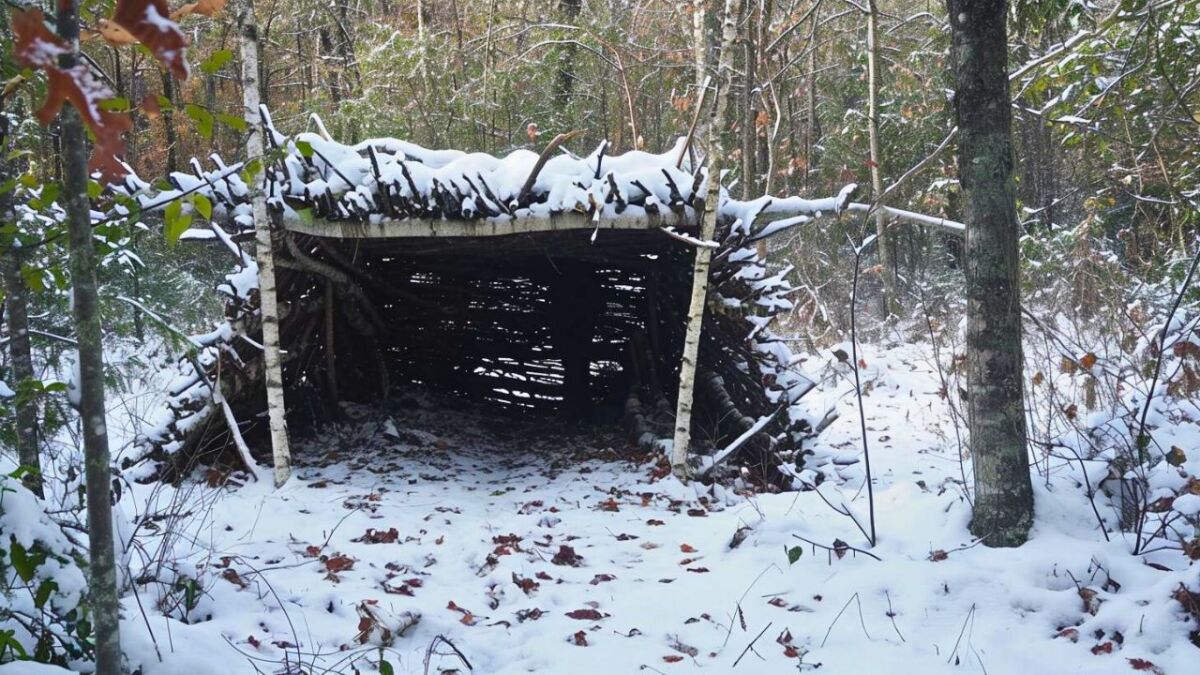
That the Lean-To itself is not insulated, I don't think I need to mention. It can even get quite chilly when the wind whistles in everywhere.
So make sure to build the lean-to facing the weather side. In Europe, that is usually the west (Here's how to determine the cardinal direction).
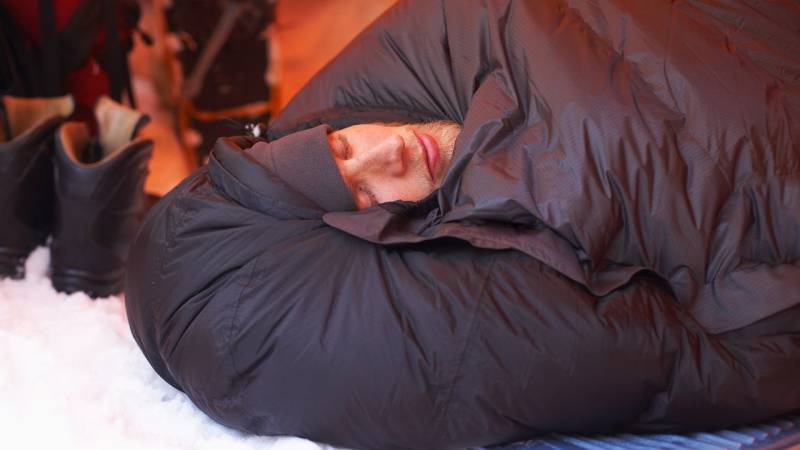
Try to build yourself an elevated sleeping position so that you don't experience any cold from below. Insulate the bed well with natural materials. Perfect would be a sleeping bag and a fire in front of the bed.
Insulation techniques for your Lean-To
Isolation is key to winter survival! Always remember: Cold air sinks, warm air rises. Here are my best tricks to keep you warm:
- Leaves, leaves, and more leaves: Your best friend when it comes to insulation. Build yourself an elevated bed until you have a thick layer to sleep on.
- Branches as windbreak: Lay finer branches across the structure, this will break the wind.
- Snow wall: If there is enough snow, shovel it against the outer walls, it insulates perfectly.
- Needles, moss & Co.: Greenery as an additional heat retainer? Bring it on!
Read also
Survival in winter - these tips are important in cold weather - Winter weather and cold present major challenges in survival. To avoid unnecessary risks, you need to plan carefully in advance.
2. Leaf Huts: Your Cocoon in the Winter Forest
The leaf hut has protected me from freezing cold and wind more than once.
She is like a nest that you can build and cuddle in. Perfect for an emergency!
The Principle of the Leaf Hut
Branches and foliage become your building blocks here - a dome made of branches, covered with a dense layer of foliage.
This great shelter can be built anytime with us in Germany. If you offer outdoor courses, be sure to do it with your participants. It fits perfectly with survival training.
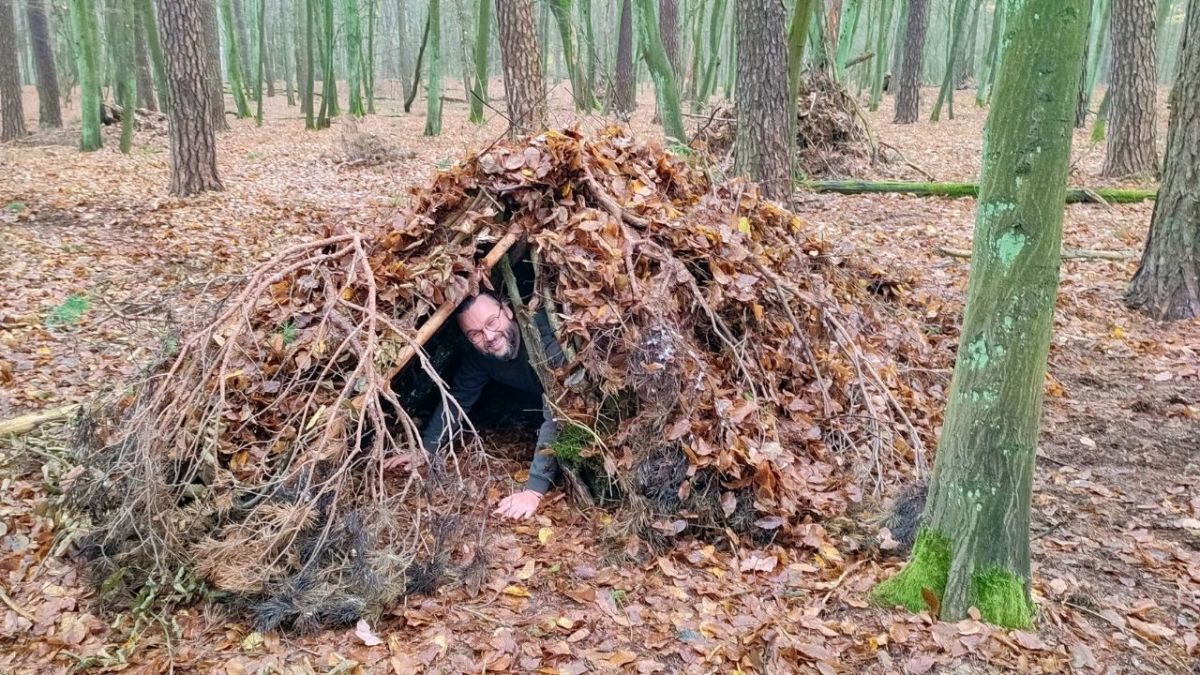
Strengths and weaknesses of a leaf hut
Let's get to what matters:
-
Advantages:
- Isolation: Fine gaps in the foliage store heat and your body heat as well.
- Inconspicuousness: Well made, the leaf hut blends in with the forest.
-
Disadvantages:
- Construction time: Well insulated, the leaf hut takes time and patience to build.
- Moisture: Without the right material, it can become damp.
- Campfire: Only possible outside.
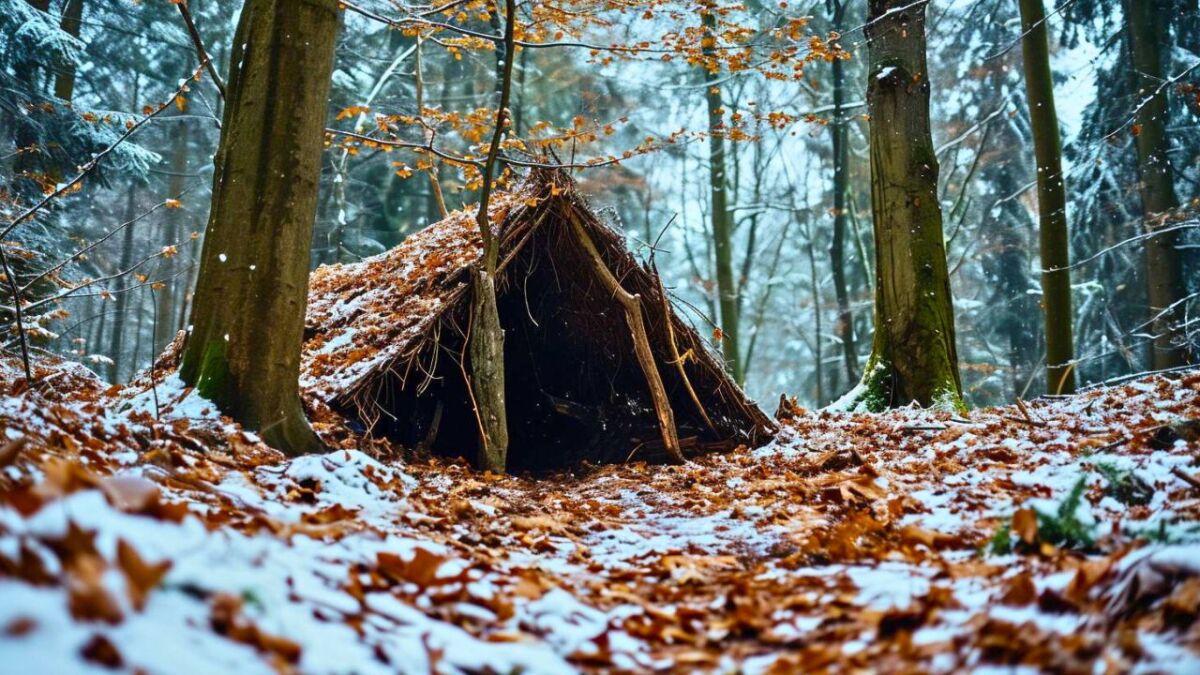
How to sleep ideally in a leaf hut
The leaf hut is one of the few winter sleeping options that can keep you warm even without a sleeping mat and sleeping bag.
With enough foliage and insulation towards the ground, it can stay warm. The fine air gaps of the foliage store the heat and you are the heater yourself.
If you think there is enough foliage on the roof and on the ground, then add just as much again on top. If your insulation is exposed underneath, then rebuild it. No cold should come through from below!
And important:
Everything must be tight, including the entrance! If that's not the case, then nothing is isolated. Imagine the leaf hut like a sleeping bag. You have to lie close to the leaves inside.
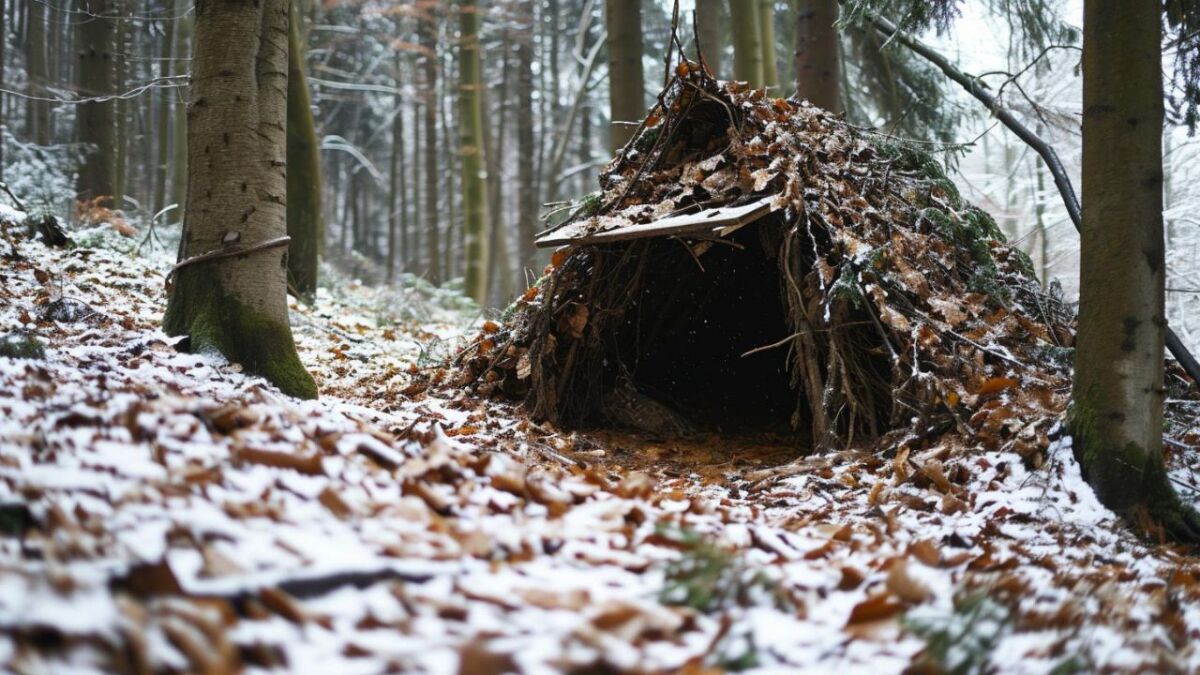
Properly insulating a leaf huz
In the right insulation, warmth is hidden. Let's take a look at what you can do:
- Dense canopy: Place a layer of leaves as thick as possible on a strong branch structure. More is more!
- Interior design: Build your bed elevated to keep the cold out. A thick layer of leaves works wonders here too.
- Dryness is key: Make sure no moisture enters from the inside. Branches and bark can be a good sleeping surface under the leaves.
- Cozy extras: Fill all gaps with moss or more leaves, this will fill the last remaining spaces.
- Sealing: Everything must be insulated with leaves, including the entrance.
Watch the video about the leaf hut - also called Debris Hut.
The first night in my leaf hut I will never forget - enveloped in the rustling of the forest, warm and dry, despite the cold outside. Believe me, it's worth the effort.
Read also
Sleeping outside in winter - with these proven tips it will definitely work - Many outdoor enthusiasts are hesitant to sleep outside in the cold of a winter night. But with the right equipment and tips, you can handle sub-zero temperatures.
3. Wickiups: The Robust Shelter for Winter Survival
The first time I built a wickiup shelter, I felt pure awe.
"So our ancestors built a hut!"
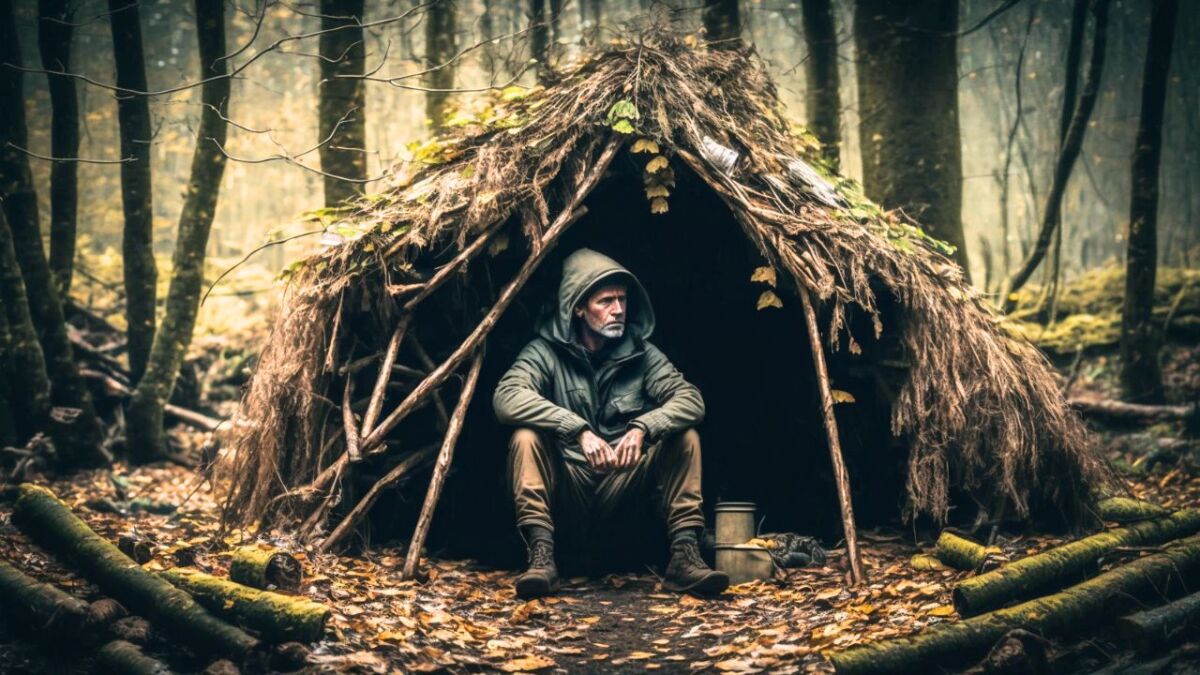
This sophisticated construction of the Indigenous Americans consists of a skeleton of thicker branches that converge into a dome - like a small wooden chapel.
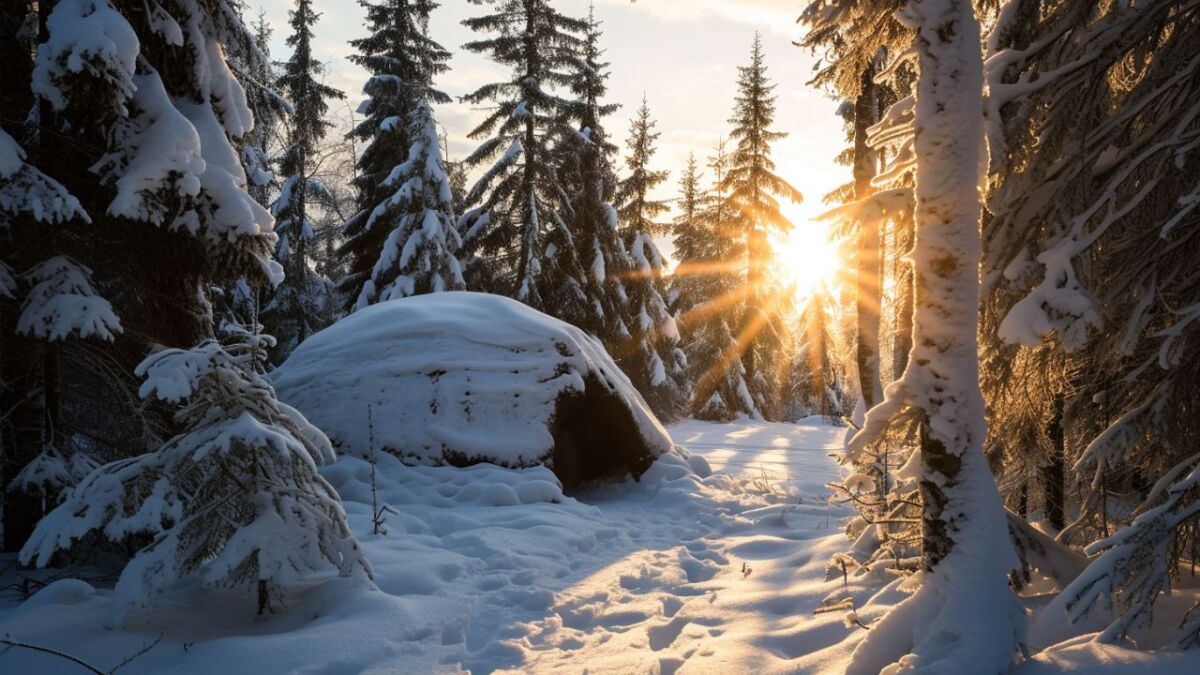
Discover the Wickiup Shelter
Wigwam and Wickiup are traditional dwellings of Native American tribes with similar names.
The wigwam was mainly used by Indigenous people in the Subarctic and Northeast.
A significant difference to tipis is that in wigwams, the vertical branches are bent. Wigwams can be either round or rectangular. The typical basic shape of a wigwam is circular or oval, often with a diameter of 4.5 to 6 meters.
The pros and cons of overnighting in a wickiup
No time for frills, here are the essentials:
-
Advantages:
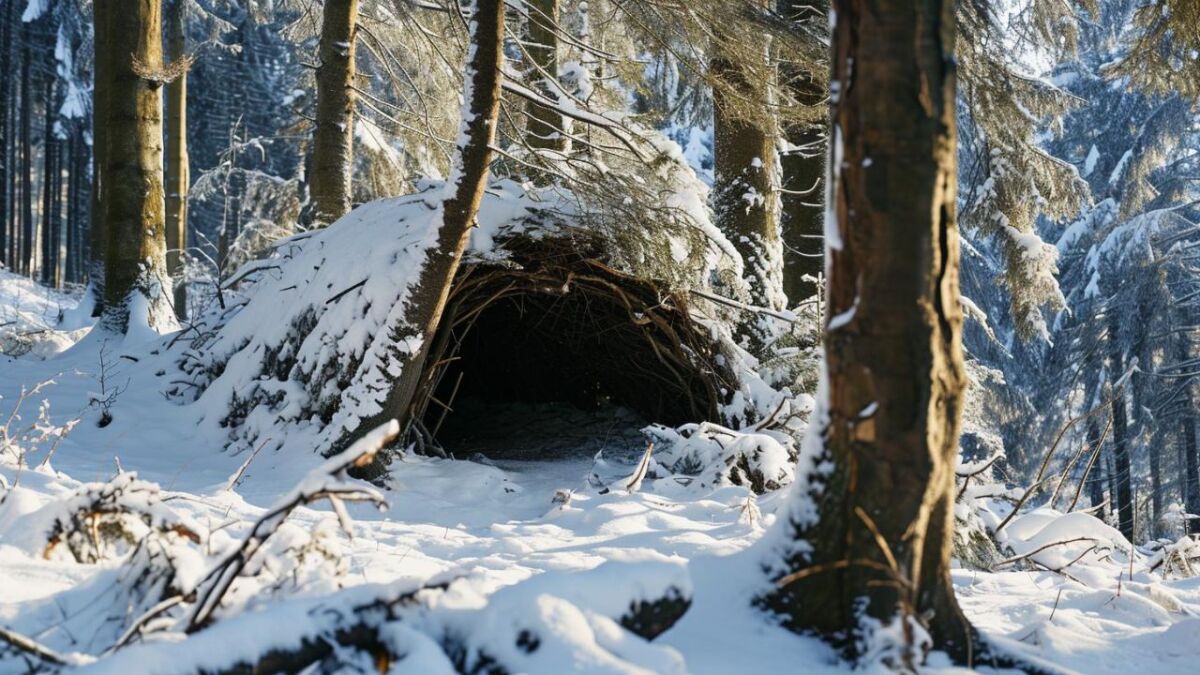
- Stability: Rigid and secure, even in stormy and snowy conditions.
- Space: Provides enough room for you, friends, and your equipment.
- Fire: If the Wickiup is large enough, you can make a fire inside.
-
Disadvantages:
- Effort: Requires more materials and work than other shelters.
- Availability of materials: You need a good selection of branches, and they are not always readily available.
- Insulation: Keeps wind out, but does not provide warmth. A fire is usually necessary here - or a thick sleeping bag.
How to sleep ideally in a Wickiup
In this shelter, there is little insulation, so you will need either a raised bed with plenty of leaves or a sleeping mat with a sleeping bag.
The good thing about a wickiup is that you can light a fire in it if it's big enough. Just make sure to have a good smoke vent.
Insulate like a pro
A Wickiup is no child's play, but with these insulation tips you can create a cozy fortress:
- Build the skeleton strong: Your foundation must be stable, so choose the strongest branches.
- Protect the outer walls: Start with a layer of smaller branches, then add anything that insulates - leaves, moss, snow.
- Don't forget the flooring: A layer of twigs will keep you off the cold ground.
When I tested my first Wickiup in my garden, it felt like I had built my own little fortress. Away from the world, warm and dry, even during an unfriendly snowstorm.
Also listen to
Episode 14: 10 Bushcraft and Survival Skills to Try This Winter - In this podcast episode, you will find 10 great bushcraft and survival skills to try when it's snowy and cold outside.
4. Snow Caves: The Art of the Inuit
The Secret of the Snow Cave
Until you have been buried in the snow and enveloped by a self-dug snow cave, you do not know what silence means.
To see your breath while nothing but the silence of your cave surrounds you - that is magic.
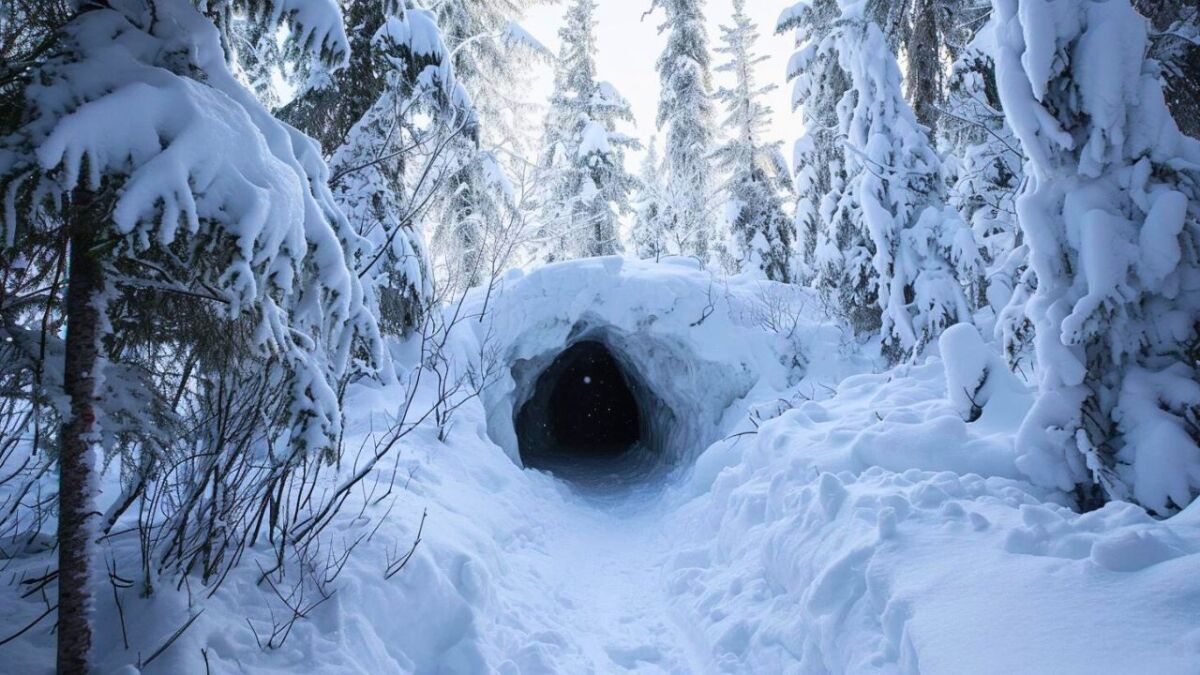
A snow cave is dug directly into a deeply snow-covered area. You crawl inside to protect yourself from the relentless winter - that's how the indigenous peoples in the northern polar region have done it.
Balance Act: Benefits and Challenges
So, what speaks for this frosty fortress, and what against it?
-
Advantages:
- Excellent insulation: Snow is a phenomenal insulator. The cave retains body heat like an igloo.
- Minimal materials required: Your tools? A shovel and your hands.
-
Disadvantages:
- Time-consuming: It takes time to dig through the snow.
- Safety: You need to leave air holes and consider the weight of the snow to prevent collapse.
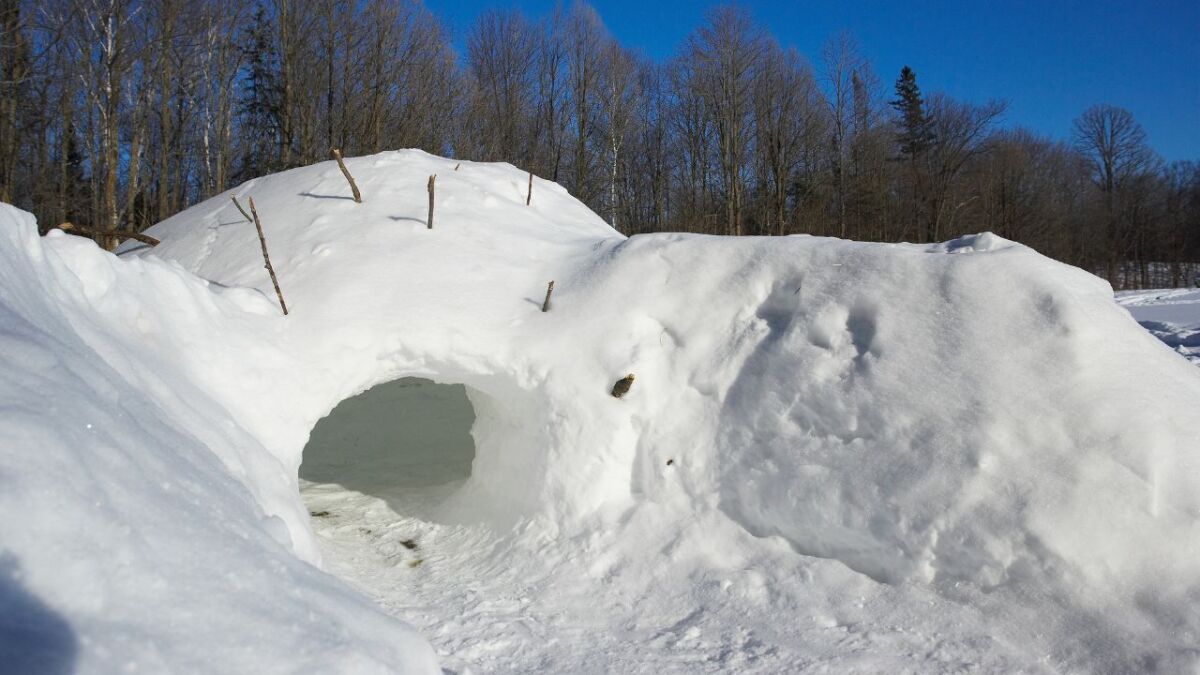
How to sleep ideally in a quick cave
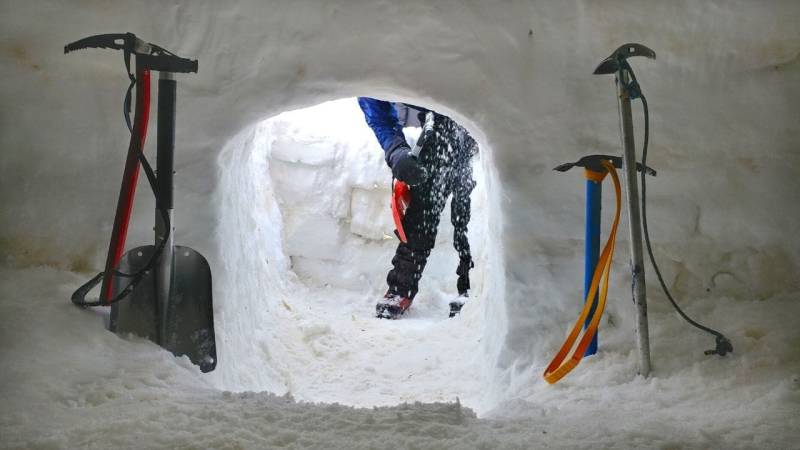
Your sleeping position and equipment are crucial for a good night's sleep. Here are a few tips:
- Choose the right equipment: An insulating base - like a sleeping pad - is essential. It protects you from the cold that rises from the ground. Use a sleeping bag designed for extremely low temperatures.
- Set up a bed: Build a slightly elevated bed out of snow. This way, you sleep above the coldest point of the cave, where cold air accumulates.
Isolated Comfort in a Snow Cave
- Smooth the walls: This prevents melting water from dripping.
- Pay attention to the ceiling height: Too high, and the heat will rise. Too low, it becomes claustrophobic.
- A notch for cold air: Colder air sinks, so dig a small notch in the floor where the cold air can retreat. Or build a raised bed - that way you'll stay warm on top.
- Create emergency exits: Safety comes first, so don't forget to build additional exits.
When I spent the night in my snow cave for the first time, it felt like hibernating under the protection of nature itself.
You're tired from digging, you crawl in, curl up, and suddenly, it's quiet, warm, and safe. That's the moment when you know: Mother Nature has embraced you.
But be careful: It's better not to make a fire in a snow cave - or only if it is sufficiently ventilated!
Read also
7 dangers of snow caves and how to avoid them (+opinion from a survival trainer) - Snow caves provide great protection against cold, wind, and weather. However, snow caves can also be dangerous. Learn how to avoid the dangers.
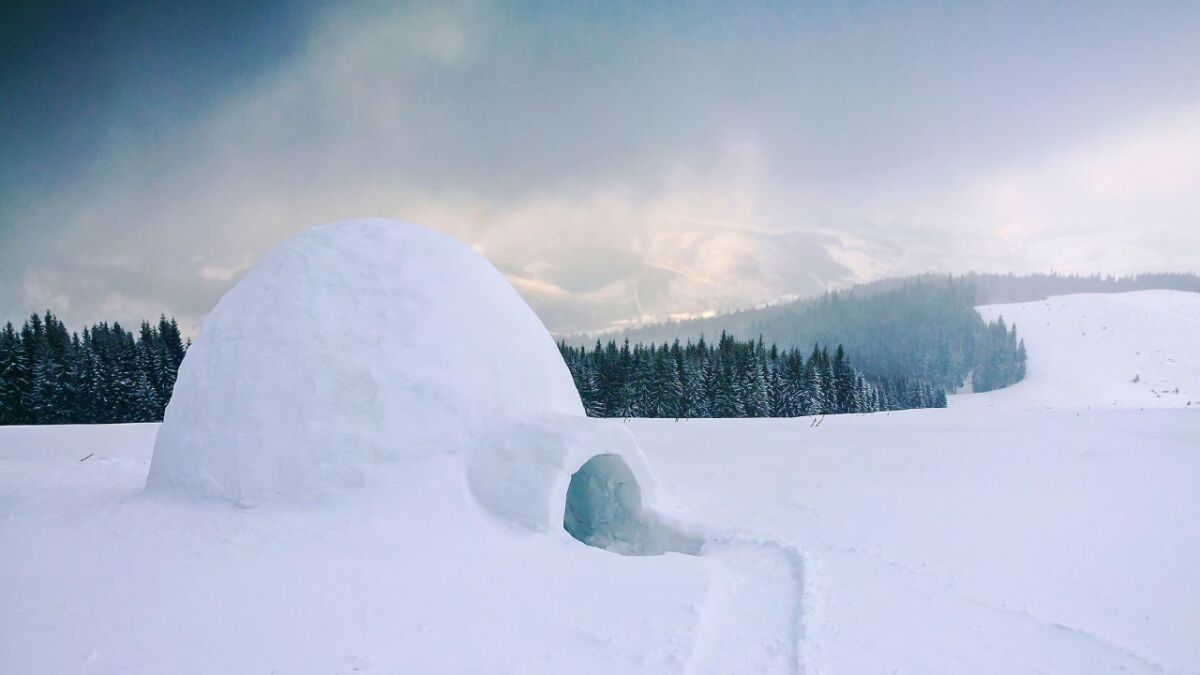
5. Igloos: Round structures in the snowy wilderness made of blocks of snow
The allure of ice skating
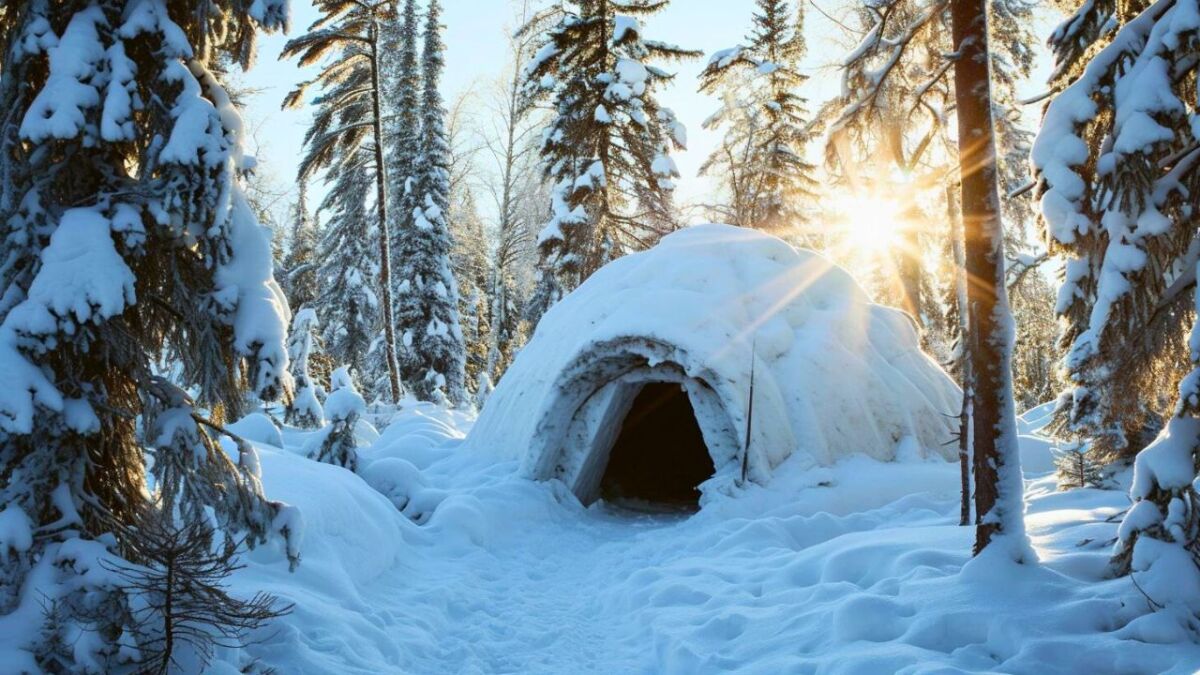
Remember the snow castles of your childhood? Building an igloo out of snow blocks has that same magic - except now it's about your survival.
There, surrounded by snow blocks, I experienced the sounds of winter in their purest form during a survival training.
The advantages and disadvantages of an igloo
Each of these icy houses has its advantages and disadvantages:
-
Advantages:
- Isolation: Igloos store heat amazingly well.
- Protection: No matter how the wind howls, it's quiet and protected inside.
-
Disadvantages:
- Time and Technique: With an igloo, you have to saw and stack snow blocks.
- Caution: Snow collapses can be dangerous, so not for the inexperienced.
- Fire: Not recommended inside.
How to sleep in an igloo ideally
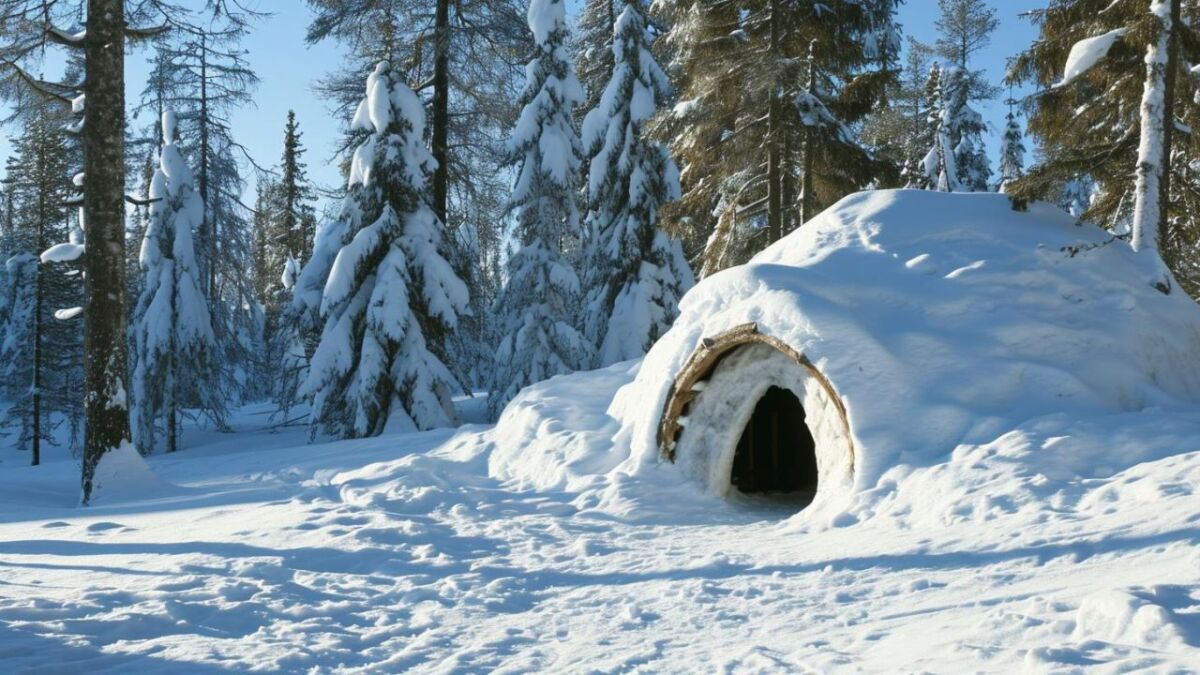
Here are some tips for sleeping comfortably in an igloo:
- Set up a warm bed: Use insulating materials like pine branches or fur to create a sleeping platform. These provide an additional layer between you and the ice and keep out the cold.
- Sleep elevated: Build your bed so that it is slightly higher than the entrance of the igloo. Warm air rises, so it will be warmer at the top than on the ground.
- Good sleeping gear: A high-quality sleeping bag suitable for winter temperatures is essential. An insulating sleeping pad also helps to keep out the cold.
Masterclass of Isolation
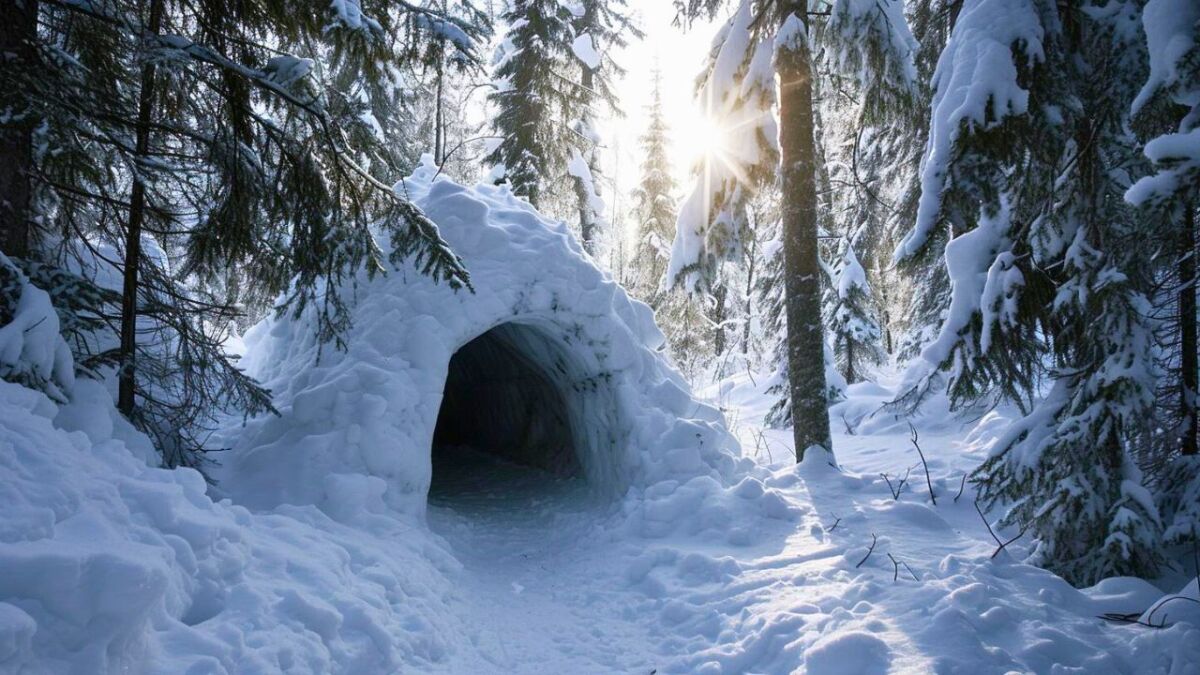
Building an igloo is like sculpting. Here's how to do it to stay warm and safe:
- Saw blocks accurately: Accuracy is everything when it comes to igloos. The blocks need to fit.
- Don't forget the ventilation hole: No air hole, no oxygen. Important!
- The interior: Cushion with spruce branches or furs - that's how the pros do it.
- Warm air wants to go up: Raise your sleeping position in the igloo.
I once lay in an igloo during a clear night sky and saw the moon through one of my ventilation holes. I tell you, it was a magnificent sight - so peaceful, I forgot about the bitter cold around me.
Sharing such knowledge feels like passing on a piece of the wintry starry sky.
And here too: Better not make a fire in the igloo.
6. Tarp Shelters: Quick Protection in the Survival Camp
I will never forget how my tarp once saved my neck. An unexpected snowstorm, and I was right in the middle of it, alone, with nothing but forest all around me.
The tarp as a lifesaver
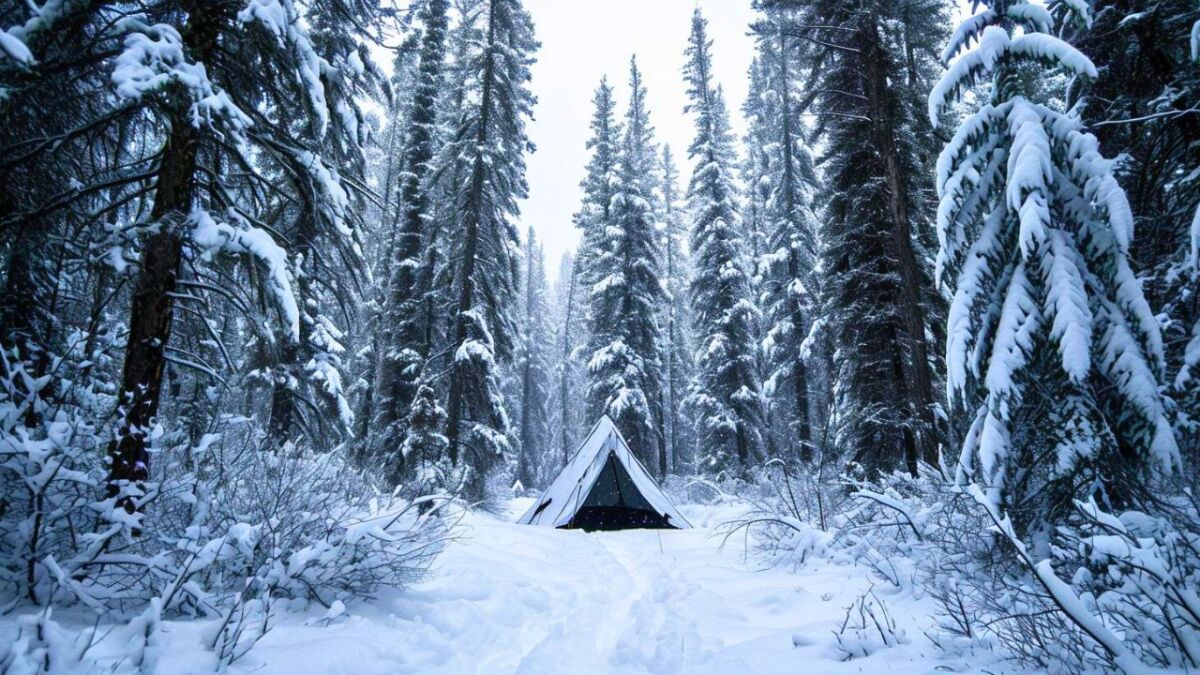
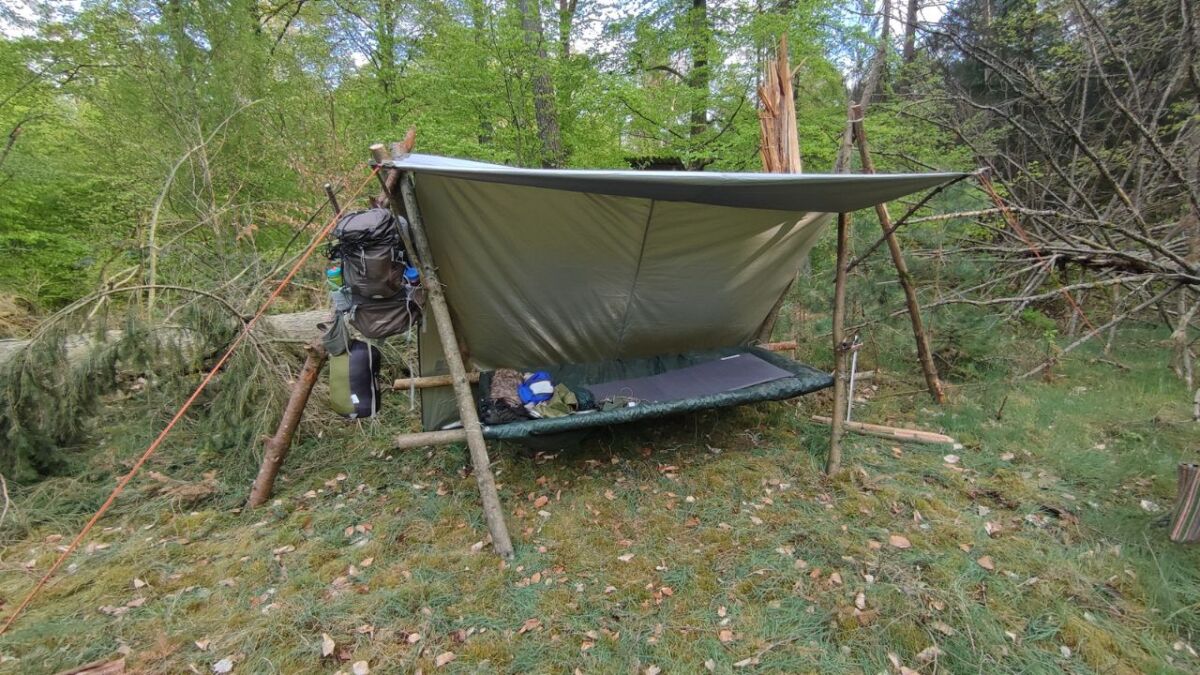
A tarp is nothing more than a large, sturdy tarpaulin - lightweight, portable, and versatile.
Within minutes, I had created a refuge that provided me with protection and warmth (hence the knots should be well tied).
Advantages and Disadvantages of the Tarp-Shelters
A tarp can save lives, but it also has its limits:
How to sleep ideally under a tarp
Ideally, you should have a sleeping pad and a cold-weather sleeping bag. However, these may not always be available in an emergency, so you will need to rely on alternatives.
Here you again reach for coarse conifer branches and build them up finer and finer towards the top. This will be your bed, or rather your mattress. You must definitely insulate yourself from the cold ground below.
Set up your tarp as protected as possible.
Heat and Dryness under the Tarp
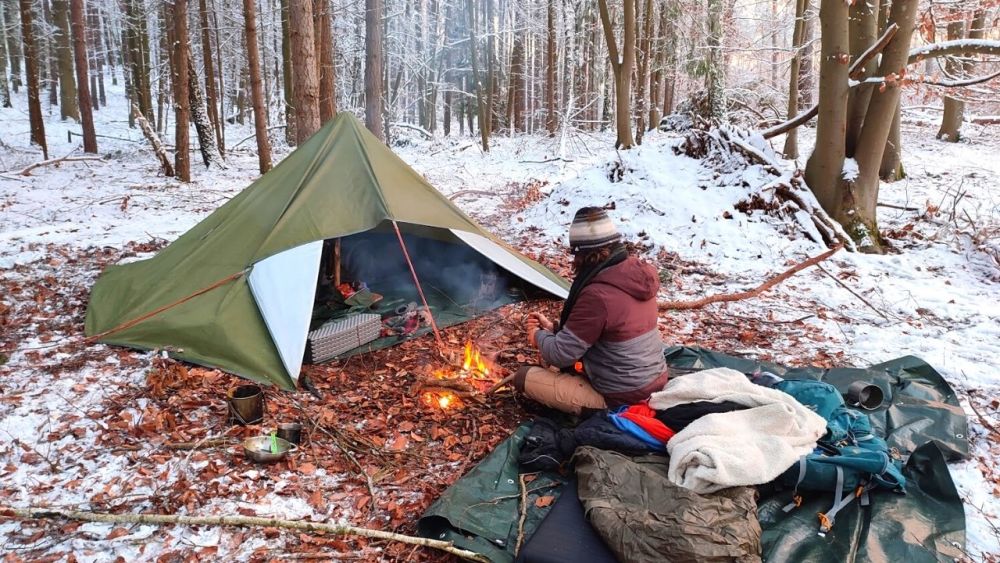
A tarp tent is only as good as its use - here's how to survive the night in a tarp tent and stay cozy:
- Secure properly: Tighten the tarp and secure all corners.
- Insulation from below: A layer of insulating materials, such as leaves or pine branches underneath you, can work wonders.
- Additional tarp for extra protection: If you have one, use a second tarp as a windbreak in front of the entrance side.
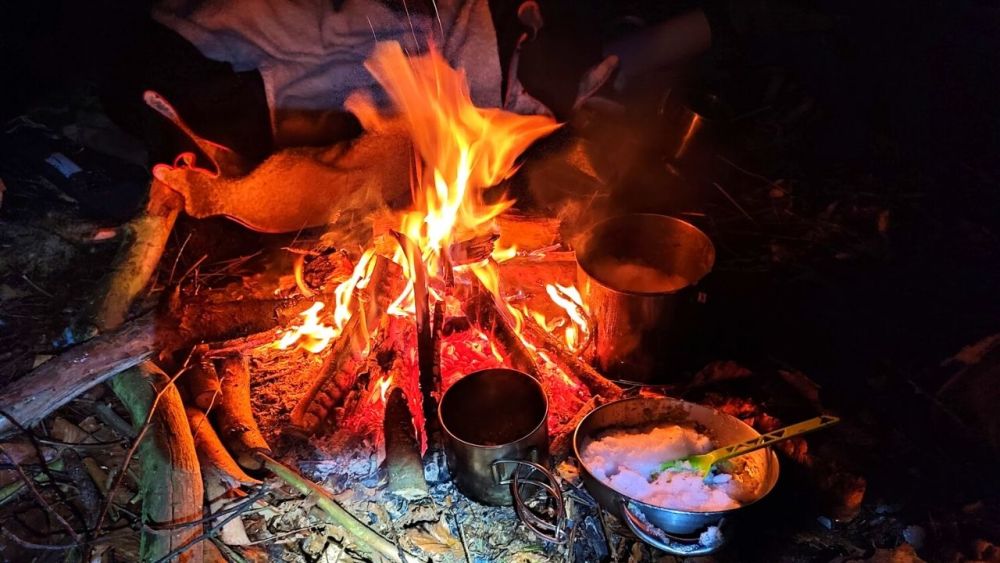
- The small fire pit: A small, controlled fire in front of the tarp is often possible - pay attention to the distance and wind direction.
I once slept in a tarp shelter insulated with fur and leaves when the temperatures dropped well below freezing.
When I woke up, I was completely surprised at how effective this simple shelter protects me from the elements. A tarp, a few tricks, and you're protected from the harsh world of winter.
7. Shelter from fallen trees: The Gift of the Forest
A homemade from what the storm left behind
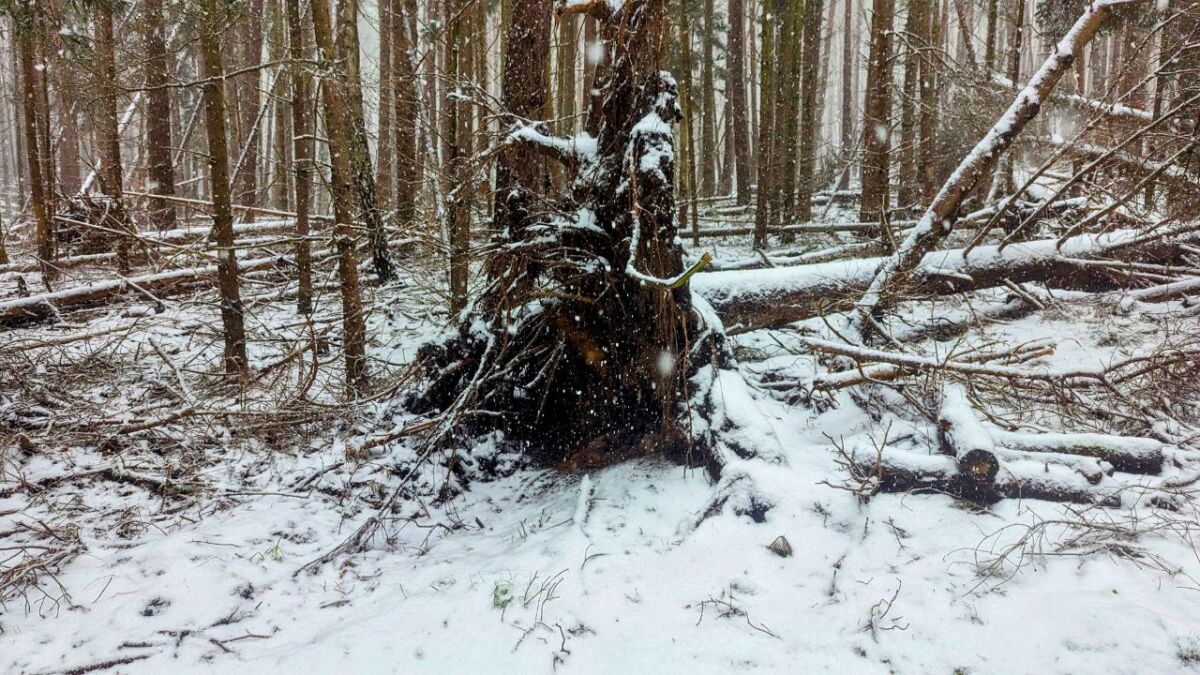
It was during one of my hikes in the deep forests when I came across a fallen tree after a heavy storm. It almost seemed as if the forest itself had offered me shelter.
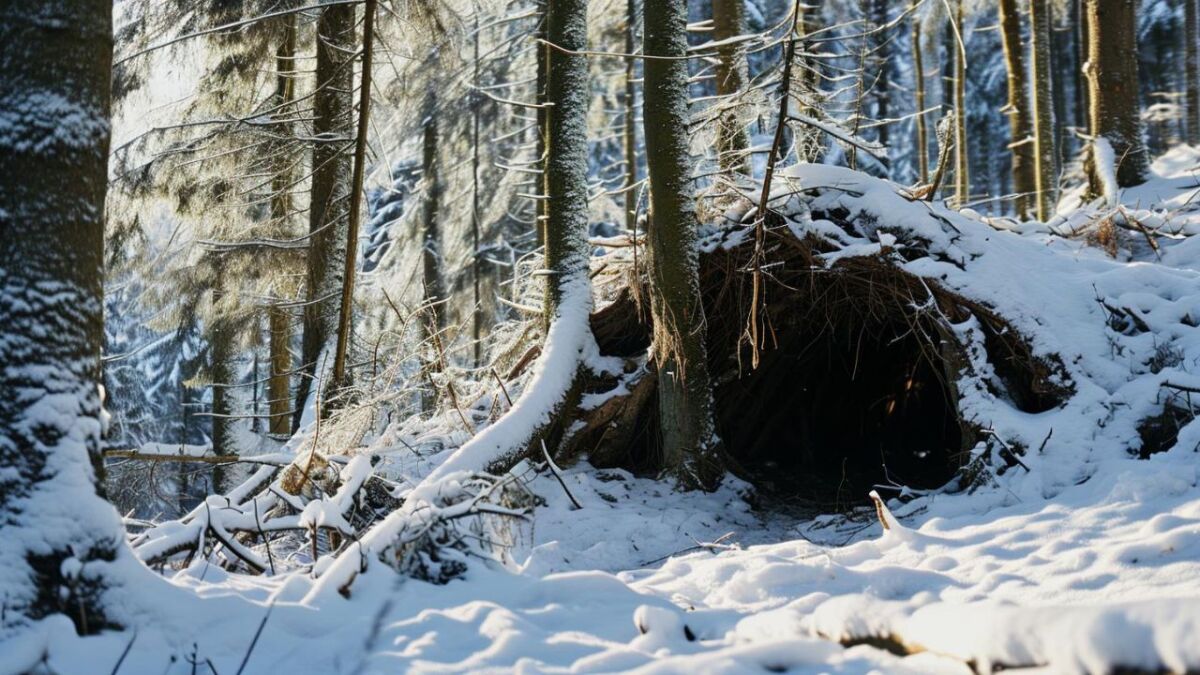
A fallen tree with its root mass can therefore provide a perfect framework for emergency shelter.
The Pros and Cons of the Fallen Tree
Everything has two sides - here are those of trees fallen from a shelter:
-
Advantages:
- Stability: The roots and trunk provide a sturdy framework.
- Natural: No damage to the living forest, as you take what is already there.
-
Disadvantages:
- Accessibility: This type of natural "shelter" is not always available.
- Insects and animals: They may already be there before you.
Read also
Falling trees - How to recognize and when is it dangerous in the forest? – Important safety tips to minimize the dangers of falling trees in the forest and to hike safely especially in autumn and during the first rapid snowfall.
How to Sleep Ideally Under a Fallen Tree
In an emergency without a sleeping mat and sleeping bag, natural materials are your best friend. Here's what you can do:
-
Build a natural bed: Collect coarse conifer branches and place them under the tree. Layer them finer and finer until a comfortable sleeping surface is created.
-
Insulation from the ground: It is important to insulate yourself well from the cold ground. Use additional layers of branches, leaves, or moss for this purpose.
How to insulate your tree shelter
To spend your night dry and warm, follow these tips:
- Use the root mass: The overturned soil and roots act as a natural wall - add some snow or leaves on top for additional protection.
- Build a windbreak: On the windward side, you need a barrier. Stack dense branches to keep the wind at bay.
- Protect: Use branches and leaves to shape your roof.
- Check your shelter: Before going to sleep, check for gaps and fill in where necessary.
As I lay there under my tree, snuggled up in my sleeping bag and surrounded by the silence of the night storm, I felt safe and protected.
A fallen tree is like a treasure that you just have to find to create a piece of home in the wilderness.
P. S. Always check if the fallen tree is safe!
👇 Here you will find a very realistic video about the shelter:
And now on to the next shelter - the Quinzee.
8. Quinzee: A Snow Dome with a Heart
The Quinzee - More than just a hill
I remember the first time I shaped a snow pile into a quinzee in the Thuringian Snow Forest - it was hard work, but at last it was my proud snow domicile.
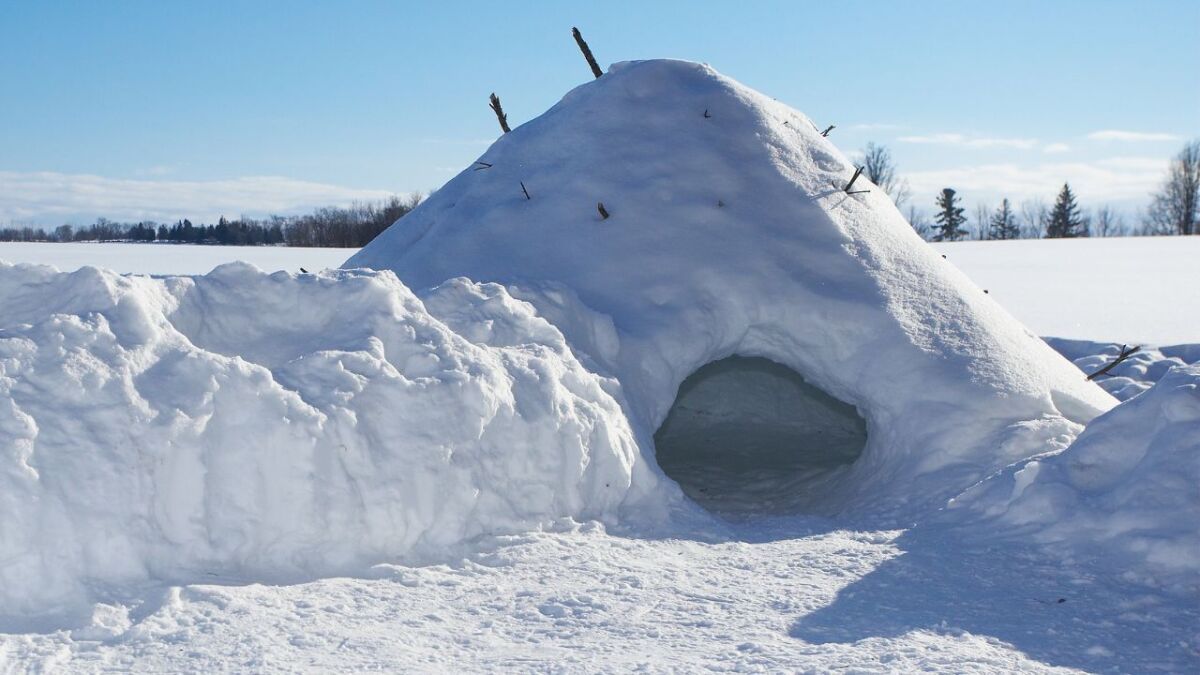
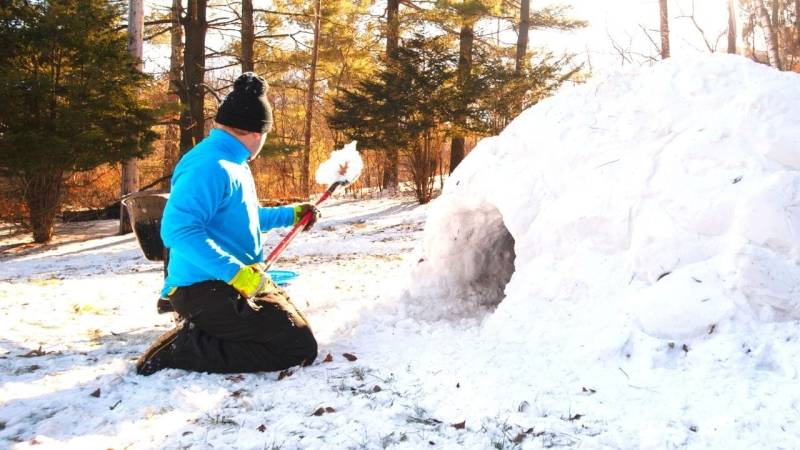
A quinzee is a traditional form of snow shelter that you shape from a large pile of snow and then hollow out into a cozy cave.
The two sides of a snow globe
A quinzee provides shelter and warmth, but there are also challenges:
-
Advantages:
- Can be done anywhere: You can start wherever there is enough snow.
- Heat insulation: Similar to an igloo, the snow keeps the heat inside.
-
Disadvantages:
- Work effort: Piling up a heap of snow means a lot of shoveling.
- Stability risk: When hollowing out, you have to be careful that the walls do not collapse.
How to sleep ideally in the Quinzee
In a quinzee, you most likely won't make a fire. It's best to build a good insulation between you and the snow. A sleeping pad or natural materials like pine branches are ideal.
Use a high-quality sleeping bag that is suitable for the respective temperatures. Place your sleeping area elevated, as warm air rises and keeps you warmer.
Make sure to wear enough layers, but not so many that you sweat, as moisture can be a problem in the cold.
Heat to the right place
Turn your Quinzee into a winter dream:
- Compact: Pack the snow pile tightly before you start hollowing it out.
- Tunnel vision: Align the entrance opening downwards to prevent cold air from entering.
- Sample: Insert thin sticks into the snow walls to check the thickness and ensure a uniform hollowing process.
When staying in a quinzee, one gets this feeling of protection and comfort, and the pride of building it oneself is unbeatable.
The night in the silence of the snow, wrapped in your warmth - that gives you a feeling of satisfaction that is difficult to beat.
Read also
How to build and ignite a fire in the snow - the complete guide - This guide will show you how to start a fire in the snow. Find tips on keeping the fire going and how to start a larger fire.
9. Natural Shelters: Back to the Roots
Caves and Hollowed Trees - Nature's Gifts
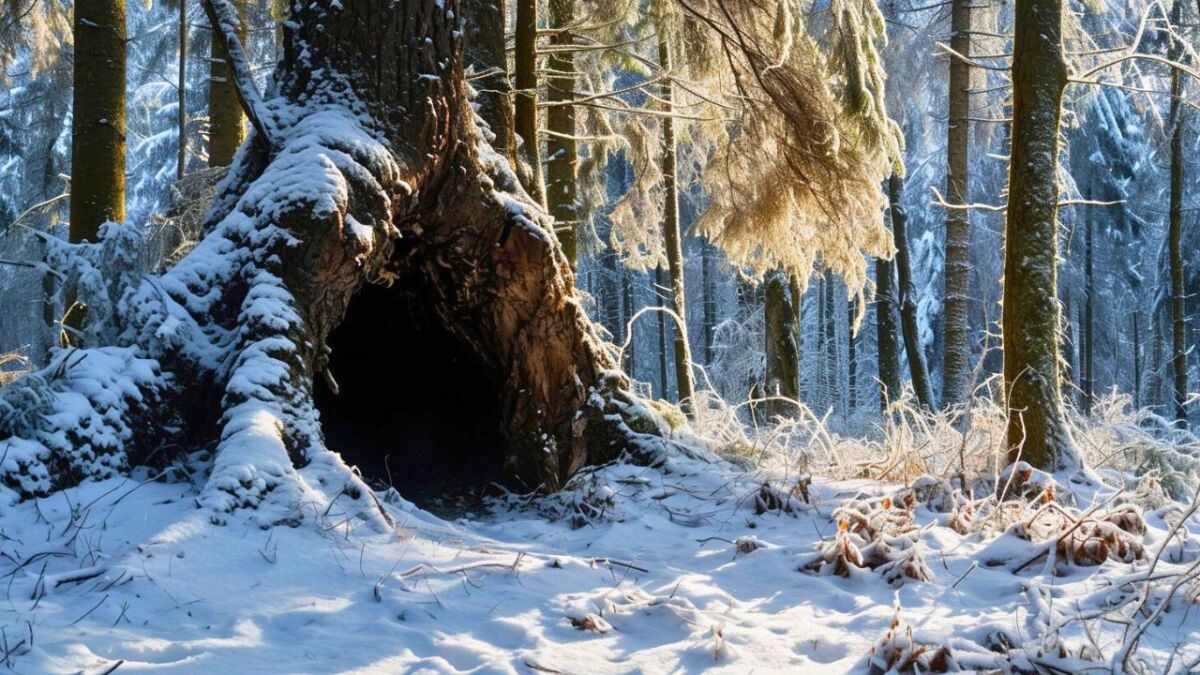
There is this special moment that I will never forget: When I suddenly came across a huge hollowed-out tree during a winter trek.
Perfect for finding protection from approaching snow! Natural shelters like caves or hollowed-out trees are jewels of the wilderness - they are there, you just have to discover them.
What speaks for it, what speaks against it?
Using these whims of nature to your advantage sounds great, but there are a few things to consider:
-
Advantages:
- No setup required: You find them, and they're ready.
- Natural insulation: The earth and wood protect you from the elements.
-
Disadvantages:
- Availability: You can't always assume you'll find one.
- Animal roommates: Sometimes these places are already occupied - and not by humans.
- No good insulation: You need something more to stay warm.
How to Sleep Ideally in Natural Shelters
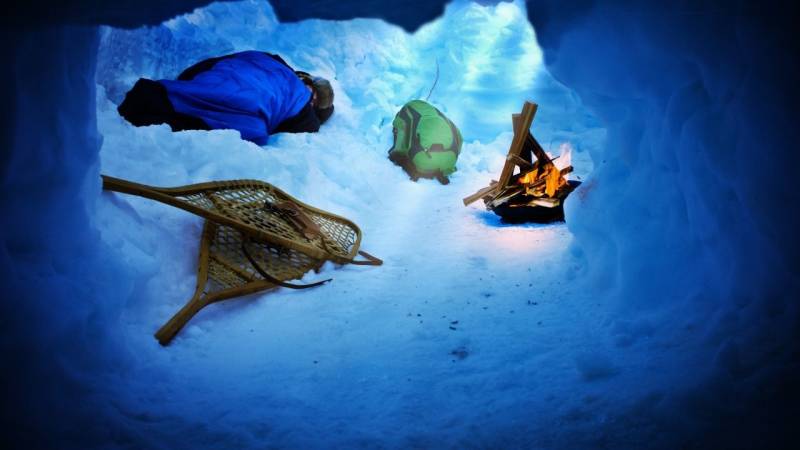
A hollowed-out tree trunk or a stone cave do not provide insulation. Here you have to insulate again from below to keep the cold out of your bones. A sleeping bag and a sleeping pad are ideal.
How to Insulate Natural Shelters
A few tricks and you can turn these natural houses into a cozy retreat:
- Leaf layer: A thick layer of leaves is like a blanket for the ground.
- The entrance: A curtain made of branches or snow can function like a door.
- Heat chamber: Dig a small hollow where cold air can gather - this way, the warm air stays up with you.
I once discovered such a giant tree that you could walk into. It felt like I had discovered an ancient forest secret.
Experiencing such things brings one closer to the heart of nature than one could ever have imagined.
The Trapper Bed: Sleep like a Fox
For most of these shelters, you need insulation from below - especially in winter. The Trapper bed is a suitable option for this.
When the Earth becomes your bed
Using the bare ground of a forest clearing as a bed? Better not!
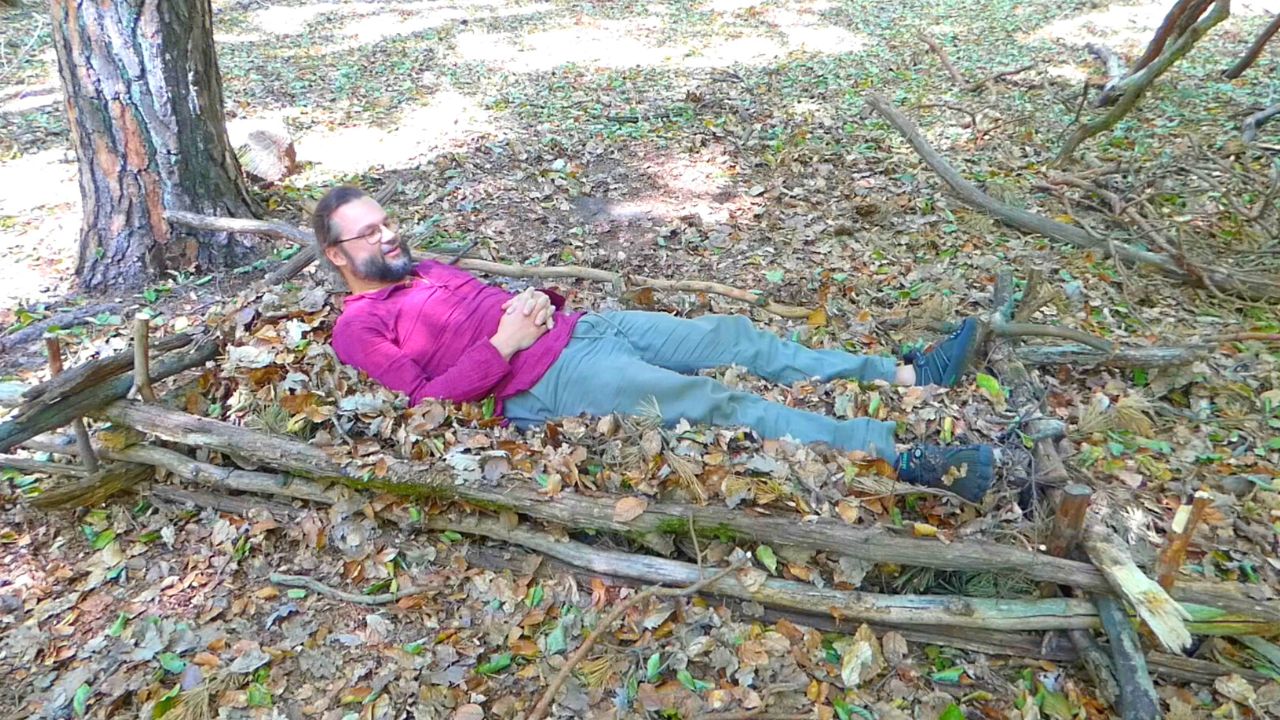
Build yourself a bed! What may sound strange is an ancient art. I once built a trapper bed, with nothing but my hands and my bushcraft knife (here's my top list).
The result? A sleeping place, as safe and warm as a mattress.
From the ground to the sleeping place
A real trapper bed is pure outdoor intelligence:
- High off the ground: You need a foundation that protects you from the cold ground. A mesh of sticks is your first step.
- Insulation from below: Cover the sticks with a thick layer of leaves. Your sleeping bag goes moreover.
- Emergency insulation: Stuff leaves under your clothing, it will keep you a little warmer.
- Protection: A thick roof of leaves or branches keeps you dry and the surrounding warmth.
Additional skills that count in survival training
But it's about more than just a bed. Absorb the knowledge of a trapper to survive.
- Navigation through the stars: Nature is your map. (Click here for the guide)
- Animal signs: Understand the language of the forest. (Click here for the guide)
- Interpreting animal tracks in the snow: You know who is nearby (Click here for the guide)
- Knot tying: Tie your knowledge until it holds. (Click here for the guide)
- Fire making: Everything gets better with a fire. (Click here for the guide)
And believe me, you will be rewarded! Because once I woke up and saw the tracks of a deer next to my camp, I felt the connection to nature.
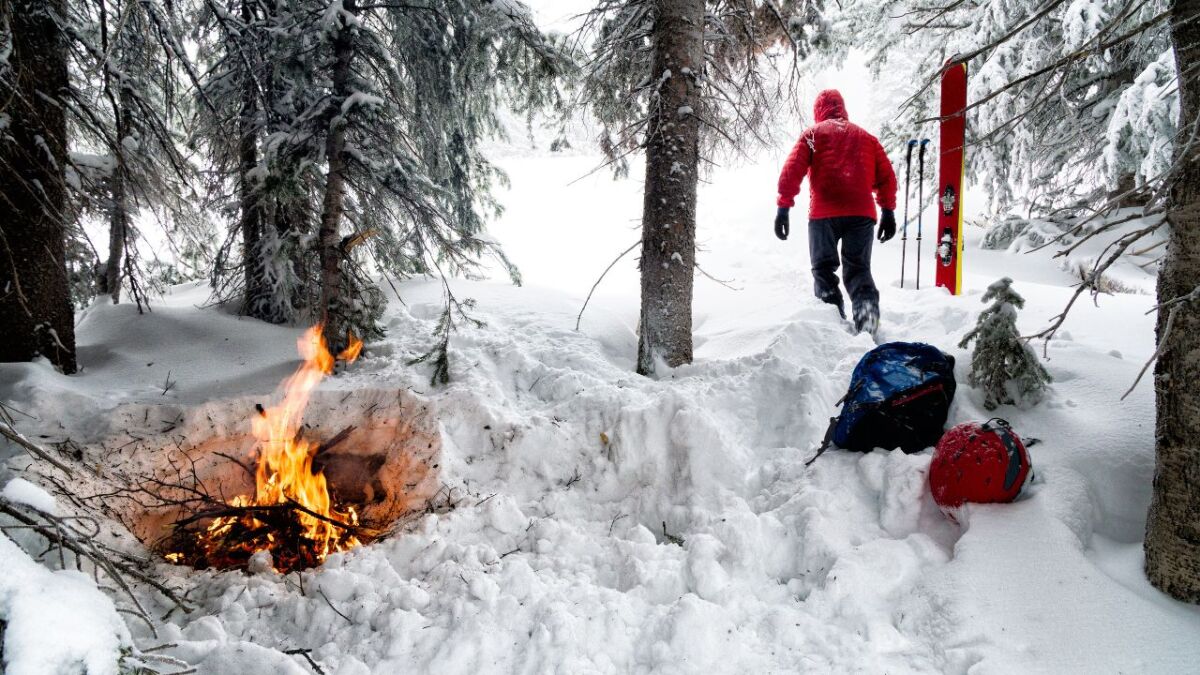
These skills are more than just survival, they are your path into a world that is deeply rooted with everything around us.
Look, the night in a wilderness only becomes truly comfortable when you don't have a shelter, but also a heart for nature.
Read also
Making fire without a lighter or matches (18 ways) - Making fire without a lighter or matches? Learn now with my 18 ways how to ignite a fire even without a lighter or matches.
Maintenance and Security of Survival Shelters
Do you remember how proud you were as a child of your self-built treehouse? That feeling is also irreplaceable in the wilderness.
The shelters I have shown can be more than just a roof over your head - they are refuges. But only if they are well-maintained and secure.
The shelter stays with you - we need to take care of it
A shelter is like a close friend. You have to take care of it and look after it:
Maintenance is half of life:
- Routine checks: Regularly inspect your warehouse. Look out for damages or weak points.
- Repairs: If you find a weak spot, repair it immediately - later may be too late.
Safety first:
- Fire Pit Safety: Your fire should always remain controlled and have a safe distance from the shelter.
- Carbon Monoxide Awareness: Be aware of sufficient ventilation to avoid carbon monoxide buildup - especially in quinzhees, igloos, and snow caves.
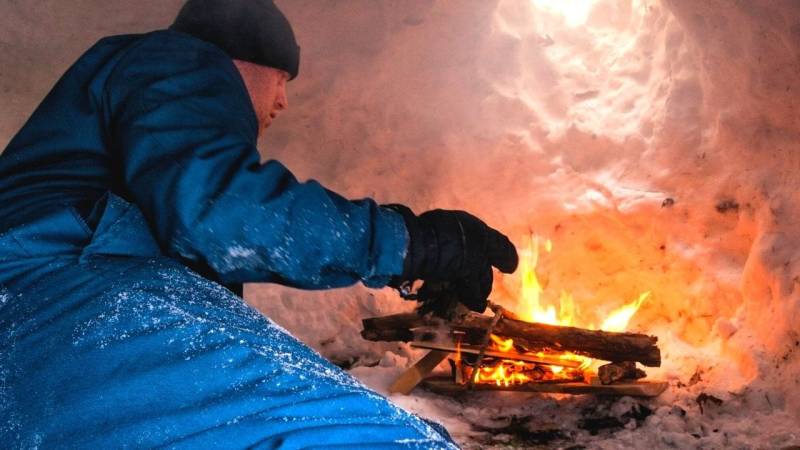
Be prepared for all eventualities
The first night, when a strong thunderstorm broke over me, I had concerns whether my leaf hut would hold up.
But since I had always kept it in good condition, it stood firm like a bunker.
- Backup material: Always have reserves on hand in case something breaks or needs reinforcement.
- Situational awareness: Know your surroundings and any potential risks such as landslides or rising water.
I once sat in my snow cave for a whole night while the world outside seemed to freeze. Safe in my ice fortress, I knew that proper preparation and maintenance would keep me warm and alive.
Your shelter in winter is your home!
Treat him well and he will carry you through the coldest nights.
Summary: The Knowledge that Warms
Remember the first crackling of the campfire or the satisfying tiredness after building your first lean-to shelter.
These are the moments that matter. The many shelters we have gone through together are not just protection from a storm.
You are your gateway to a world where you not only survive, but can even feel comfortable.
👇 The video shows well which structures are available for shelters:
Key points for surviving in winter - Pay attention to drainage and construction
Let's recap the key takeaways that will help you sleep soundly when the snow is all around you:
- Value your safety and warmth. The right construction can make the difference between a frosty awakening and a warm morning.
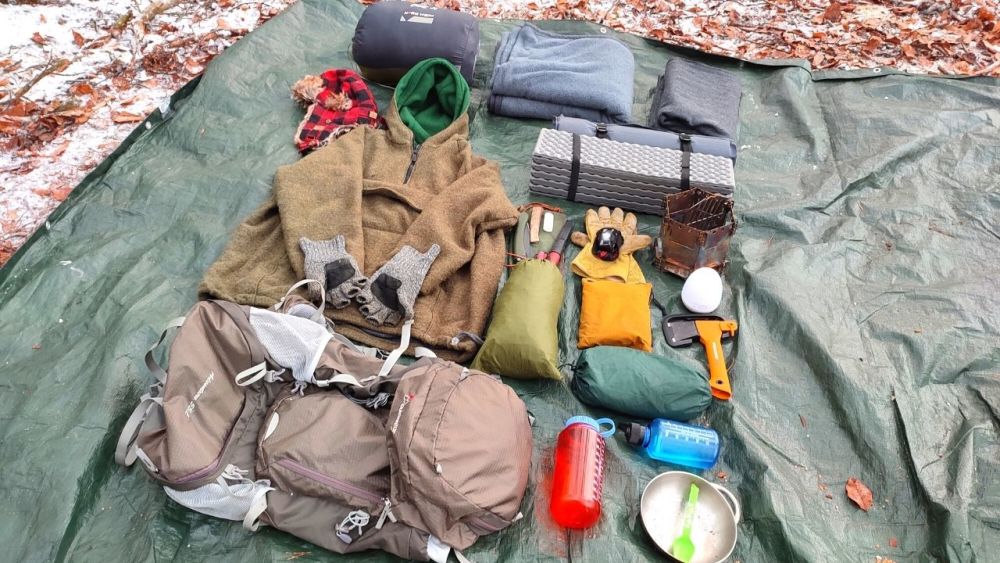
- Preparation is everything. Pack the right materials and practice your skills before venturing into the wilderness.
- Nature is your partner. Work with what the environment provides you, and it will take care of you.
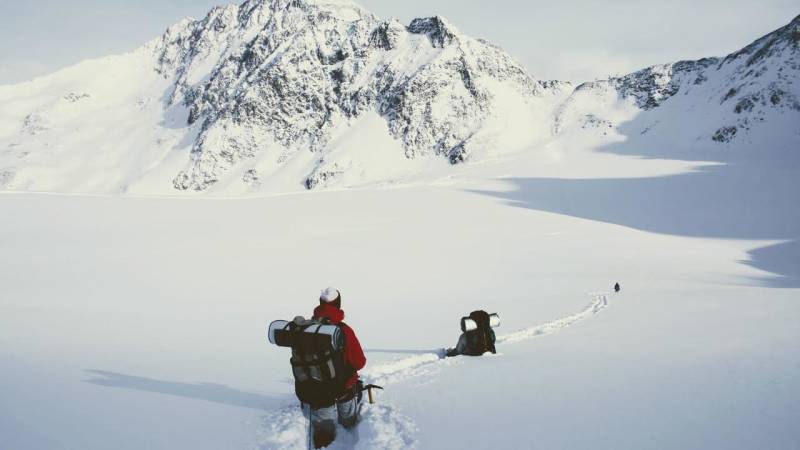
Nothing beats proper preparation - and survival training
As you can see, no winter monster is too terrifying when you have the right tricks up your sleeve. Take this knowledge and make it your own.
With creativity, foresight, and a touch of adventurous spirit, every night in the snow becomes a story worth telling.
And: Go out and practice. Start your training today - whether on the coast, in the mountains, or in the Black Forest. There is always room for improvement in survival training.
Further Resources: Your Compass into the Depths
That's it? No way!
I can practically see your adventurer's heart beating for more. Your journey into the way of outdoor survival is just beginning.
Books, Websites, and Courses: Your Treasure Map
Here I have carefully selected links for you - your ammunition for the next level of winter wilderness wisdom:
Literature:
- Tom Browns Filed Guide "Wilderness Survival" - everything you need to survive and thrive outdoors
- Tom Browns Field Guide "Living with the Earth" - earth connection and living outdoors: that's survival to me
- "Bushcraft" by Mors Kocchanski - a classic among wilderness people
- Ray Mears "Essential Bushcraft" - survival skills from around the world
- "Bushcraft 101" by Dave Canterbury - concise and to the point, covering many skills
- "Ultimate Guide to Wilderness Living: Surviving with Nothing But Your Bare Hands and What You Find in the Woods" - a brilliant book

Online resources:
- Bushcraft forums: Exchange ideas, ask the old pros.
- YouTube tutorials: Visual instructions make it as clear as day.
- Online courses: like the Wildimpuls annual program with 52 weekly missions for a more wilderness life (in German).
Every book is a window into new worlds, every webpage and every course is a staircase to more knowledge. Use them!
Read also
5 great books about Bushcraft (that you should read) - With the right books about Bushcraft, you will learn the best skills. I present five great books that will help you with Bushcraft.
Conclusion: Your journey never ends
I have spent nights with the book "The Ultimate Guide to Wilderness Living" and with Tom Brown's "Wilderness Survival" and "Living with the Earth" under my pillow, absorbing the knowledge.
Use your curiosity, your thirst for knowledge, to learn!
Because out here in nature, under the twinkling stars of the winter sky, each of us writes our story of survival.
Ready for the next adventure? I'm already looking forward to hearing from you again. Until then, stay curious and wild!


Author of the guide
Martin Gebhardt
Hey, I'm Martin. On my blog, you will learn the basics and numerous details about living in the wild. I think survival, bushcraft and the good life in nature are the keys to happiness. Find me here on Instagram or on YouTube. You can find more about my mission on the About Me page.
Was this guide helpful?
21 people found this guide helpful.
5.00 out of 5 points (21 Ratings)
Comments (0)
This post may contain affiliate links. So if you click on the links and make a purchase, I will receive a small commission at no additional cost to you. Click here, to learn more about it.


